Stop letting messy packaging ruin your brand’s premium appeal. This guide reveals the exact factory-grade techniques and materials you need to achieve a bubble-free, perfectly aligned finish by hand every single time.
To achieve flawless hand-applied labels, use the “Hinge Method” for alignment and select materials with air-release technology. Ensure the container surface is cleaned with a vinegar-water solution and allow a 24-hour dwell time at room temperature to prevent post-application bubbling.
But that is just the surface. Want to see the “physics” behind why labels fail—and the one material that acts like a cheat code? Keep reading.
Why Your Labels Look Good Now and Bad Tomorrow
You have spent months perfecting your formula, sourcing the best ingredients, and building your dream brand. But as you sit at your workspace late at night, staring at a row of bottles with wrinkled edges, you realize you are Tired of Bubbles & Crooked Stickers ruining your professional image.
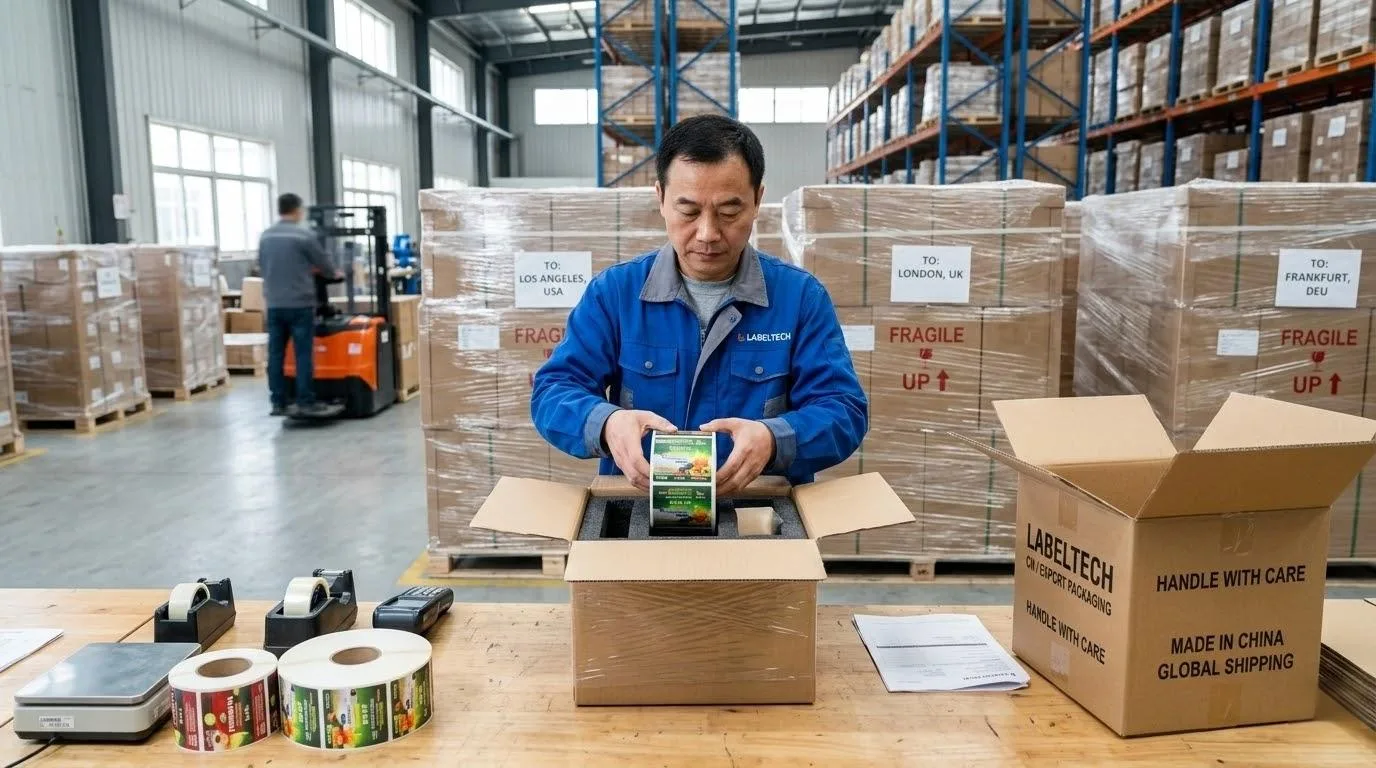
It is a frustrating hurdle many boutique owners face when transitioning from a hobby to a serious business. When you rely on Hand-Applied Labels, your packaging is the only thing standing between a customer’s curiosity and a sale.
Statistics show that you only have 7 seconds to capture a consumer’s attention at the shelf, and 70% of that first impression is based entirely on your packaging. If that label is skewed or riddled with air pockets, about 15% to 20% of high-end shoppers will subconsciously flag your product as “low quality” or “homemade.”
“Packaging is the physical manifestation of a brand’s promise. When a consumer sees a crooked or bubbling label, the brain instantly flags it as a ‘lack of care.’ This perceived negligence is subconsciously transferred to the product inside, leading to a breakdown in brand trust before the customer even tries the product.” — Andrew Gibbs, Founder of The Dieline.
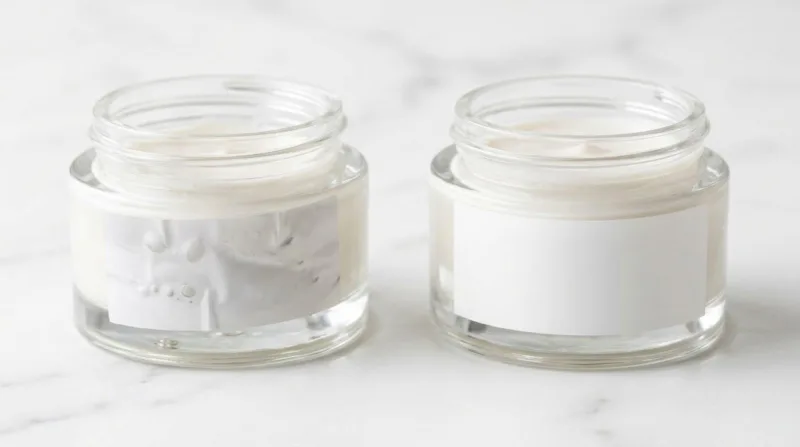
Have you ever spent hours meticulously applying labels, only to walk into your storage room the next morning and find 30% of your stock has “lifted” or developed tiny bumps? This isn’t necessarily a failure of your technique; it is often a battle against Material Memory.
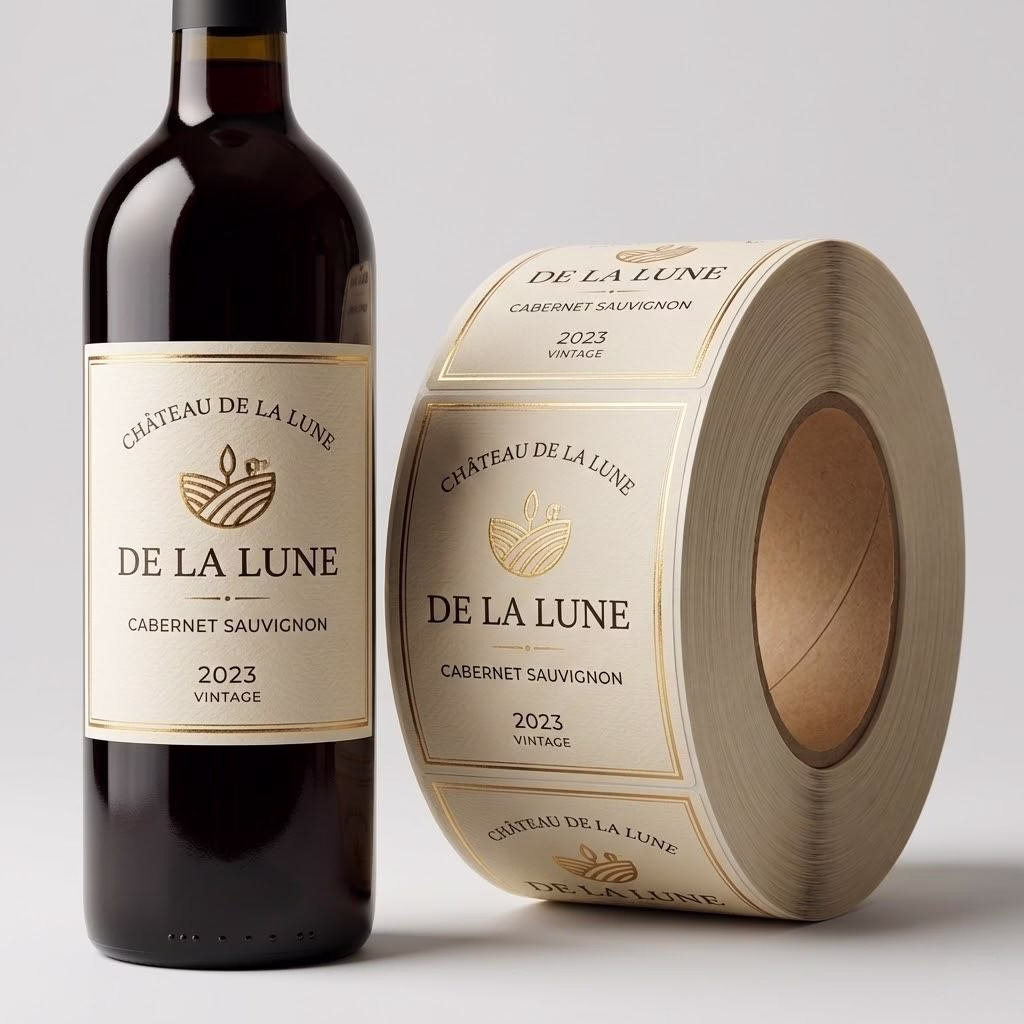
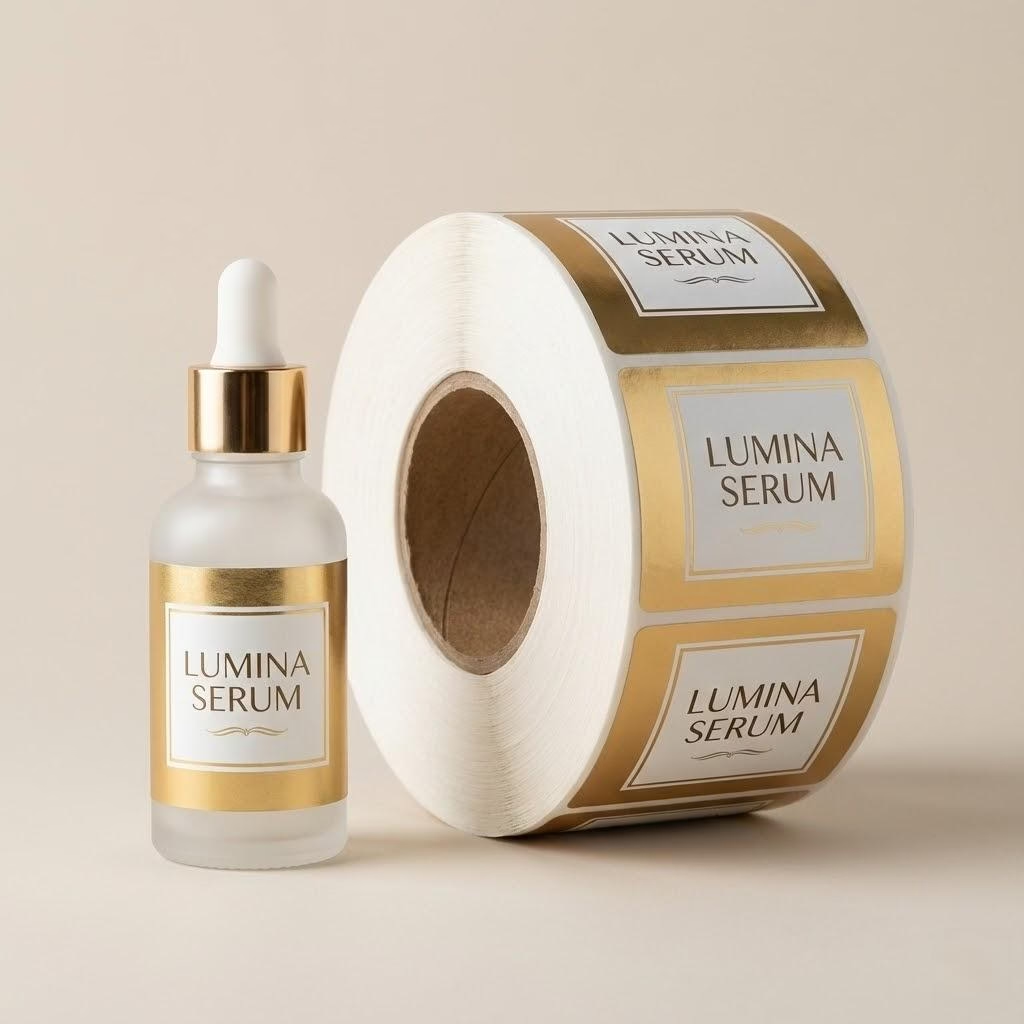
Synthetic materials like PP (polypropylene) and PET (polyester) are popular because they are waterproof and durable.
However, they have a “physical memory” of being flat. When you wrap a thick, 3.5 mil (90-micron) silver PET label around a small 15ml essential oil bottle, the material’s internal tension wants to pull it back to its original flat shape.
Based on our extensive experience with global supply chains, we once worked with a client who insisted on the thickest, most “premium-feeling” PET for their small-diameter glass jars. Despite a perfect initial application, the labels began “winging”—lifting at the edges—within 24 hours. The material’s “memory” was simply stronger than the adhesive’s grip.
The solution wasn’t more glue; it was switching to a more “obedient,” thinner 2.0 mil material that could conform to the curve without fighting back.
The Science of the 24-Hour Dwell Time
The second hidden culprit is a concept called Dwell Time. Most labels use pressure-sensitive adhesives (PSA).
When you first press a label onto a surface, you achieve what we call “Initial Tack.” At this stage, the bond is only at 40% to 60% of its ultimate strength.
It takes approximately 24 hours for the adhesive to fully “wet out” or flow into the microscopic valleys of your container’s surface.
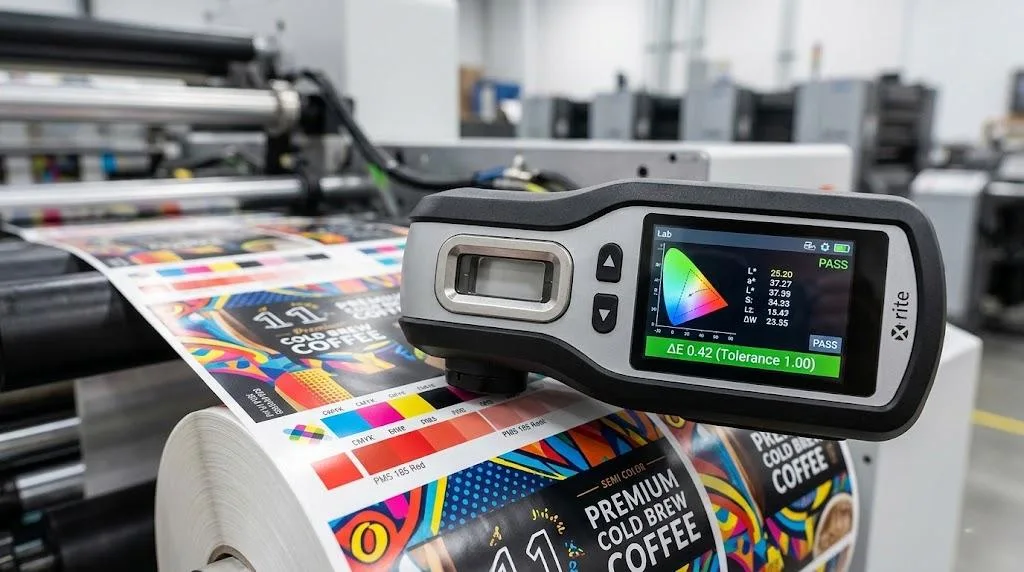
As Gregg Zuchelkowski, Technical Service Manager at Avery Dennison, explains: “Effective bonding is not just about pressure; it’s about ‘wetting out’ the surface. If the adhesive cannot flow into the valleys of the substrate, it creates micro-gaps where air stays trapped, eventually expanding into visible bubbles.”
To prevent post-application disasters, follow these rules:
- Temperature Matters: Ensure your workspace is between 15°C and 25°C (59°F – 77°F). For every 10-degree drop, your initial tack weakens by about 30%.
- No Cold Storage: Do not move freshly labeled products into a cold fridge or a humid warehouse immediately. Give them 24 hours at room temperature to settle.
- The “Dyne” Factor: If you are using plastic bottles, be aware of surface energy. If your bottle has a “Dyne level” below 36 (often caused by mold release agents from the factory), your labels will peel off like dry leaves.
Ready to achieve 100% Machine-Ready precision?
Whether you are applying by hand or upgrading to automation, our premium labels are engineered to fit your production line perfectly while saving you 30% on costs.
Choosing “Cheat Code” Materials for Bubble-Free Success
If you are still struggling with air pockets, you might be fighting a losing battle against standard materials. One of the most significant “industry secrets” we share at Label Printing China is the use of Air-Release Technology, often referred to as Micro-Channel adhesive.
Originally developed for high-end vehicle wraps, this technology is now available for premium commercial labels. The adhesive side features microscopic “valleys” that allow trapped air to escape as you press the label down.
- The Cost Reality: Yes, these materials may cost about 15% more than standard vinyl.
- The Efficiency Gain: However, your manual application speed will likely increase by 40%.
- The Waste Reduction: More importantly, your “rework” rate—the labels you throw away because of a giant, unfixable bubble—drops from a typical 8% to 12% to nearly zero.
When you factor in the Hidden Cost of Rework—which includes the price of the label, the labor to peel it off, the cost of cleaning the bottle (which is 3 to 5 times higher than the label itself),
and the risk of scratching your container—choosing “cheat code” materials is actually the most cost-effective decision you can make.
Another pro tip is to look for adhesives with High Initial Repositionability. This allows you to gently peel the sticker back up if you notice a slight tilt within the first 30 to 60 seconds, without leaving a messy residue or tearing the liner.
The “Hinge Method”: Precision Without a Machine
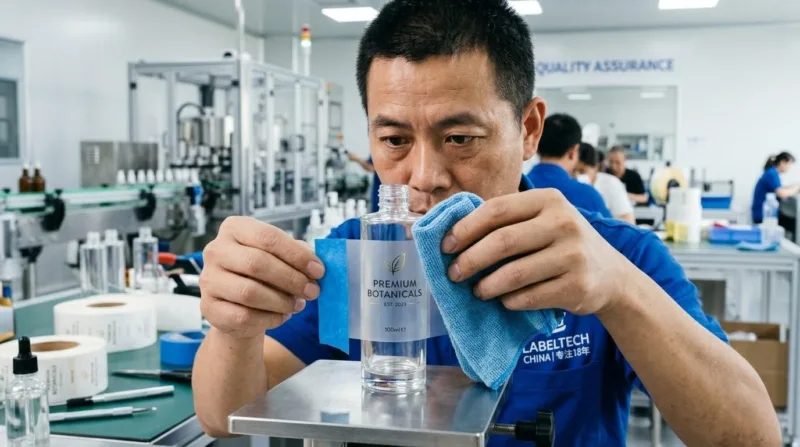
Most people make the mistake of peeling the entire label off the backing and trying to “aim” it onto the bottle in one go. This is a recipe for disaster.
If you touch the adhesive with your fingers, you leave oils that create permanent Fingerprint Bubbles. Instead, you should use the Hinge Method.
This technique turns a chaotic “guessing game” into a controlled, two-step process:
- Clean the Surface: Don’t just reach for the alcohol. If you are working with plastic bottles, remember the “Mold Release” trap. Alcohol won’t cut through silicone-based release agents. Use a mixture of white vinegar and water or a specialized degreaser to ensure the surface energy is high enough for the bond.
- Position with Tape: Place your label (with the backing still on) exactly where you want it. Secure one side with a piece of painter’s tape. This acts as your hinge.
- Peel and Press: Flip the label over like a page in a book, peel away half of the backing, and slowly press the label down using a squeegee or a soft cloth at a 45-degree angle. This “sweeping” motion pushes the air out before the adhesive can trap it.
To ensure every bottle in your batch looks identical, I recommend building a DIY Labeling Jig.
You don’t need a $500 machine. Two heavy books or a few LEGO bricks glued to your workbench can create a “cradle” that holds your bottle in the exact same spot every time.
Why “Engineered Sheets” Beat Industrial Rolls for Hands
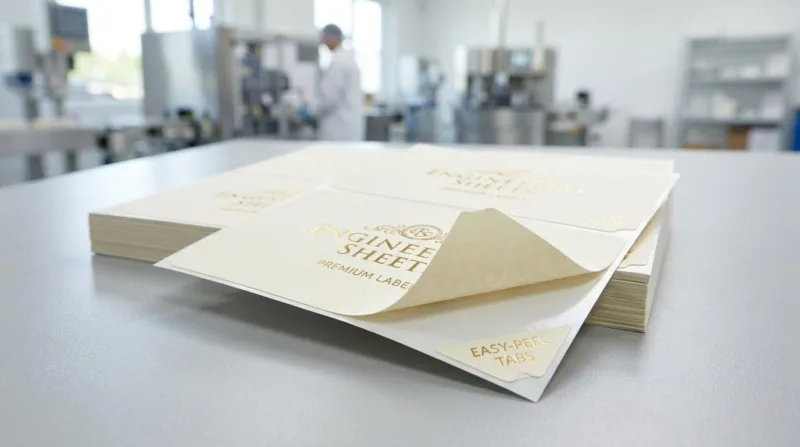
There is a common myth in the printing world: “Rolls are for professionals, sheets are for amateurs.” In our extensive experience with global supply chains, for Hand-Applied Labels, this is exactly backward.
We once had a client switch to Roll Labels to save 5% on material costs. However, they quickly realized that roll labels have a natural “curl” that makes them pop off the liner and wrap around your fingers. This led to the “Fingerprint Curse.”
Because the workers had to fight the curl of the roll, they touched the adhesive more often, leaving visible smudges on 20% of their clear labels.
At Label Printing China, we suggest Engineered Sheets for SMBs. These aren’t your standard office-supply stickers. We design them with:
- Easy-Peel Tabs: A small border of the backing paper is removed, allowing you to lift the label without using your fingernails to “pick” at the corner.
- Alignment Guides: We print faint grid lines on the sheet itself to help you see exactly where the center of the label is before you even lift it.
Final Checklist: From Workspace to Retail Shelf
Before you start your next production run, use this table to ensure your environment is set up for success:
| Factor | Ideal Condition | Why It Matters |
|---|---|---|
| Surface Energy | > 38 dynes/cm | Prevents “crawling” and edge lifting. |
| Workspace Temp | 18°C – 24°C | Ensures the adhesive is “flowable.” |
| Cleanliness | Dust-free room | Even a speck of dust creates a 1mm bubble. |
| Dwell Time | 24 Hours | Allows the bond to reach 100% strength. |
Stop settling for packaging that looks “good enough.”
By choosing materials with Micro-Air Channels, using the Hinge Method, and allowing for proper Dwell Time, you can achieve a professional finish that justifies your premium price point.