Choosing the wrong label orientation is a production nightmare that kills your uptime and wastes thousands. This guide shows you exactly how to master #1-#8 Unwind Directions to ensure 100% machine compatibility and zero-error deployments.
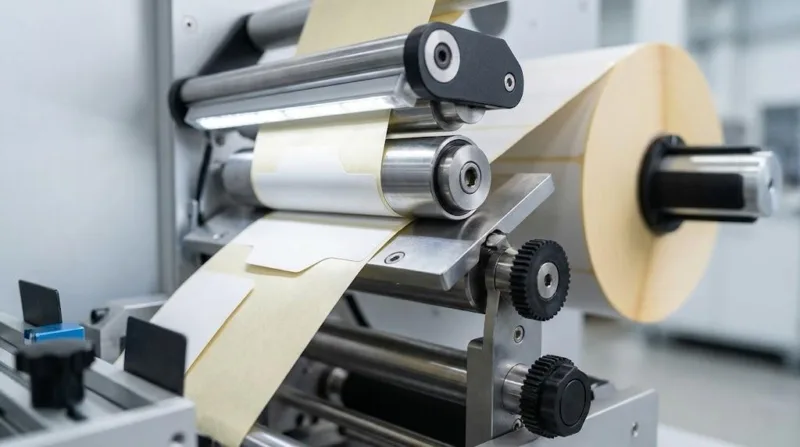
#1-#8 unwind directions define how labels are oriented on a roll and which side feeds first. Positions 1–4 are “wound out” (facing away from core), and 5–8 are “wound in.” These numbers determine if the top, bottom, left, or right edge of the label copy serves as the leading edge for application.
But choosing the right number is only the first step. Read on to see our brand-specific compatibility matrix and the emergency protocol for when things go wrong.
The Practical Logic Behind #1-#8 Unwind Directions
Selecting the wrong roll orientation is a “silent profit killer” that causes immediate production halts and a 200% loss in material costs.
As Tom Egan of PMMI notes: “The label is the ‘brain’ of the packaging line. If misaligned, even a $100,000 setup becomes a paperweight.” To ensure your order is “Machine-Ready,” use this reference for the four most common orientations:
| Position | Orientation | Description |
|---|---|---|
| #1 | Top Off | The top of the label comes off the roll first. |
| #2 | Bottom Off | The bottom of the label is the leading edge. |
| #3 | Right Off | The right side of the copy leads into the machine. |
| #4 | Left Off | The left side of the copy leads into the machine. |
At Label Printing China, we consider Positions 1-4 (Wound Out) the gold standard because they minimize friction on high-speed lines.
If you’re unsure, stand at your machine and use our “3-Second Rule”: mimic the bottle’s movement to see if the label should meet it “top-first” or “side-first.” This simple check is your best insurance policy against downtime.
Why Your Applicator Dictates the Direction (Not Your Designer)
Your graphic designer might be a genius with color palettes and branding, but unless they have spent time on a factory floor, they should not be the one deciding your roll direction.
Why? Because your label applicator is a rigid piece of engineering. It follows a specific physical path consisting of rollers, sensors, and a peel plate that only functions in one orientation.
If you are upgrading from manual labeling to an automated system, you are likely looking for that 25% to 40% boost in production efficiency. However, that efficiency is only possible if the “leading edge”—the very first part of the label that peels off the liner—is what the machine expects.
To understand the total impact on your budget, it is critical to perform a proper label printing cost analysis before finalizing equipment specs.
In my 9 years of running a factory, I have seen this “communication black hole” between design and production happen dozens of times. One client almost lost a significant production run because their designer chose a direction based on how the art looked on a computer screen.
We caught the error by sending a 15-second video of the labels moving through a simulated applicator path. This video simulation is often the only way to bridge the gap between a digital design and a physical machine.
The RFID Factor:
As we move toward 2026, many brands are integrating RFID chips into their labels for supply chain tracking. If your #1-#8 unwind directions are incorrect, the RFID chip may pass through the applicator’s pressure rollers at an angle that crushes the antenna.
Even if the label looks fine, the internal tech could be dead on arrival. Always verify the chip placement in relation to the leading edge to ensure your “smart” packaging stays smart.
Ready to Ensure 100% Machine Compatibility?
Don’t let a numbering error stop your production line. Our engineers will perform a free technical audit of your applicator specs to ensure your labels are “Machine-Ready.”
Compatibility Cheat Sheet: Brands and Their Default Positions
While the #1-#8 unwind directions provide a universal language, every labeling machine has its own “preferred” orientation based on its mechanical build.
As an industry leader, I’ve seen production managers struggle simply because they didn’t realize that their machine’s physical layout—whether it is a “left-hand” or “right-hand” system—dictates the roll they need.
In North America, many high-speed side labelers are engineered in a way that naturally favors Position #4 (Right Off). If you are using world-class equipment from brands like Avery Dennison, Label-Aire, or Herma, your default choice is rarely random.
To help you navigate this, we’ve compiled a compatibility matrix based on common industrial setups:
| Applicator Brand | Common Application Type | Recommended Unwind Position |
|---|---|---|
| Avery Dennison | Side-Apply (Bottles/Crates) | Position #4 (Right Off) |
| Label-Aire | Top-Down (Cartons/Lids) | Position #1 (Top Off) |
| Herma | High-Speed Rotary | Position #3 (Left Off) |
| Krones | Beverage Labeling (Wrap-around) | Position #3 or #4 |
Understanding this “brand preference” is a high-level insight often missing from basic printing guides. For instance, if you are running a Krones rotary line, the direction isn’t just about the art; it’s about the tension and the way the vacuum drum picks up the label.
Choosing the wrong direction can lead to a “ghost label” struggle, where sensors fail to calibrate, causing machine alarms that can cost you upwards of $100 per hour in lost productivity according to standard overall equipment effectiveness (OEE) metrics.
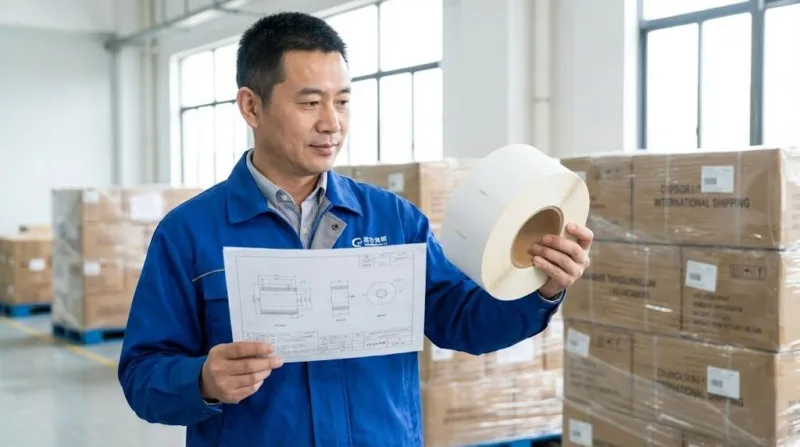
If you are sourcing labels for a new production line, don’t guess. The most professional move you can make is to learn how to choose a label supplier who proactively requests the Winding Spec Sheet from your machine manufacturer.
This ensures that the “leading edge” of your label perfectly aligns with the sensor’s trigger point, preventing the nightmare of a 100,000-unit reprint.
The “Oh No” Protocol: What to Do If Your Labels Are Wound Wrong?
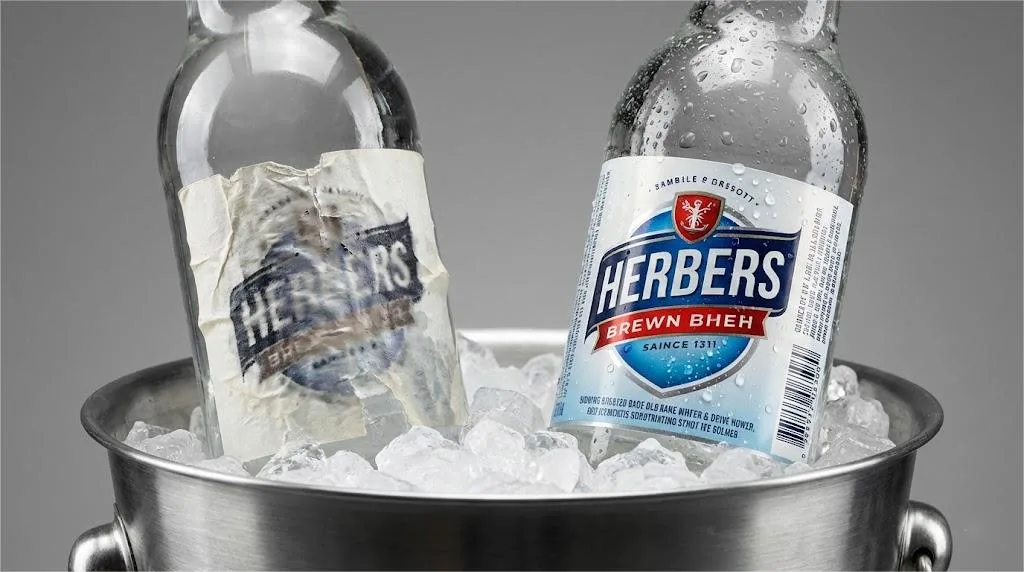
So, the worst-case scenario has happened. You’ve just unloaded a pallet, and the labels are facing the wrong way. Before you scrap the entire shipment and swallow a 200% loss in materials and time, you need a recovery protocol.
At an average downtime cost of $100 per hour—or as much as $22,000 per minute in high-value sectors like pharmaceuticals—every second you spend staring at a useless roll is money down the drain.
Lonnie Jensen, Technical Support Manager at Avery Dennison, reminds us that the stakes go beyond your factory floor:
“We often see brands lose thousands in retail chargebacks not because of design, but because a Position #1 roll was used where a Position #3 was required, leading to unscanable barcodes in the supply chain.”
If you find yourself in this “firefighting” mode, here is your tiered recovery plan:
- The Rewinder Transformation: Most “simple” errors can be fixed by running the rolls through a Direction Rewinder. For instance, converting from Position #1 (Top Off) to Position #2 (Bottom Off) is a straightforward flip.
- The “Industry Secret” Trap: In my factory experience, I’ve learned a truth that most blogs won’t tell you: rewinding isn’t a perfect fix. Passing the labels through a second machine increases static electricity and can change the “memory” or curl of the paper. If you are running a high-speed line (300+ BPM), these rewound labels might cause more jams than they are worth.
- Physical Machine Calibration: Sometimes, you can save the batch by physically adjusting your labeling head or re-routing the web path. This works for simple machines but is often impossible for complex, integrated rotary systems.
- The Scrap Threshold: If your error involves changing a “Left-Off” to a “Top-Off” (shifting the label 90 degrees), rewinding cannot help you. In this case, your most cost-effective move is to stop immediately. Attempting to “force” the wrong labels onto a machine often leads to retail chargebacks when the barcodes end up in the wrong orientation for scanners.
Dealing with an error is about risk management. If the cost of potential machine damage and retail fines outweighs the cost of a reprint, it’s time to pull the plug and start over. But wouldn’t it be better to never have this conversation in the first place?
The 100% Accuracy Checklist Before You Hit “Print”
Are you ready to sign off on that production quote? Take a deep breath. Before you approve that purchase order, you need more than just a “thumbs-up” from the art department.
You need a technical sign-off that ensures your labels won’t become an expensive pile of scrap. Using the wrong #1-#8 unwind directions is a mistake that is 100% preventable if you follow a standardized protocol.
To make your life easier, I’ve distilled my 9 years of factory experience into this “Zero-Error” checklist. Run through these five points, and you’ll sleep much better while your production line is running:
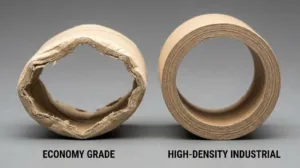
- Core Size Verification: Is your machine’s spindle designed for the industry-standard 3-inch (76mm) core? Using the wrong core size is the fastest way to ensure your roll never even makes it onto the machine.
- The Max OD Test: Will a 14-inch outer diameter (OD) roll fit under your machine’s safety guard? Remember, a 14-inch roll carries roughly 40% more labels than a 12-inch roll, significantly reducing your downtime for roll changes.
- Gap Consistency: Is your liner gap set to the standard 3mm (0.125 inches)? This is crucial for your sensor to “see” the leading edge of the label.
- Sensor Calibration: Are you using clear labels? If so, does your #1-#8 orientation allow the “ghost label” sensor to trigger without constant alarms?
- The Number Confirmation: Don’t use words like “left” or “top.” Use the digit. Tell your printer, “I need Position #4.” This creates a clear legal and technical boundary that protects you and the factory.
By following this checklist, you aren’t just buying labels; you are buying Overall Equipment Effectiveness (OEE). You are ensuring that when those rolls arrive at your dock, they are ready to be loaded and launched without a single hiccup.
Why We Double-Check Your Specs Every Single Time
At Label Printing China, my nine years of running a factory have taught me that being a good partner often means being a technical skeptic. We don’t just “hit print” because an order form is filled out. We look for the logic behind your choice.
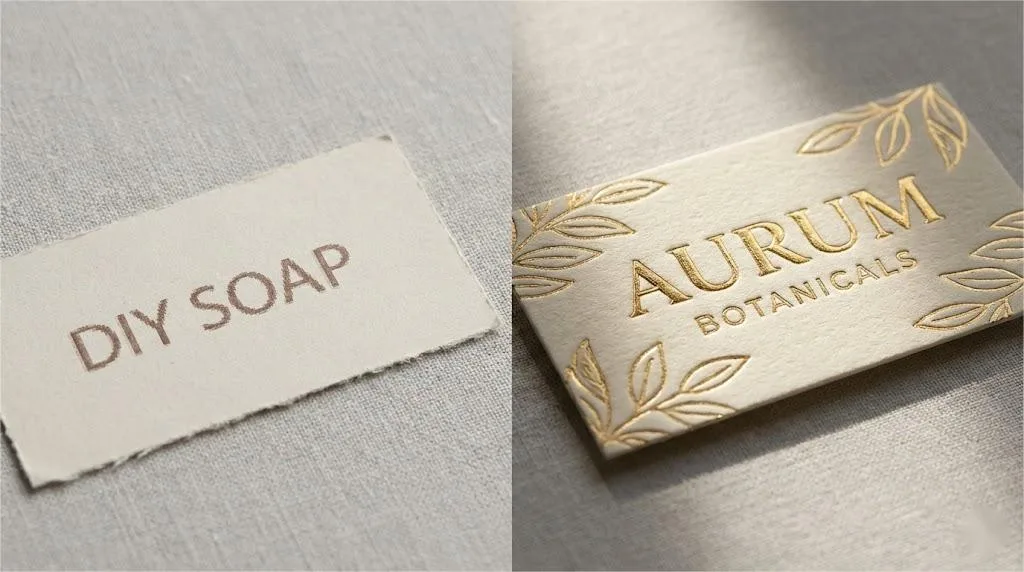
We once worked with a small craft brewery in California that was moving from manual bottling to a high-speed rotary line. Their designer, following a generic online chart, selected Position #1 (Top Off) for their artistic textured labels.
However, because we understand the mechanical torque of rotary labelers, our team noticed a discrepancy between their bottle dimensions and that specific winding direction.
We didn’t wait for the disaster to happen. We sent them a 15-second video demonstrating how the label would peel and meet the bottle on a simulated line. We quickly realized they actually needed Position #4 (Right Off) to prevent the labels from wrinkling under high tension.
By catching this “invisible trap” during pre-production, we saved the client from a 50,000-unit disaster and weeks of delayed product launches.
We believe that a high-quality label is only “high-quality” if it actually works on your machine. This is why we treat every technical detail as a critical safety check. When you work with us, we don’t just take your word for it—we verify, we simulate, and we confirm.
Whether you are a seasoned production manager or a brand owner launching your first SKU, understanding the #1-#8 unwind directions is the key to a seamless supply chain. Don’t let a simple numbering error derail your 2026 growth plans.
If you are unsure which direction your specific applicator requires, send us your machine model today. Our engineers will review your setup and ensure you choose the perfect #1-#8 unwind directions to keep your production line moving at peak performance.