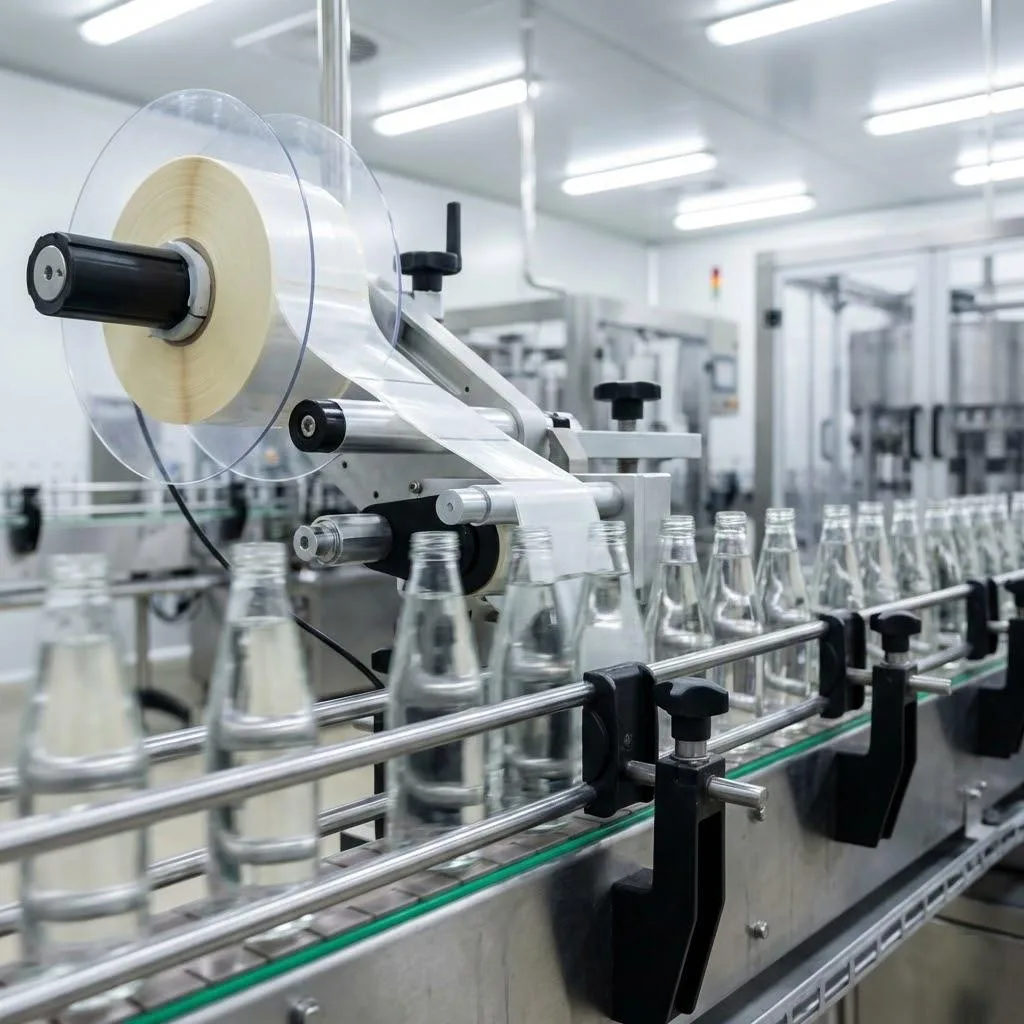
In the high-stakes world of honey and specialty glass packaging, the transition from artisanal hand-labeling to automated high-speed production is often where “brand vision” meets “mechanical reality.”
For procurement managers and brand owners, the term “Machine-Ready” is frequently thrown around by suppliers, yet 40% of automated labeling lines underperform due to a fundamental lack of synchronization between the roll label and the applicator physics.
When dealing with irregular geometries—such as the classic Hexagonal jar, the tapered Queenline, or embossed glass—synchronization is not a simple speed match. It is a complex interplay of material tension, liner release force, and die-cut compensation. This guide deconstructs the technical requirements for achieving a 99.9% Application Success Rate (ASR).
1. Why Standard Labels Fail Irregular Glass
Most labeling failures on the production floor aren’t caused by the machine or the glue; they are caused by dimensional instability. Irregular jars create non-linear contact points.
If your label is not engineered to meet the bottle at the exact millisecond and angle required, you encounter “flagging” (edges peeling up) or “spiraling” (labels tilting as they wrap).
The Technical Threshold: Standard vs. Machine-Ready
| Feature | Standard “Commercial” Labels | High-Speed Machine-Ready Labels |
|---|---|---|
| Die-Cut Precision | ± 0.5mm (Visible skew) | ± 0.1mm (Zero-tolerance) |
| Liner Type | 60lb Paper (Prone to snapping) | PET or Heavy-Duty Glassine |
| Release Force | Variable (Causes stutter) | Constant (Measured in grams/inch) |
| Fiber Orientation | Random | Machine Direction (MD) Aligned |
2. Liner Release and Fiber Direction
The most overlooked component of synchronization is the Liner. In an automated “Hive,” the liner is the conveyor belt for your brand’s identity. If the liner stretches by even 0.5% under tension, the sensor eye will lose the registration mark, leading to cumulative drift.
Mastering the synchronization of liner tension and release force is the single most effective way to eliminate applicator micro-stutter.
The Fiber Orientation Trap
Based on industrial precision standards in high-speed conversion, we’ve seen million-dollar runs ruined because the printer ignored Fiber Orientation. Paper is an anisotropic material; it behaves differently depending on which way the fibers run.
- The Rule: For custom honey jar labels, fibers must run parallel to the direction of application.
- The Consequence: If fibers run perpendicular, the label will attempt to “curl” back to its original flat state, fighting the adhesive and causing edge-lift within 24 hours of packaging.
“Synchronization is the harmony of tension. If your liner release force varies by more than 5 grams across a 2,000-linear-foot roll, your applicator motor will experience ‘micro-stutter,’ which manifests as a 1-2mm vertical deviation on every tenth jar.” — Lead Engineer, Global Packaging Standards (GPS)
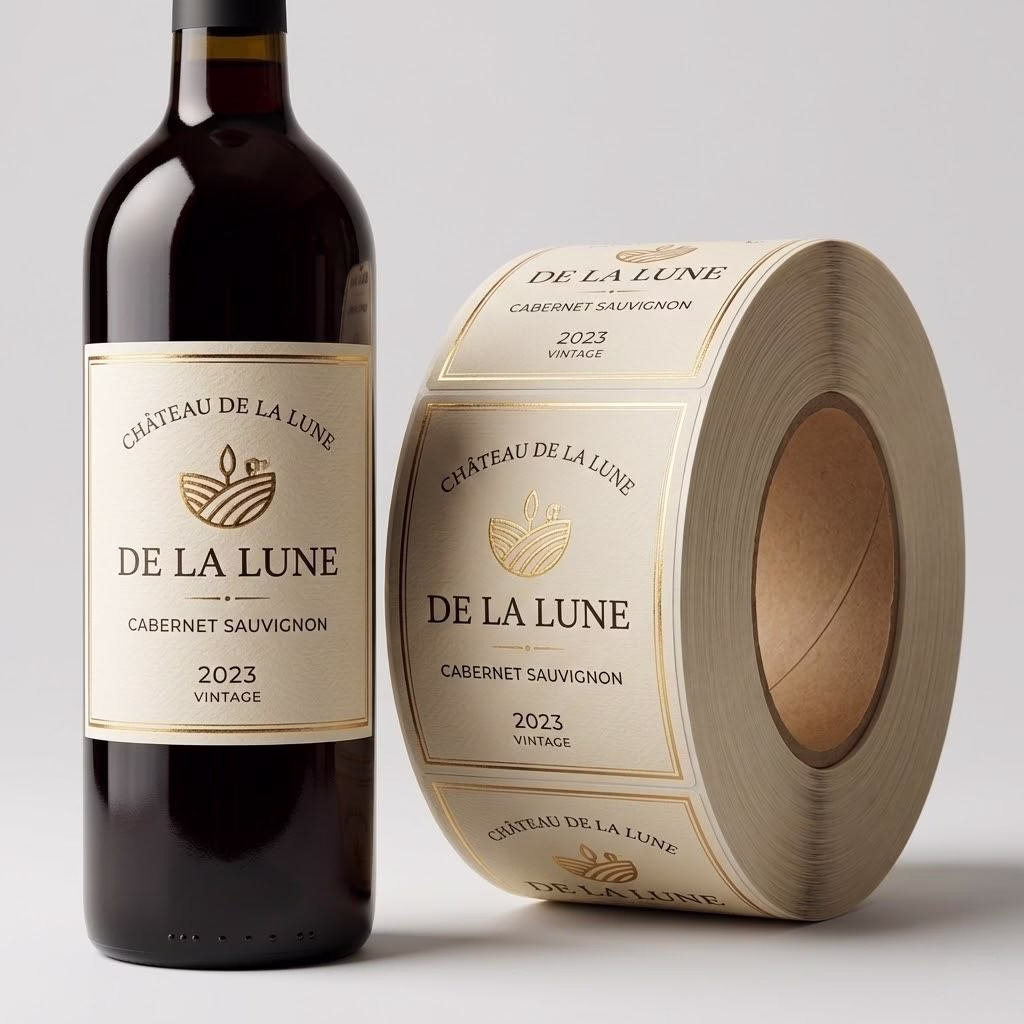
3. Taper & Die-Cut Compensation
Honey jars are rarely perfect cylinders. The Queenline jar, a staple of the industry, possesses a subtle taper. If you apply a perfectly rectangular label to a tapered surface, the physics of geometry dictate that the label will “frown” (the ends will dip downward).
The “Calculated Curve” Solution
To synchronize a label for a tapered jar, the label must be die-cut with a mathematical arc. Leveraging predictive engineering for irregular packaging ensures the label geometry accounts for the jar’s draft angle before it hits the production line.
- Step 1: Measure the circumference at the top and bottom of the label’s placement area.
- Step 2: Calculate the “Draft Angle.”
- Step 3: Design the “Smile” or “Frown” compensation into the die-line.
Visual Anchor: Key Decision Points for Tapered Jars
- Determine the Center of Gravity: Irregular jars wobble on conveyors. Ensure your applicator uses a “top-hold” belt to stabilize the glass before the label makes contact.
- Gap Analysis: For Hexagonal jars, the label must “bridge” the corners. This requires a film-based material (BOPP) rather than paper, as film has the elasticity to survive the “corner-snap” during high-speed application.
Ready to Achieve 100% Machine-Readiness?
Stop struggling with label flagging on irregular jars. Our engineering team specializes in synchronizing roll labels for high-speed automation, ensuring your OEE stays at peak performance.
4. Avoiding the “Adhesive Bleed” Production Killer
When a labeling line stops, the “cost of downtime” usually averages $500 to $2,000 per hour in lost OEE. The #1 culprit for machine-ready roll labels is Adhesive Ooze.
To combat this, procurement teams should consult the FINAT Technical Handbook to understand the standard testing methods for adhesive migration under high-pressure roll winding.
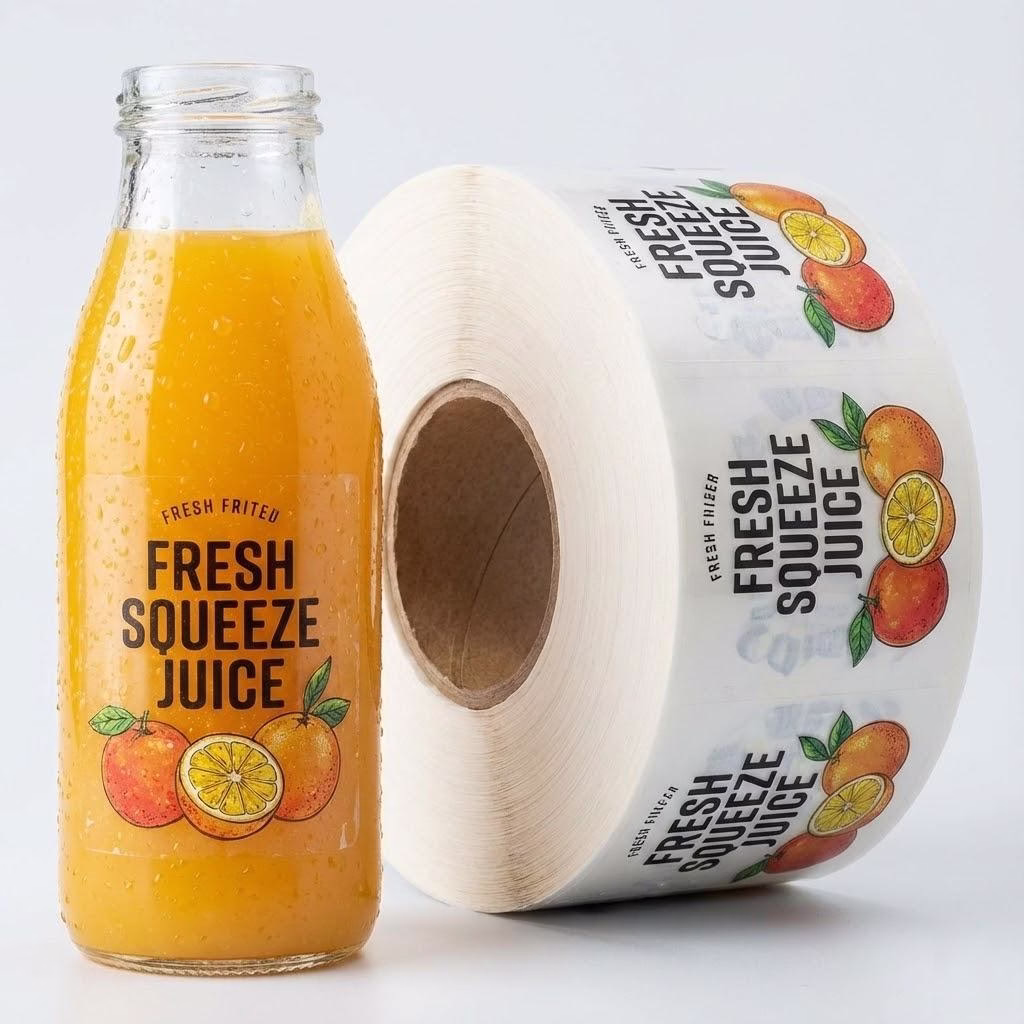
In the pursuit of “strong stick” for cold-fill honey glass, brands often request heavy coat-weights of adhesive. However, under the extreme pressure of a tightly wound 12-inch roll, that adhesive “oozes” out of the edges.
- The Result: The adhesive gumming up the peeler bar and the sensors.
- The Fix: Request “Pattern Coating” or “Edge-Deactivation.” This ensures the adhesive stops 1mm before the edge of the liner, allowing for high-speed synchronization without the “sticky residue” that triggers sensor false-positives.
5. The Procurement Checklist

To ensure your next shipment of labels is truly machine-ready, do not ask your supplier if they “can do it.” Instead, mandate these five technical specifications:
- Winding Direction (The Industry Standard): Specify positions 1 through 8 (e.g., “Outside Wound, Left Off First”). If this is wrong, your labels will arrive upside down for your machine’s orientation.
- Splice Standards: Zero splices per roll are ideal, but if allowed, they must be marked with a metallic “splice tape” that the machine’s sensor can detect and automatically skip.
- Core Integrity: Use 3-inch reinforced plastic cores. Crushed cardboard cores lead to eccentric rotation, which vibrates the applicator head and destroys label registration.
- Static Deionization: High-speed friction creates static. Ensure your labels are treated with anti-static coatings to prevent them from “clinging” to the peeler bar.
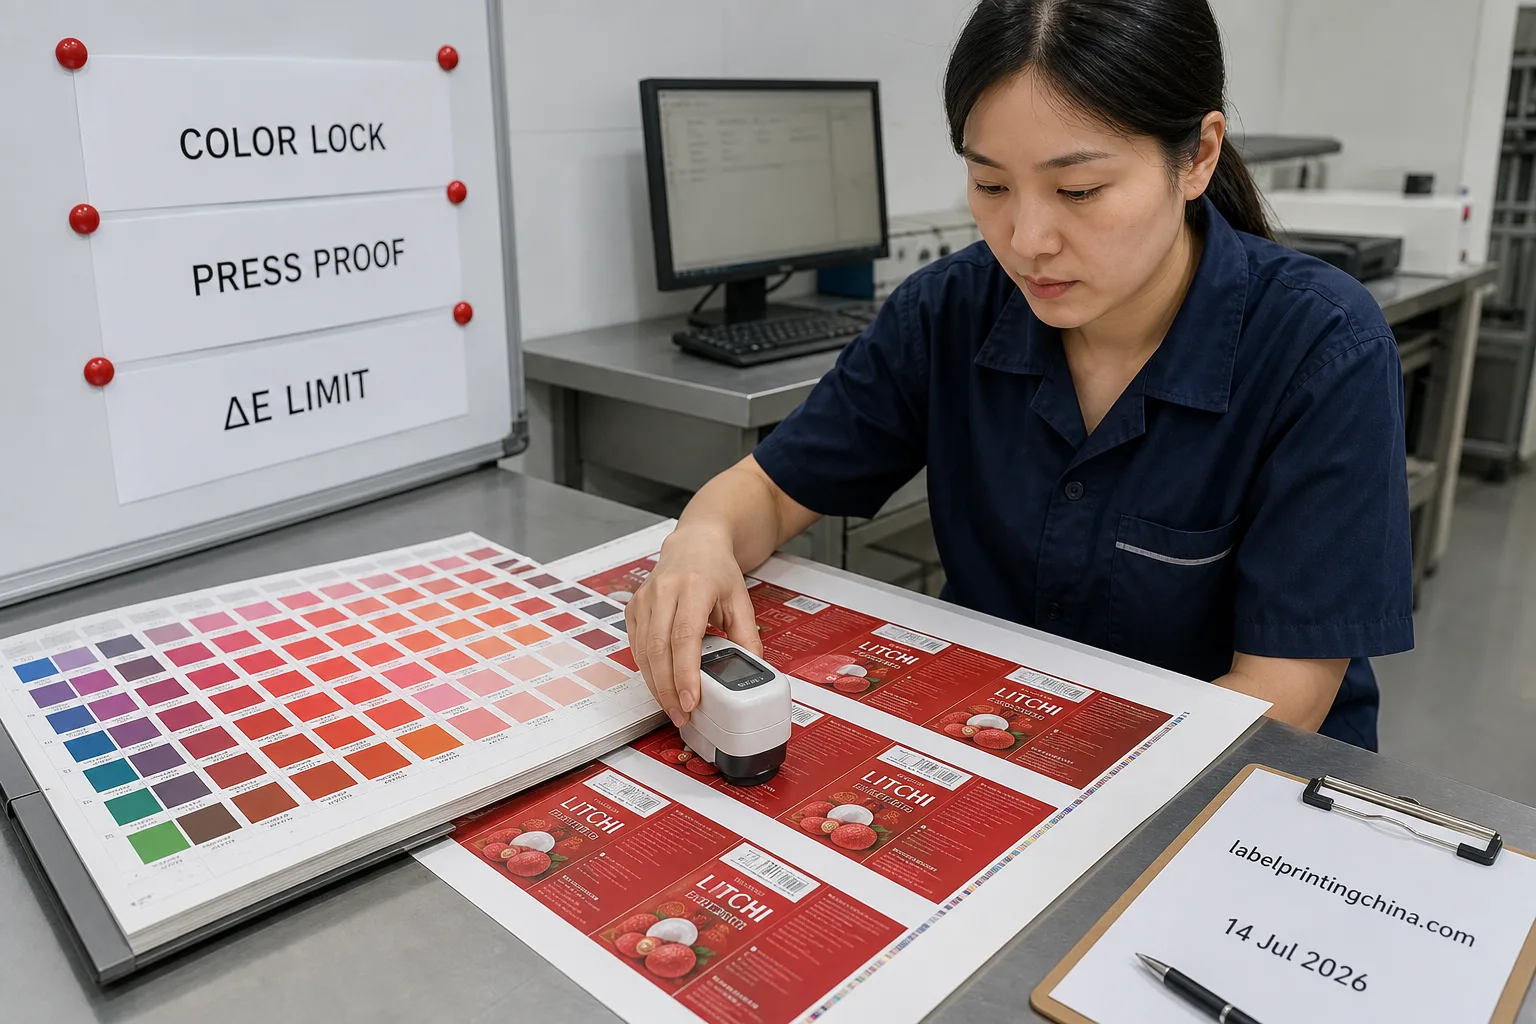
- Color Consistency: In a “Hive” environment, sensors often use color contrast to detect label positioning. Maintain a Delta E < 2.0 to ensure the sensor never “blinks” and misses a jar.
6. The “Clear-on-Clear” Invisible Sensor Trap
A high-end honey brand moved to “Clear BOPP” labels to showcase the clarity of their wildflower honey.
They used a standard optical sensor. Because the label and the liner were both transparent, the machine couldn’t “see” where one label ended and the next began. The line stayed down for three days.
We implemented a Black Eye Mark on the back of the liner. By printing a 2mm x 5mm black bar on the reverse side of the liner, we gave the machine a high-contrast synchronization point.
Aesthetic choices (like clear labels) must be cross-referenced with your applicator’s sensor technology (Optical vs. Ultrasonic) before the first roll is printed.
Conclusion: Designing for the Machine, Not Just the Shelf
True synchronization in automated honey jar labeling is achieved through predictive engineering. It is the recognition that a label is not a sticker, but a high-performance mechanical component.
When you specify the fiber orientation, the release force, and the die-cut compensation, you aren’t just buying packaging—you are buying Line Speed. Perfectly synchronized roll labels turn your labeling line from a bottleneck into a competitive advantage for OEE.
For the modern procurement manager, the goal is simple: The labels should be so perfectly synchronized that the applicator becomes a “set it and forget it” part of the hive. Anything less is a compromise on your OEE and your bottom line.