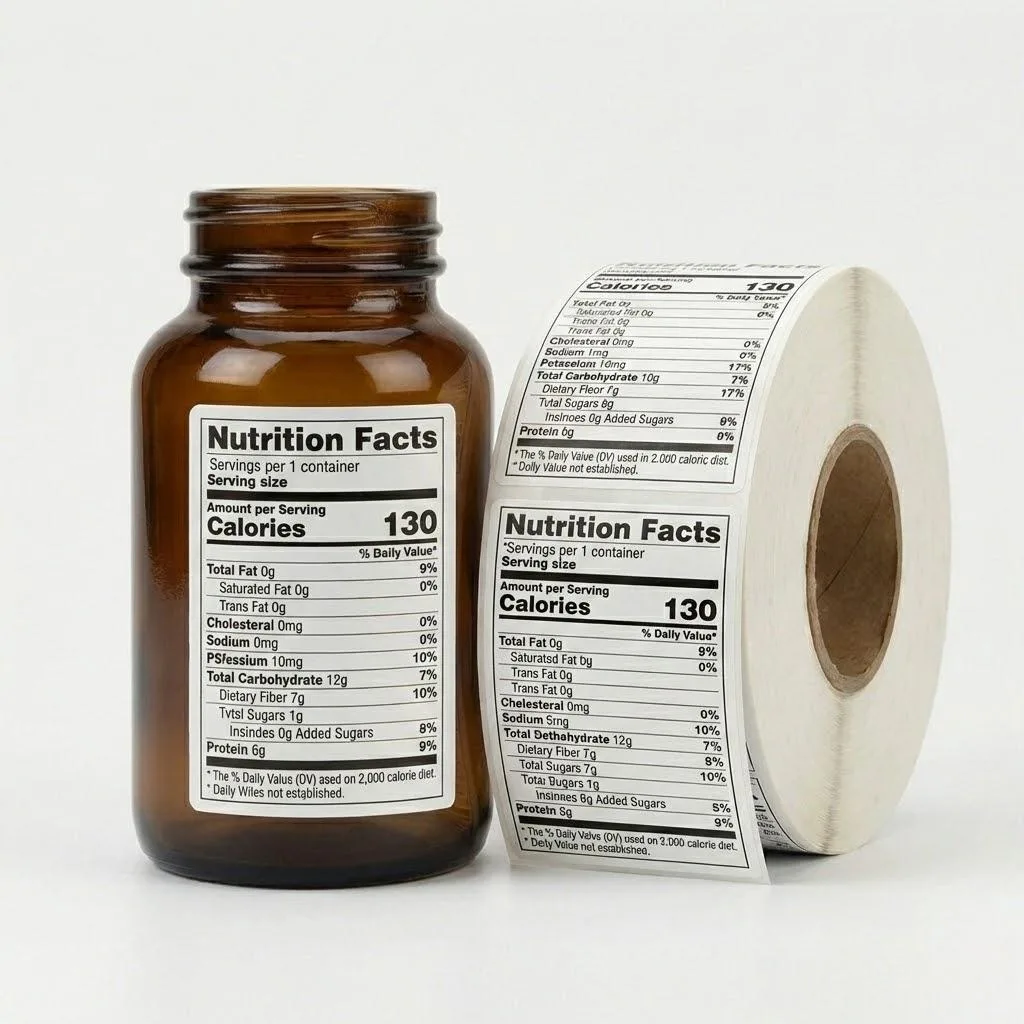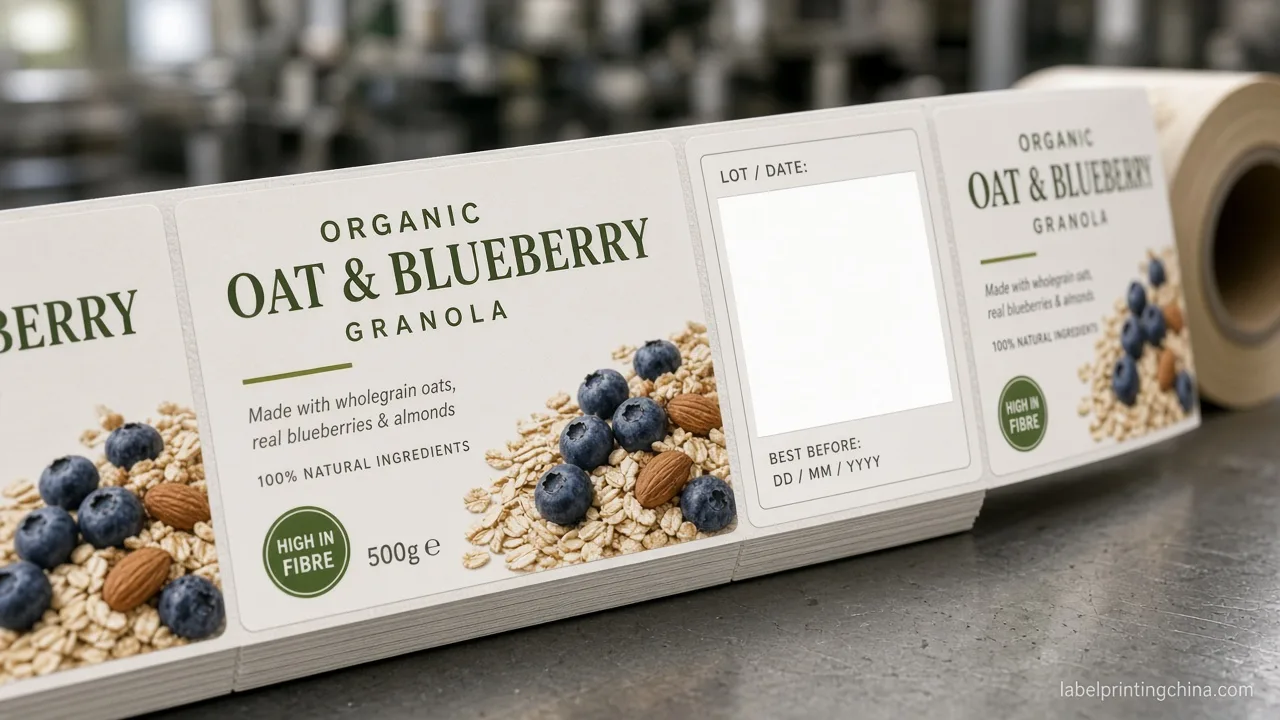
When a small pouch, box, or can has to carry brand claims, nutrition facts, ingredients, storage notes, a barcode, and a lot line, teams often shrink every block until the PDF looks complete. On press, that crowded face is what shoppers and scanners actually meet.
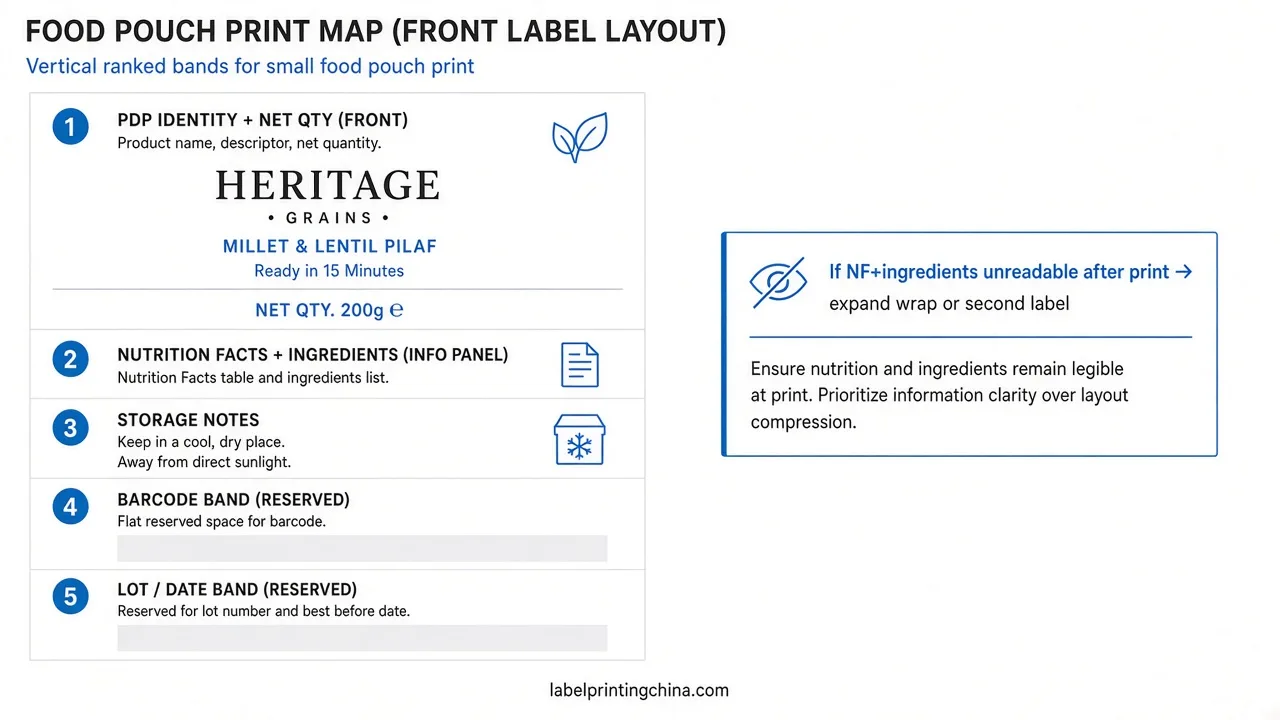
Map bands first on crowded packs. Lock a small nutrition label layout by keeping identity and net qty on the front, then nutrition, ingredients, storage, barcode, and lot. Split to the back or expand the wrap when type will not stay readable after print.
You will leave able to allocate print bands on the next small pack and know when to split panels—so layout fights happen in development, not after plates are made.
Rank Mandatory Panels on a Small-Pack Print Map
Rank mandatory panels on a small-pack print map: keep PDP identity and net qty readable, then reserve bands for nutrition facts, ingredients, storage, barcode, and lot before you shrink type to fit.Use this when planning small nutrition label layout on pouches, small boxes, or small cans where every square inch is contested. This is a print-area priority map for readable production—not an FDA compliance audit, and not a deep dive into barcode or lot coding methods.
Use this table to assign each band a home before artwork freezes—not to redesign the brand story.
| Panel band | Keep / Reserve |
|---|---|
| Principal display (identity + net qty) | Keep on the front; do not steal its type size for marketing lines |
| Nutrition facts + ingredients | Reserve a true information panel; move both together if the front runs out |
| Storage / handling notes | Park near the information panel; keep clear of the barcode quiet zone |
| Barcode band + lot / date band | Reserve flat, high-contrast strips early; do not fill them with claims |
Carve flat, low-ink bands for barcode and lot/date codes after mandatory text panels are placed—never fill those strips with claims or photos.Public packaging manuals separate the principal display panel from the information panel for a reason: shoppers need identity and net contents on the face they see first, while nutrition and ingredients need a stable block that can grow. On small food package labels, the failure mode is treating every leftover gap as free marketing space until nutrition facts and ingredients are the last things left.
For long ingredient copy once the panel exists, use the ingredient artwork print-ready checklist—this page only locks where that block lives. How to print nutrition labels on a crowded face starts with this map: if a band has no home, do not pretend a generator export solved the pack.
Watch-out: approving a hero photo that wraps the whole pouch, then asking production to drop nutrition somewhere after the die-line is cut.
Factory-floor pattern: a small can that looked finished in the brand deck still needed a second wrap band because barcode and lot had nowhere flat left once claims and nutrition shared one face.Map those reserved strips while the package structure is still cheap to change. Measure the wrap height and the flat back panel with a ruler on a physical sample—not only on the dieline PDF—before you promise marketing a full-bleed photo.
Choose Vertical, Tabular, or Linear Only After Area Math
Choose vertical, tabular, or linear nutrition formats only after you measure labelable area; if linear still needs unreadably small type after print, expand the wrap or add a second label instead of shrinking further.Apply when your small-package face has limited square inches and software still offers a linear nutrition facts option. Format choice here is a print-readiness gate; it does not certify regulatory compliance of nutrient values or panel content.
When pouches run out of face area, the sister problem on tall tubs is wrap geometry—use protein canister wrap guide to lock circumference, scoop-rub film, and a fixed lot band before flavor art freezes.
Read this table as a print-area gate: pick a format only after you know the real labelable square inches on the pack.
| Measured situation | Print decision |
|---|---|
| Enough height for a standard vertical panel at readable type | Keep vertical; do not switch to linear for brand aesthetics |
| Short vertical height, wider horizontal band | Try tabular / horizontal before you compress type |
| Very small labelable area; linear is the only software option left | Proof print readability first; if type fails, expand wrap or add a label—do not ship screen-only proofs |
Format guides for package-size nutrition facts explain when vertical, tabular, or linear panels appear in U.S. labeling practice, including linear options for tight faces.Generators make those formats easy to export; they do not prove the printed type will stay clear on a soft pouch or a short can wrap. For public format orientation—not a compliance sign-off—see Trustwell’s note on package size nutrition formats.
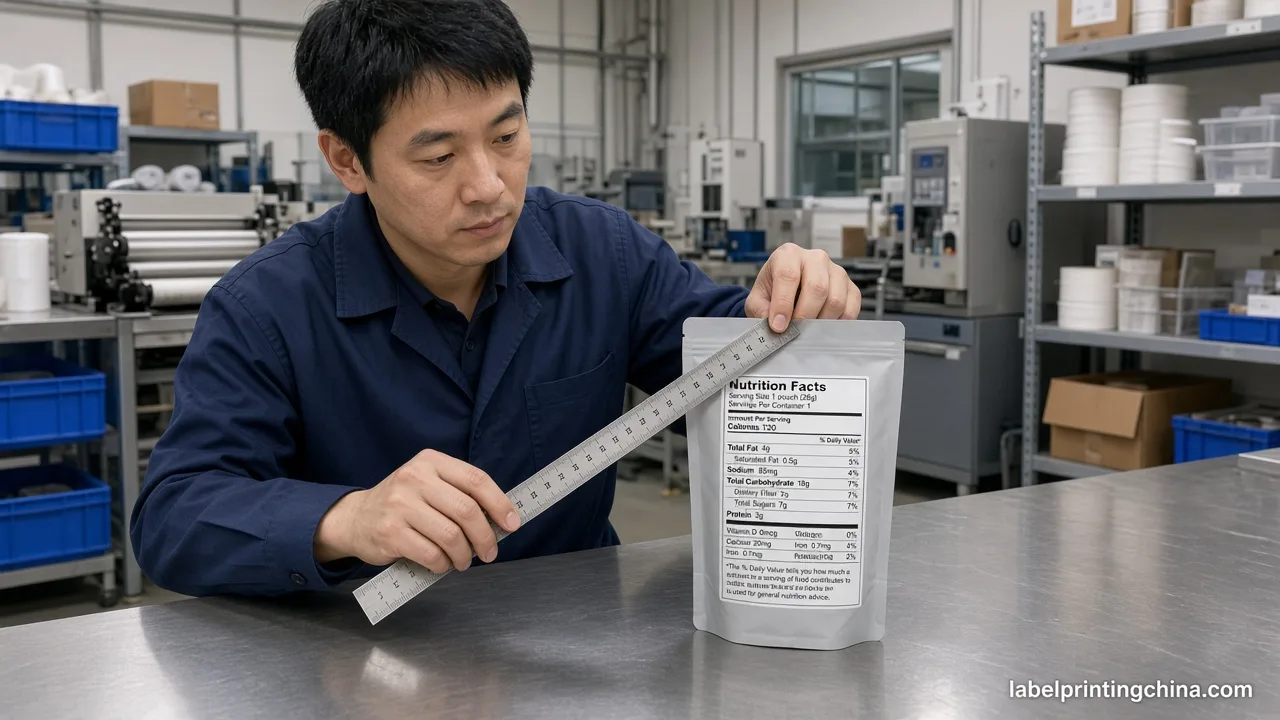
Red flag: locking a linear nutrition facts file because the generator allowed it, then discovering on the press proof that calories and %DV collapse into gray mush at viewing distance.
Practical check: print the candidate panel at 100% scale on paper, tape it onto the real pouch or can, and stand at arm’s length under shop light.If you cannot read serving size and calories without leaning in, the format failed—even if the PDF still looked sharp on a monitor. That arm’s-length test catches more silent failures than another brand-color debate.
When the area math fails, write the failure in the RFQ notes: measured height, chosen format, and why type failed. That single sentence stops the next revision from repeating “make the linear panel smaller.”
Move NF and Ingredients to the Back When the Front Runs Out of Room
Move nutrition facts and ingredients to the back (or a second label) when the front information panel cannot hold both at a readable printed size—do not keep squeezing the front until type fails.Use when the front panel is already carrying brand claims and you still need full nutrition and ingredient blocks on a small pack. Detailed ingredient typography and file prep stay on the ingredient print-ready guide; this page only decides when to split panels.
Use this checklist when the front face is already full of claims and you still need a readable nutrition-and-ingredient block:
- Keep identity and net qty on the principal display; stop adding claim lines that steal type size.
- Move nutrition facts and the ingredient list together to the back wrap or a second label.
- Leave flat reserved strips for barcode and lot—do not park them on seams or photo fills.
- Re-proof at 100% scale on the real pack before you freeze plates.
On a small pouch, the front can keep identity, net qty, and a short claim set while the back carries nutrition facts and the ingredient list as one information panel.On a small box, the same split often means a clean front face and a dedicated rear panel instead of wrapping micro-type around a corner. On a small can, if the wrap height cannot hold both blocks after area math, add a second label or widen the labelable wrap—shrinking both until they “fit” is how small nutrition label layout fails in retail light.
When the barcode and lot bands must share that back panel, keep their reserved strips intact and route deep placement or marking-method questions to the sister pages: barcode scan-ready placement and lot date code methods.This article stops at “those bands exist and stay clear”; it does not replace those print-readiness gates.
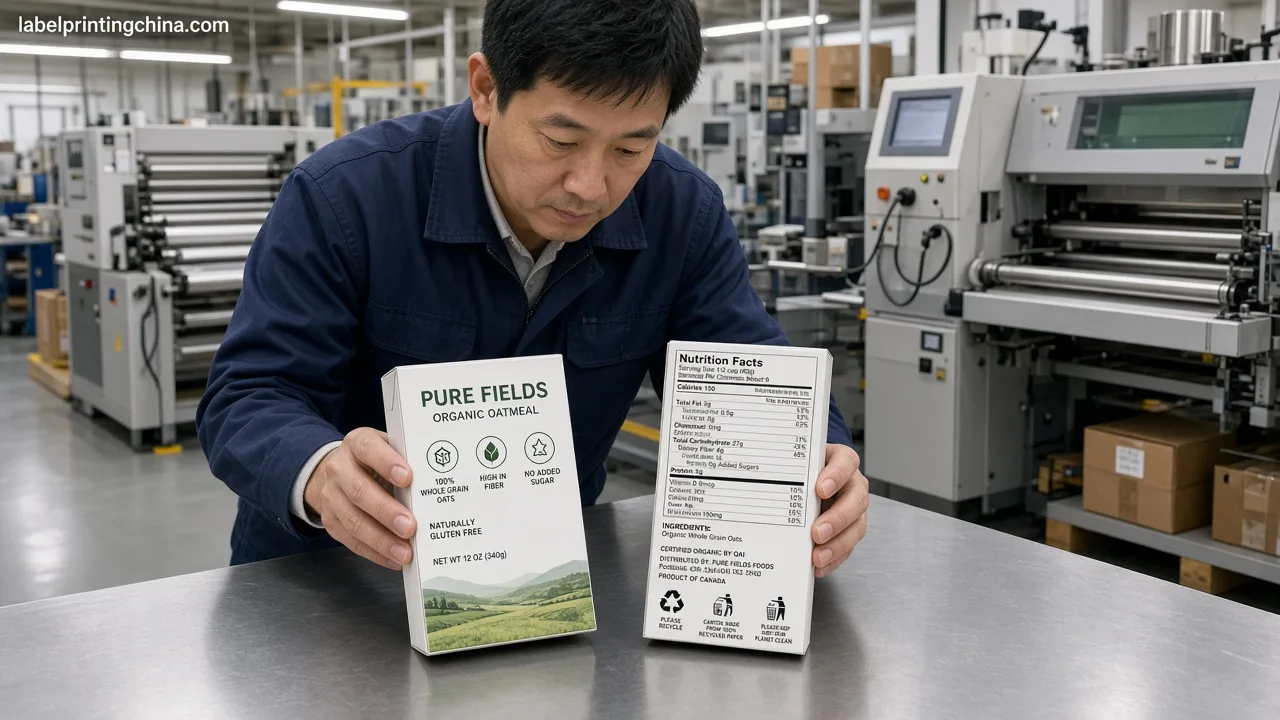
Lock the split in the packaging brief before illustration starts—late moves usually force a reprint of both the brand face and the information wrap. If co-packers apply labels after filling, send them the same front/back map you used for the die-line so nobody relocates nutrition onto a seam on the line.
Approve Small-Pack Layout Before You Freeze Artwork
A readable small-pack face is a release decision: bands ranked, format chosen after area math, and nutrition plus ingredients relocated when the front cannot hold them. That is the standard this page sets—shrink-to-fit on a screen proof is not approval.
If the structure still cannot carry every required block at print-readable size, change the pack or the labelable area while SKUs are still cheap to move.When dimensions, approved panel copy, barcode file, batch-data method, and artwork are ready, send them for a small-label layout review so the next press proof is a confirmation, not a redesign.
Need factory-direct nutrition labels with a small-pack layout review?
Send package dimensions, approved panel copy, barcode file, batch-data method, and artwork—we check whether bands and type will stay readable after print.