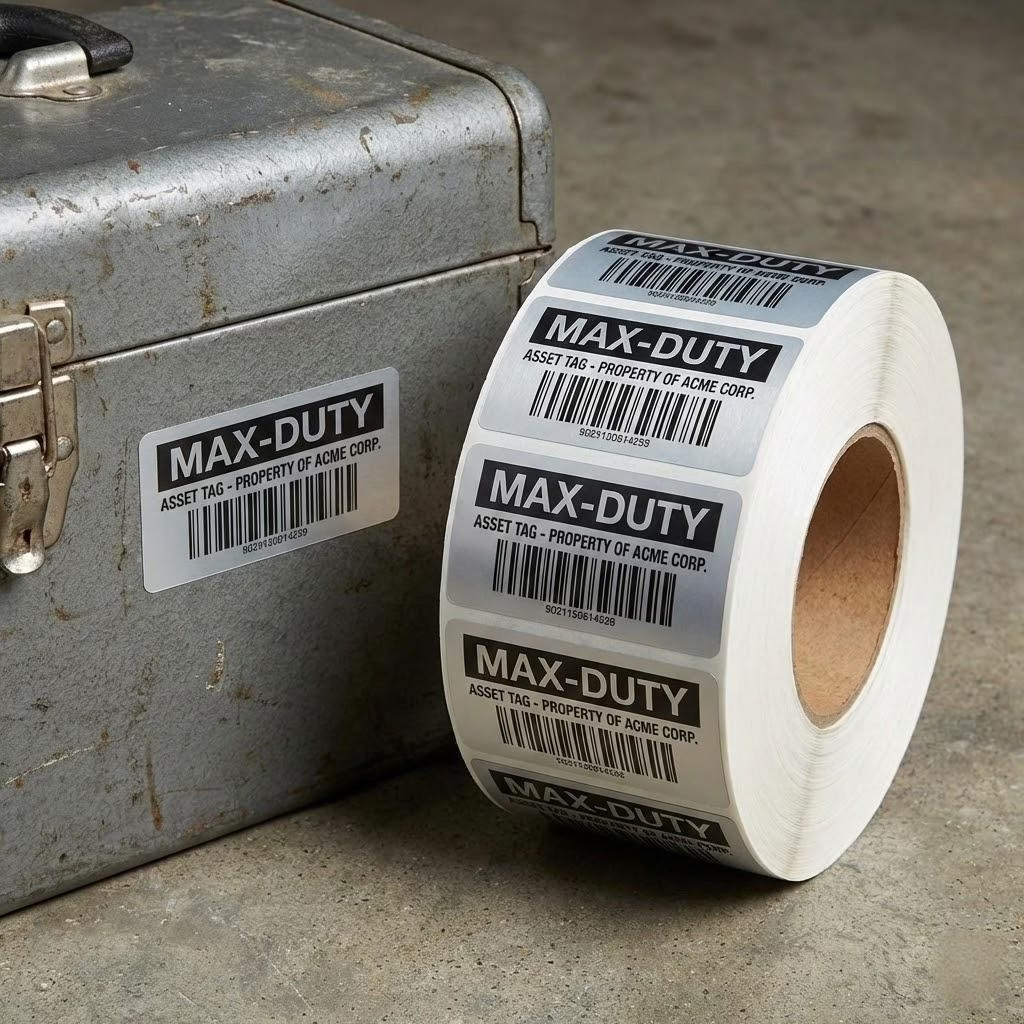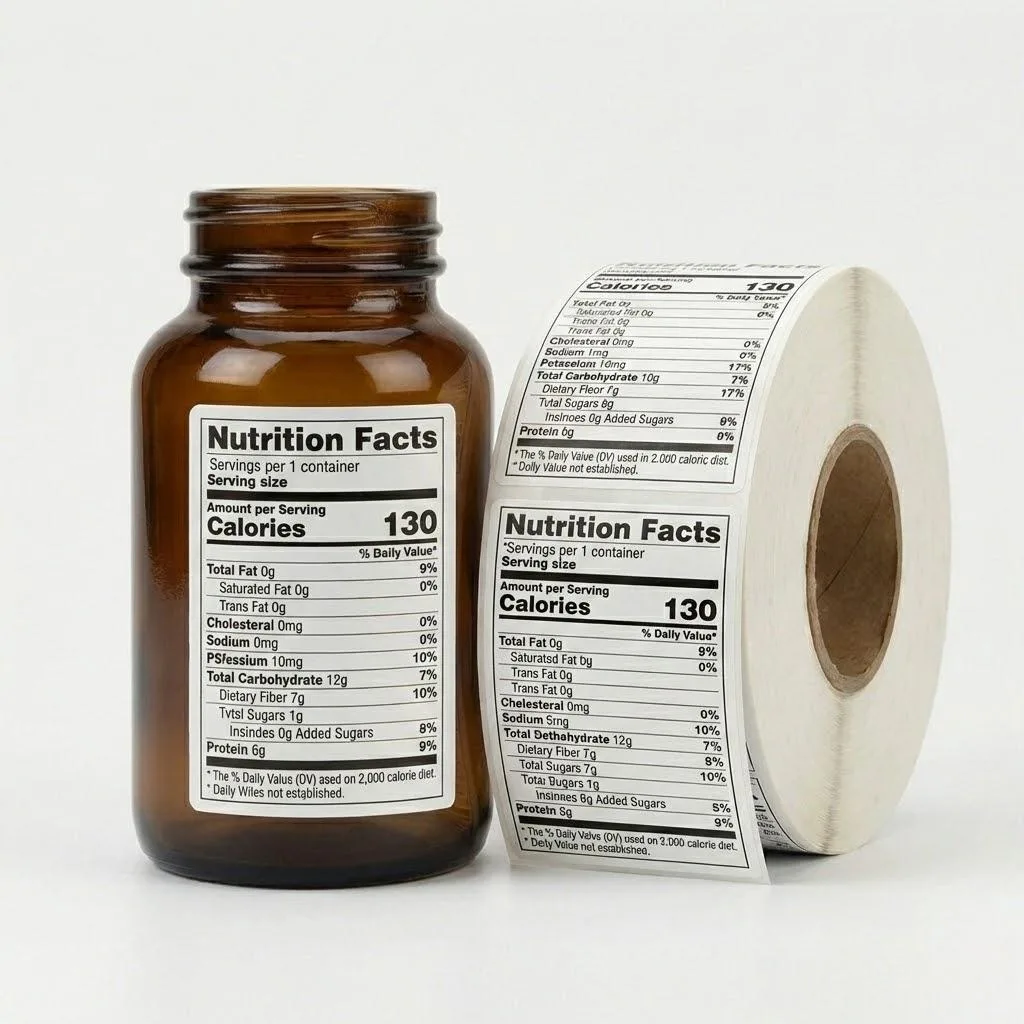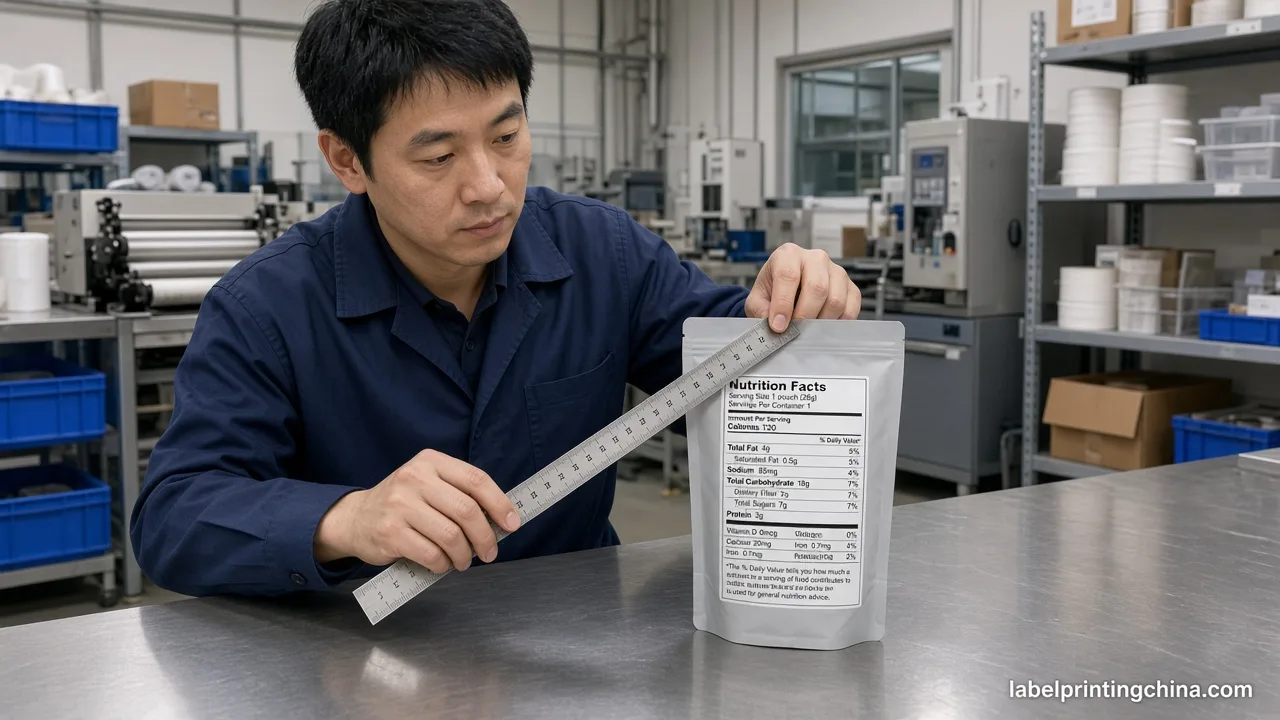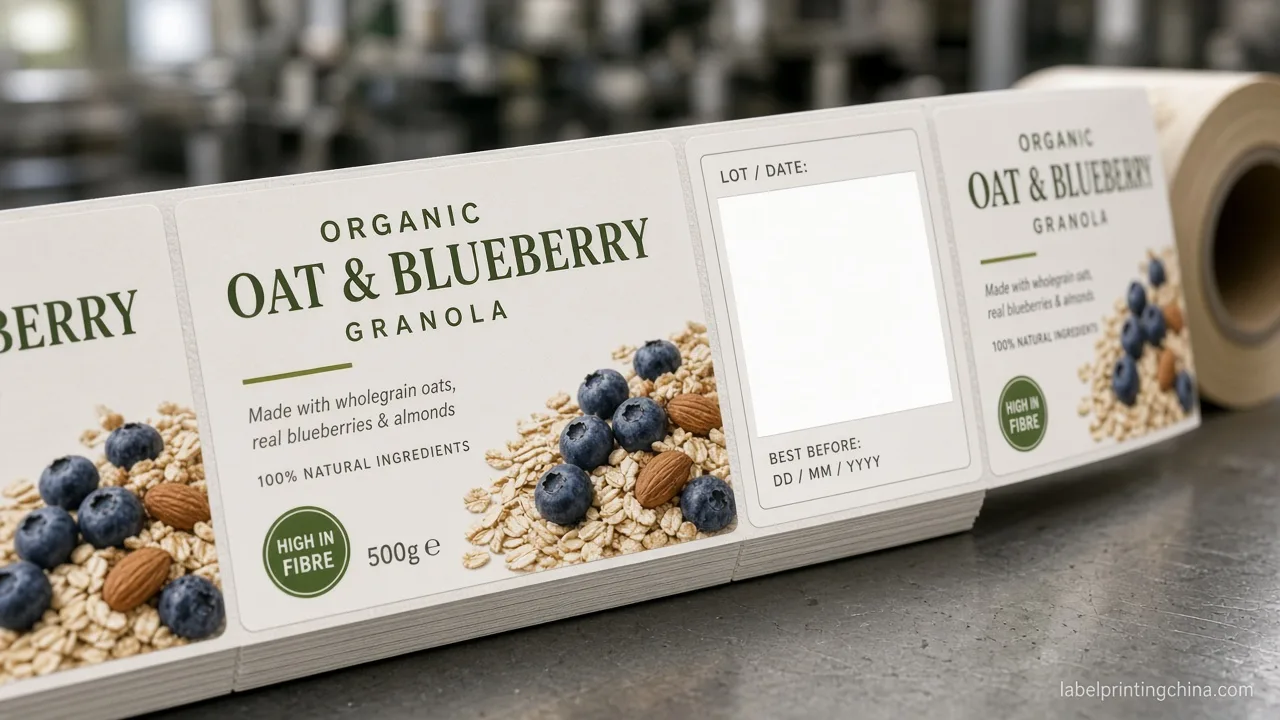
When food or nutrition packs leave the press with a perfect-looking barcode that fails at checkout, the usual cause is not a bad GTIN—it is placement, quiet-zone squeeze, weak contrast, or gloss glare on a curved or busy panel.Teams that wait until the first retail rejection to learn this often reprint an entire SKU set.
Lock food barcode label placement on a flat, high-contrast panel with real quiet zones before you approve laminate. Then scan finished samples under store-like light so retail barcodes stay readable after printing—not only on the PDF proof.
You will leave able to gate artwork for quiet zones, contrast, curve orientation, and laminate glare—so the next food pack scan fails for a documented reason you can fix, not a surprise at the register.
Choose Flat Panel Placement Before You Print
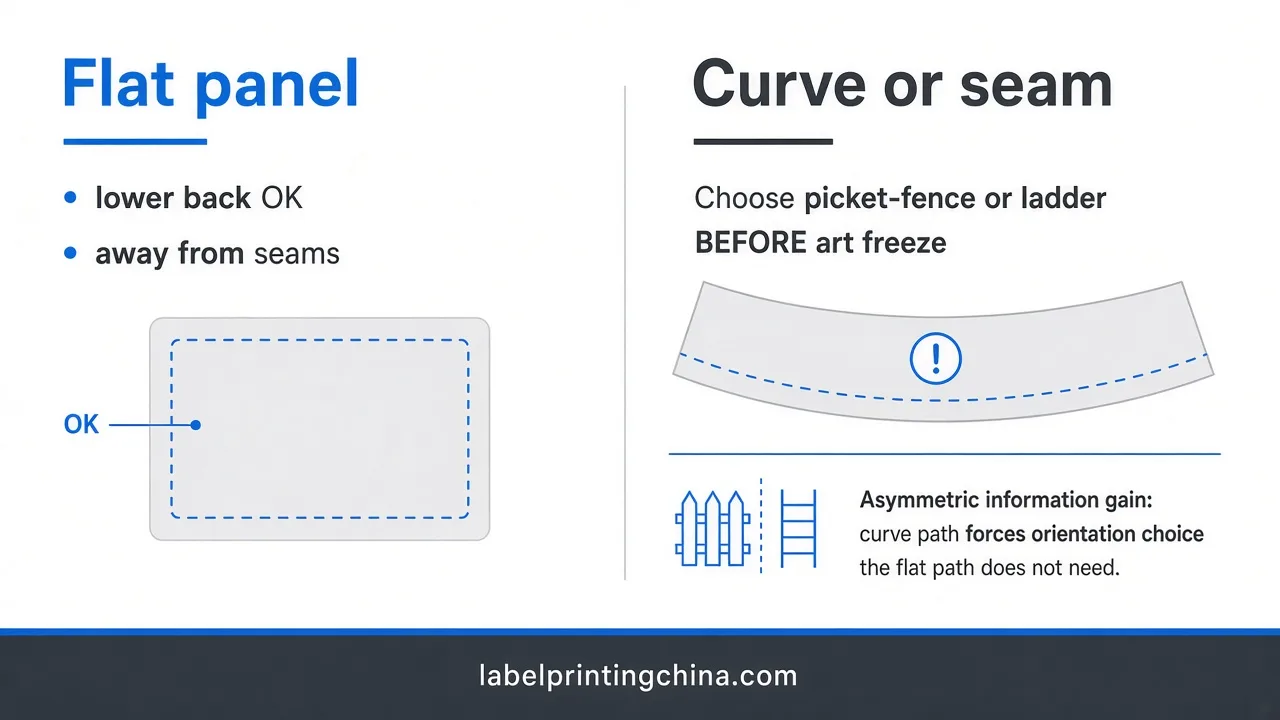
Keep the retail barcode on a flat panel away from seams, corners, and tight curves; on curved food packs, choose picket-fence vs ladder orientation before you lock artwork.Use this when placing food barcode label placement on printed nutrition or food packaging for POS scanning. This page does not replace GS1 membership or retailer-specific placement audits, and it is not the juice-bottle geometry guide.
| Panel situation | Keep / Choose |
|---|---|
| Flat pouch, carton, or tray back | Lower back / side flat zone; keep clear of folds |
| Tight jar shoulder or soft pouch crease | Move barcode off the curve; do not park on the seam |
| Mild cylinder that must carry the symbol | Pick picket-fence or ladder orientation before die-lines freeze |
Food-packaging barcode guides routinely put the symbol on a flat back panel and warn that corners, folds, and tight curves make scanning harder. That is barcode placement on packaging in buyer language: the scanner needs a stable geometry more than a pretty gap in the brand story.If your pack is a round juice bottle with a crowded nutrition wrap, use the separate juice bottle panel placement page for that geometry—this article stays on general food and nutrition label print-readiness.
Watch-out: parking the UPC under a hang hole, next to a gusset, or across a heat-seal ridge looks fine in InDesign and fails the first angled scan on a busy checkout belt.
Retail teams rarely care that the PDF looked perfect. They care that the first cart scan works when the pouch sits at an angle under cold-case light.That is why food barcode label placement is a production release decision: geometry and finish have to survive the real pack, not only the artboard grid. If your co-packer applies labels after filling, send them the same flat-zone photo you used to approve the die-line so nobody repositions the symbol onto a crease on the line.
Gate Artwork with Quiet Zone and Pencil Tests
Match quiet-zone color to barcode spaces, scale margins with symbol size, add a few millimeters beyond spec, and pencil-test both ends before print approval. Apply when sizing barcode quiet zone on label artwork. Symbol-specific tables still govern minimums; this is a print-approval gate not legal certification.
| Quiet-zone check | What to do |
|---|---|
| Space color | Quiet zone matches barcode spaces (usually light/white) |
| Minimum width | About 10× narrowest bar (X) or 1/8 in—whichever is greater—then add a few mm |
| Desk check | Pencil on both ends; if ink touches the pencil, fix art |
GS1 guidance stresses that quiet zones must stay clear and that margins scale when you resize the symbol—shrinking a barcode without growing the clear space is a common fail. Practical label shops still use the simple pencil test on both ends because crowded nutrition panels invite designers to steal the barcode quiet zone for allergen lines or brand flashes.When you also need long ingredient text to fit, settle the ingredient artwork print-ready checklist first, then protect the quiet zone instead of negotiating it away after plates are made. For formal symbol rules, start from Brady quiet zone basics—then enforce the margin on the real die-line.

When you resize for a small nutrition face, recompute quiet zones with the new magnification class—do not keep the old clear-space numbers from a larger symbol.Pair that with a quick X-dimension check against the press DPI so bars do not collapse into gray mush. Those two habits catch more silent scan failures than another round of brand-color debates.
Protect Contrast Scale and Laminate Glare
Use strong bar/space contrast, avoid untested glossy laminate over the symbol, size for printer DPI, and run checkout-style scan samples on the finished label stack.Use when barcode contrast on labels must survive laminate barcode glare under store lighting. Scan sample pass on one printer does not guarantee every co-packer line without repeat tests.
| Risk signal | Print decision |
|---|---|
| Dark bars on light solid ground | Keep; black on white remains the safe default |
| Patterned photo under the bars | Cut a light panel; do not “blend” the symbol into art |
| High-gloss laminate over the whole face | Matte the barcode zone or prove scans under bright store light |
| Barcode shrunk to fit copy | Re-size for press DPI; never squeeze X-dimension at the end |
Design checklists for barcode contrast on labels warn that reflective finishes and low-contrast colors break scanners even when the human eye still “sees” the bars. On laminated food labels, that shows up as laminate barcode glare: the symbol looks sharp in a booth and washes out under fluorescent checkout lighting.Factory-floor pattern: a gloss stack that passed a phone-camera photo still fails a handheld laser until you matte the barcode window or cut the laminate back. If lot or date lines share the same face, keep their marking method and reserved zone aligned with lot date code methods so overprint fields do not invade the quiet zone.
Red flag: approving a full-face gloss “because the brand deck is shiny” without a finished-stack scan under bright overhead light. Glare shows after laminate, not in the RGB soft proof.
Run Scan Samples After Laminate and Varnish
Before you release production, print the real substrate, apply the intended varnish or laminate, and scan with the same class of reader your retailers use—not only a phone camera.Use this after contrast and quiet-zone gates pass and the die-line is nearly locked. A screen PDF or unlaminated plotter proof is not a scan-readiness release.
| RFQ field | Write this |
|---|---|
| Package shape | Flat / mild curve / seam nearby (photo helps) |
| Barcode file | Symbology, magnification, human-readable digits |
| Finish | Matte / gloss / soft-touch; note barcode window |
| Panel copy | What competes with quiet zones on the same face |
| Scan sample | Finished stack under store-like light; pass / fail notes |
Pass / Fail cue: if the symbol needs three retries, a shallower angle, or a hand-shaded glare fix to read once, hold the release.Pair that habit with nutrition label inspection cues so print defects and panel crowding get caught in the same review pass. Zhongda can review package shape, barcode file, finish, panel copy, and artwork for print scan-readiness; your team still owns GTIN registration and any retailer audit. For background on food-pack barcode roles (not a print gate), see industry notes on unreadable barcode causes.
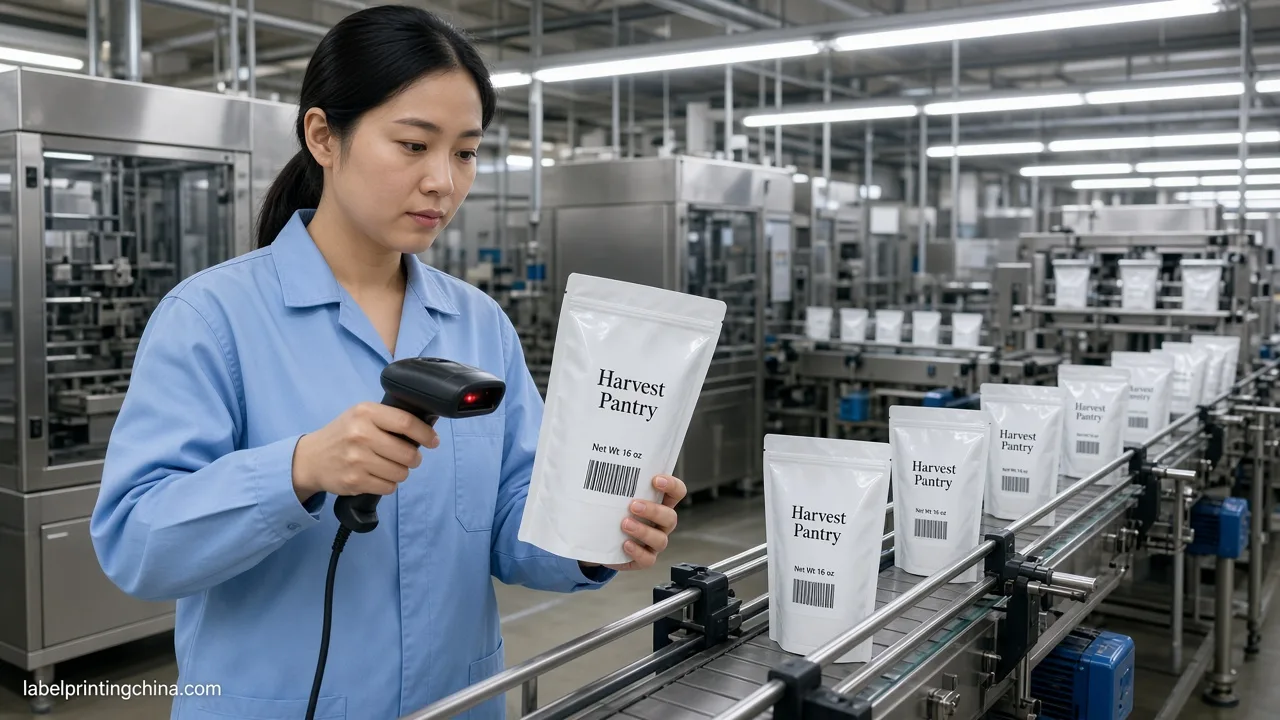
Lock Your Food Barcode Scan Gate
Treat food barcode label placement as a release gate: flat panel first, quiet zones second, contrast and laminate glare third, finished scan samples last.When those four hold, retail barcodes stay usable after printing instead of becoming a warehouse surprise. When any one fails, fix the art or the finish before you buy the full roll quantity.
That gate is what keeps nutrition and food label inventory moving through checkout. Bring the same RFQ pack—shape, barcode file, finish, panel copy, and scan notes—into the next SKU family so you do not rediscover glare on every flavor launch.
Ready for a scan-readiness review?
Send your package shape, barcode file, finish, panel copy, and artwork for a scan-readiness review on custom nutrition labels.
Once the sample stack scans clean, keep the approved quiet-zone and finish notes with the master file so the next reprint does not quietly shrink the clear space to fit a new claim line.