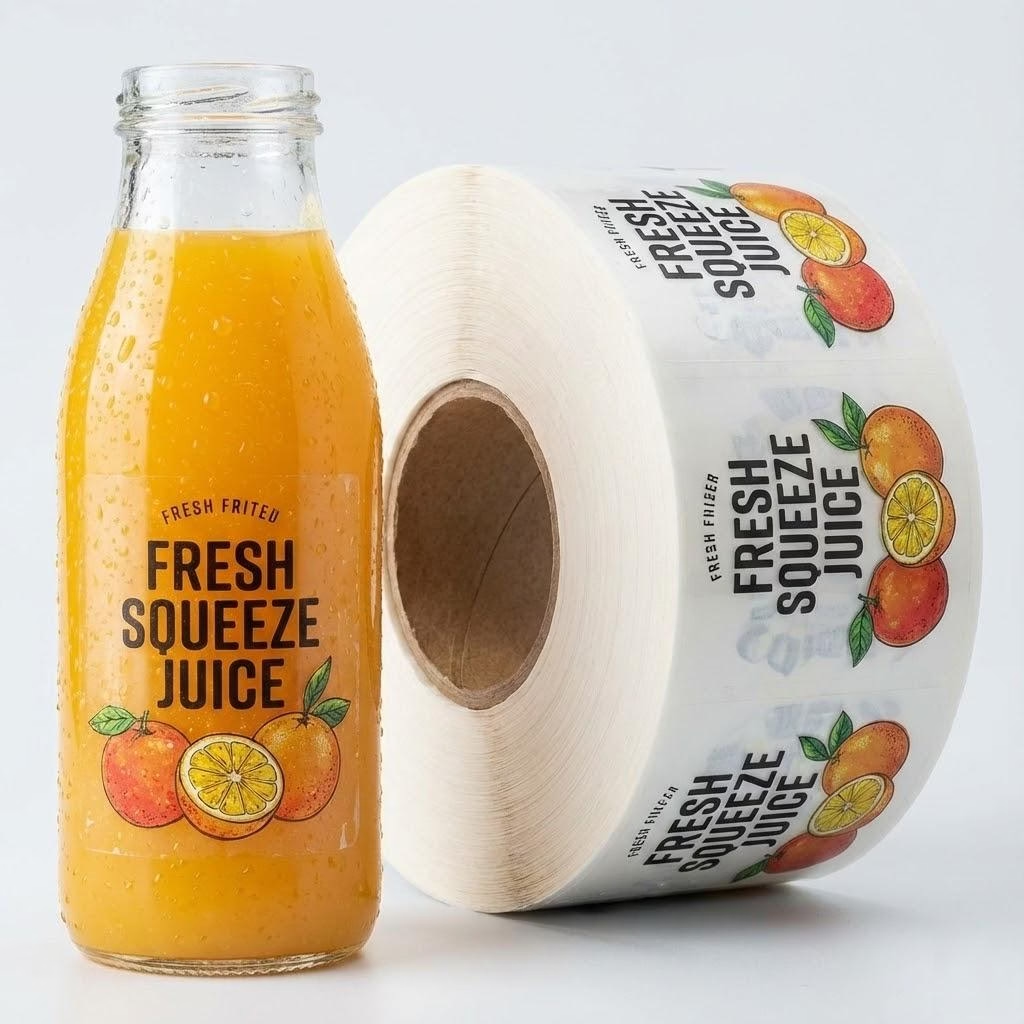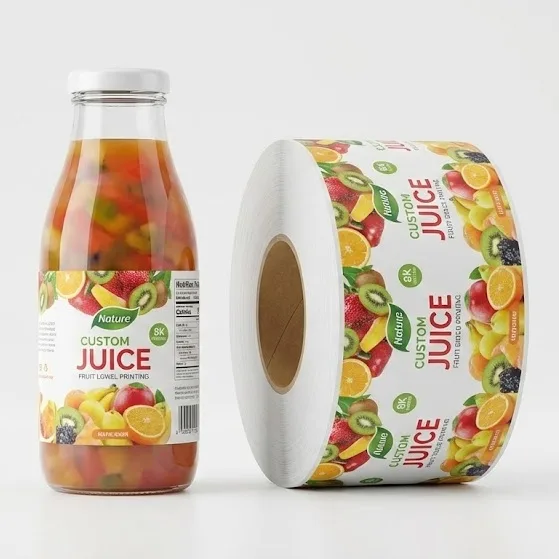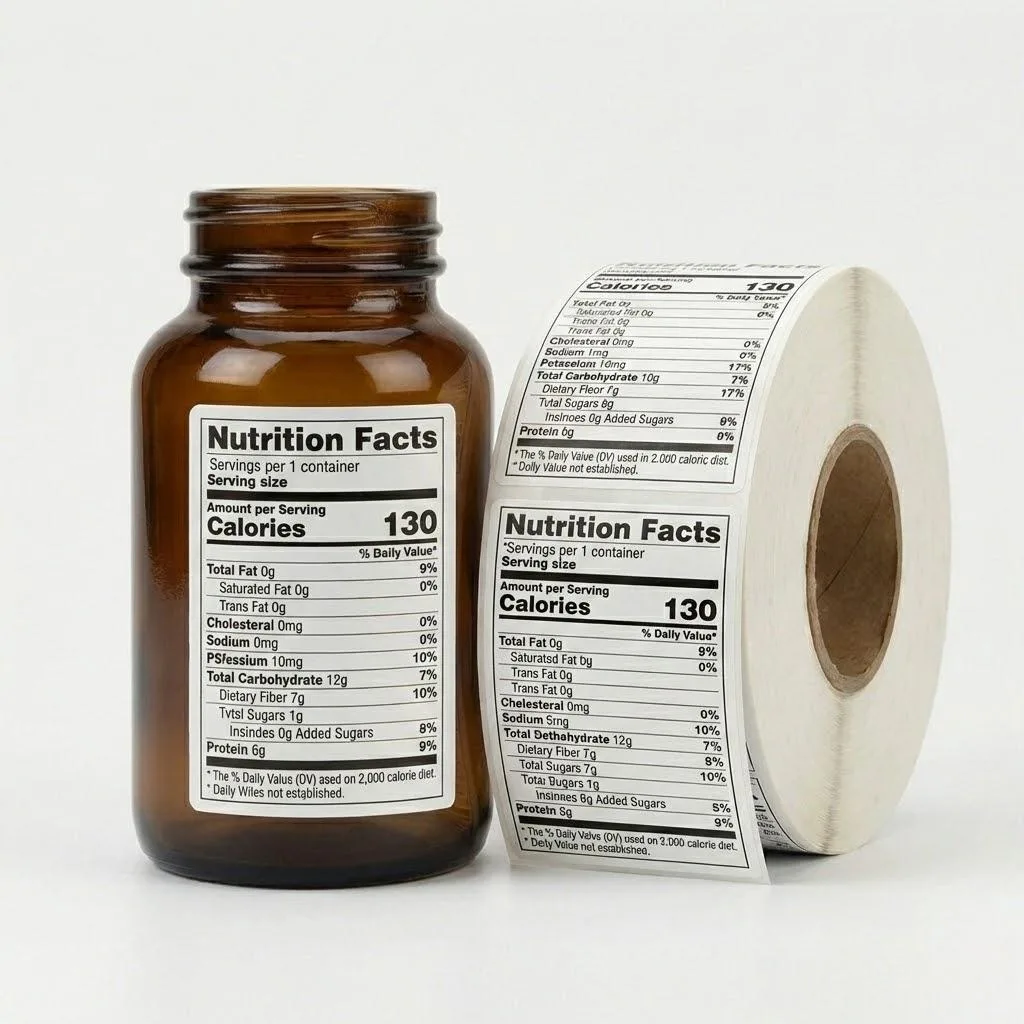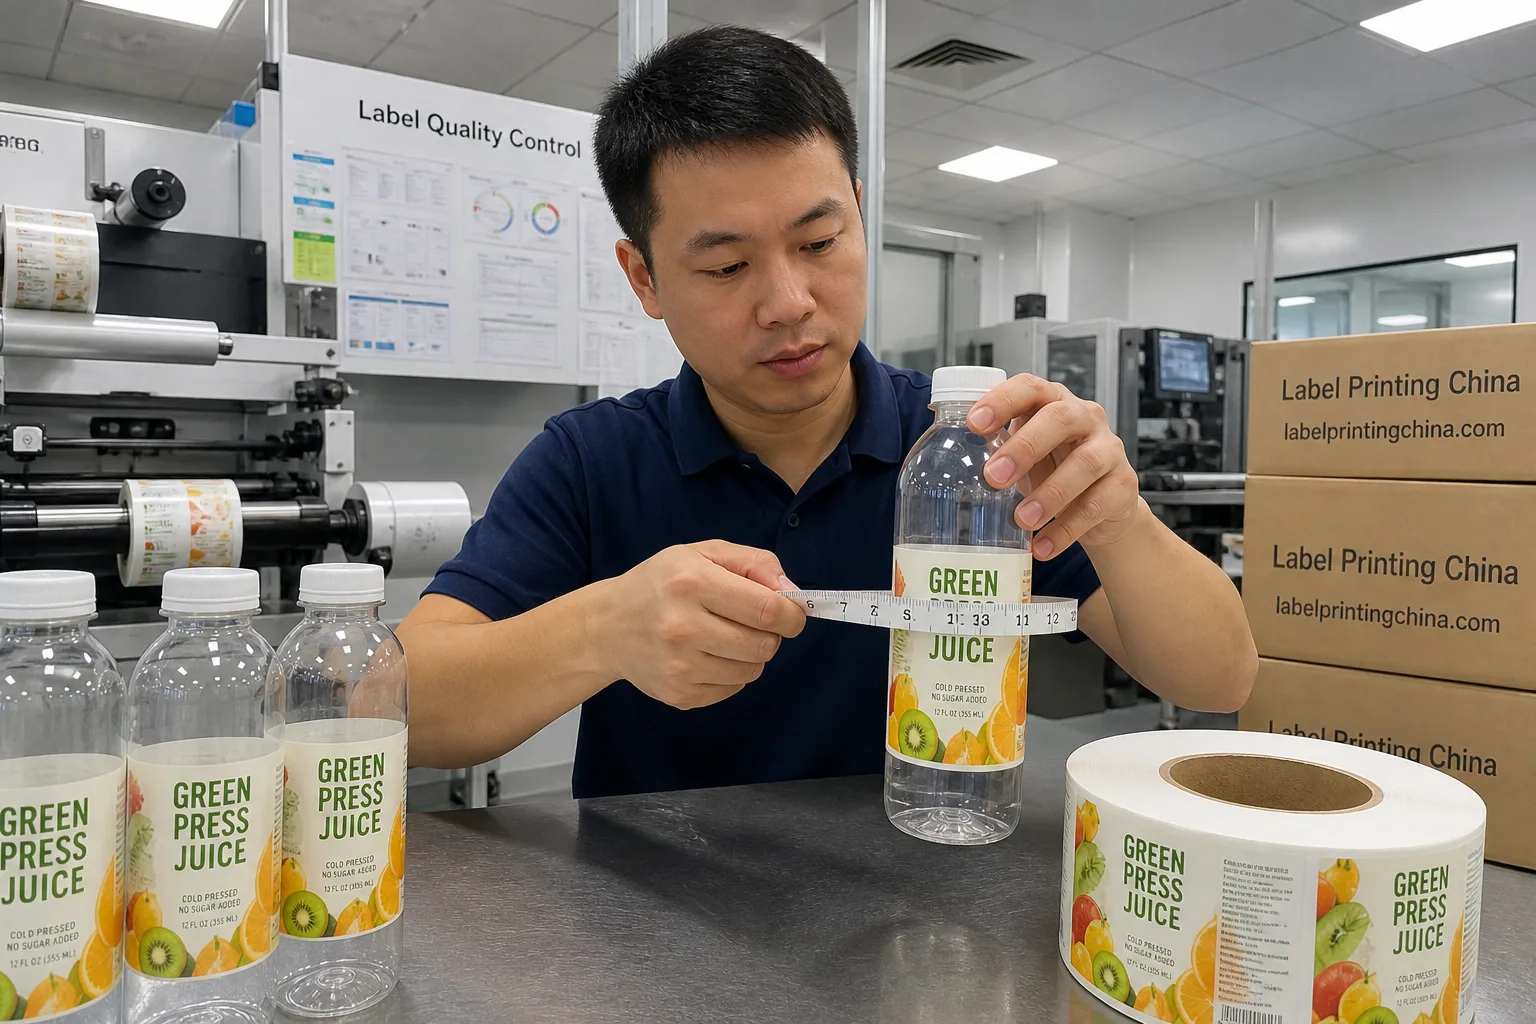
When your juice wrap has to carry a UPC and a Nutrition Facts panel on a curved bottle, the layout has to survive both scanners and inspectors. You can still lock a scannable barcode band and a readable information panel before you freeze artwork for print.
On curved juice bottles, place the UPC on the main or back label—not the neck—with clear quiet zones and ladder orientation on small diameters; keep Nutrition Facts readable on the information panel; prioritize the scannable barcode band, then complete nutrition, then compressible sell claims.
You’ll be able to measure bottle diameter against wrap die, pick ladder or fence orientation with quiet-zone margins, map sell claims so they never crowd the information panel, reserve lot space without invading the scan band, and send an RFQ that freezes layout before plates run.
Measure Bottle Diameter Before You Place the UPC
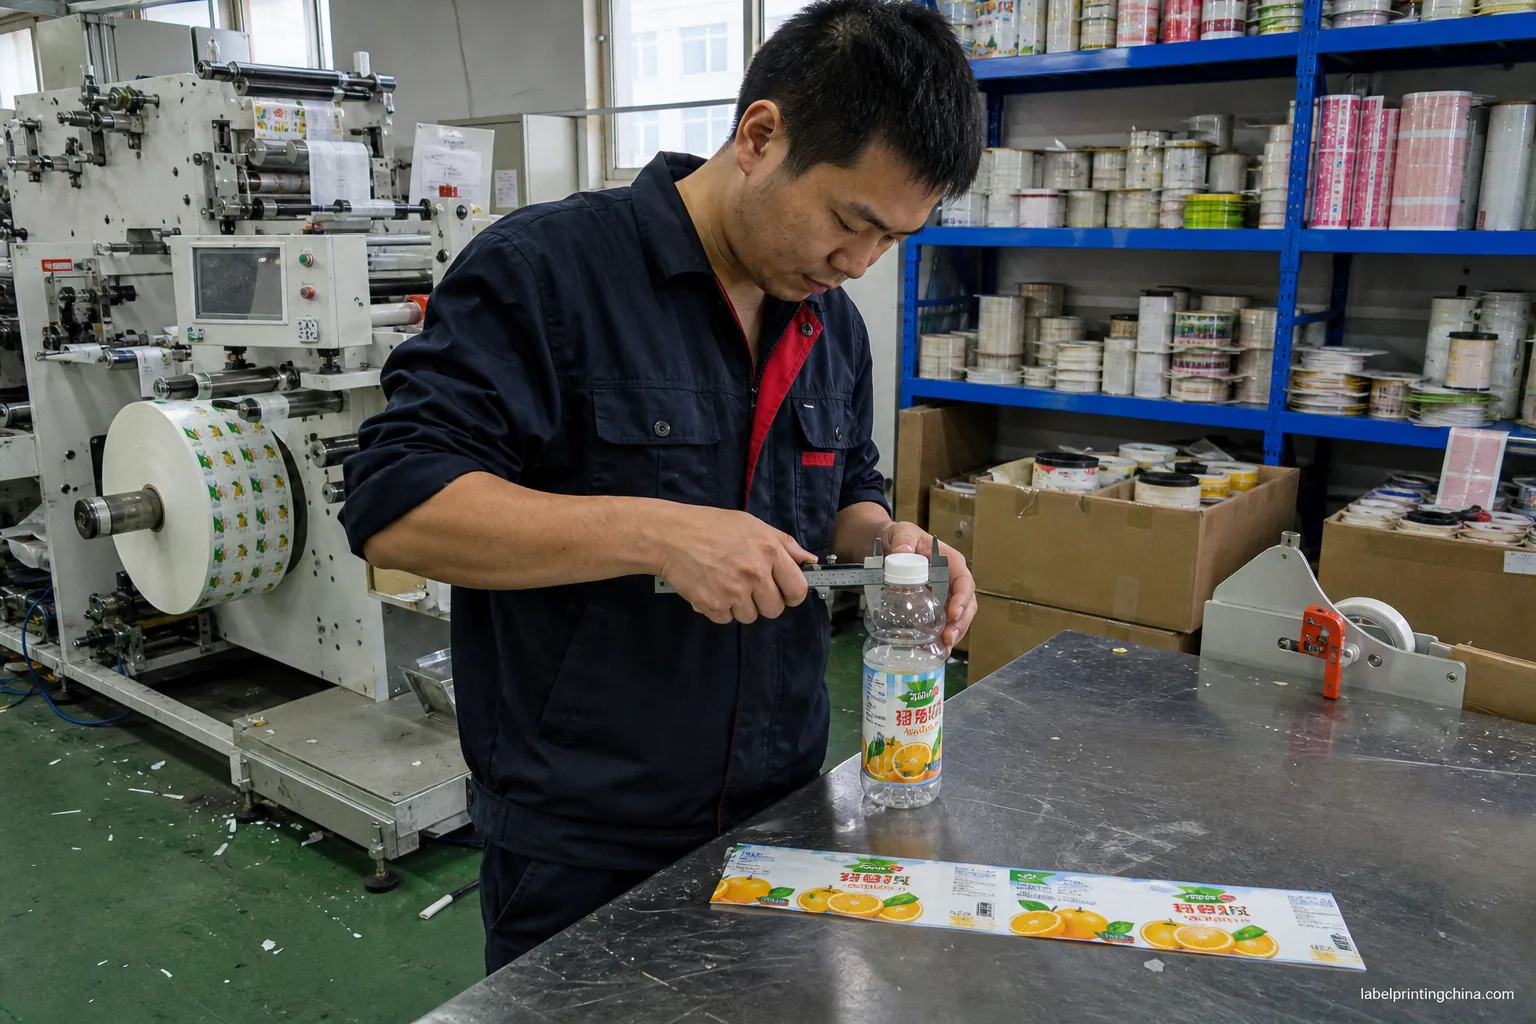
Flat mockups hide the curve your scanner will meet. Before you drop a barcode onto the artboard, measure the physical bottle at the label band and match that number to your wrap die width from the juice label size guide.
Your bottle diameter decides how much wrap real estate is flat enough for bars to stay readable. Skip this step and you will fight steep-curve distortion after the first retail scan fails.
- Measure outside diameter at the vertical center of the planned wrap band—not at the neck or base flare.
- Confirm wrap die width and height against that band; note the flat-panel arc where type and bars stay least distorted.
- Mark left and right quiet-zone clear margins on the die line before any UPC artwork lands.
- Photograph the bottle with a ruler in frame so prepress and your printer share the same reference.
| What you measure | How it drives juice bottle barcode placement |
|---|---|
| Outside diameter at wrap center | Sets how tight the curve is and whether bars can wrap horizontally without warping |
| Wrap die width × height | Locks the usable information arc; prevents “almost fits” art that clips quiet zones |
| Shoulder and base flare distance | Keeps barcode and Nutrition Facts off steep zones that shred scan reliability |
When you approve a juice wrap from a flat PDF alone, the UPC often lands where the bottle tightens toward the shoulder. Retail guns then see compressed bars and refuse the scan. Measure diameter first, draw the quiet-zone box on the die, and only then place the barcode file—never the other way around.
Choose Ladder or Fence Orientation on Round Bottles
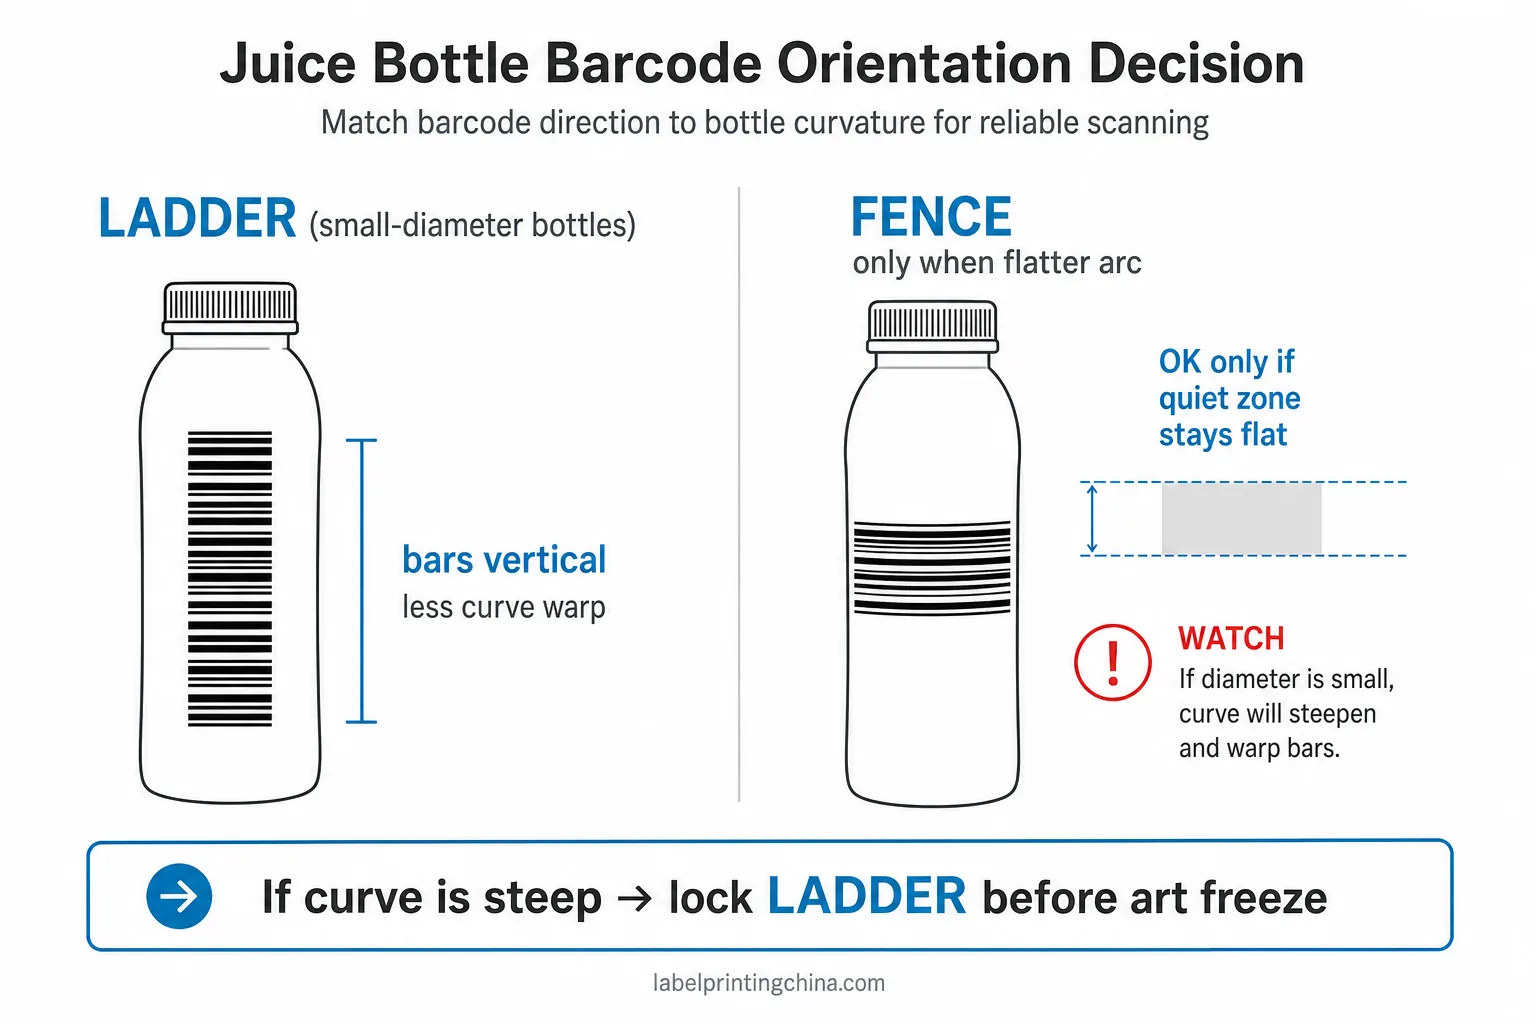
Once diameter is known, orientation is the next hard choice. Small-diameter cylinders often need ladder orientation—bars running vertical along bottle height—so the scanner meets straighter edges. Picket-fence bars that wrap around a tight cylinder stretch on the curve and fail more often.
Place the barcode on the main or back label panel, not on a neck banner. That placement aligns with GS1 barcode placement rules and keeps the scan band on a more stable surface.
| Bottle and wrap condition | Orientation you lock |
|---|---|
| Small-diameter PET or glass juice cylinder; steep wrap curve | Ladder: bars vertical along bottle height; quiet zones clear of die edges |
| Larger diameter with a flatter information arc | Fence (picket) may work if quiet zones stay flat and distortion stays low |
| Neck taper, shrink sleeve collar, or shoulder flare | Do not park the UPC there—move it to main/back wrap band |
| Same brand family, two bottle diameters | Re-check orientation per diameter; do not copy art from the larger sister SKU |
- Keep quiet-zone clear margins on both sides of the bars—no logos, lot type, or seam into that white space.
- Avoid steep-curve distortion: if bars wrap hard around a narrow bottle, switch to ladder before you redraw sell claims.
- Confirm the barcode file scale matches the die window; resizing on the curve after export invites reject scans.
When you wrap a fence UPC around a slim cold-pressed bottle because “it looked fine on the laptop,” the first grocery gun may fail at the cooler door.Flip to ladder, re-measure quiet zones against the die edge, and scan a wrapped sample before you approve the press proof—orientation is a plant decision, not a design preference.
Map Sell Claims Against Back-Panel Duties
Diameter and orientation only protect your scan band. The rest of your wrap still has to carry Nutrition Facts, ingredients, and sell claims without fighting for the same millimeters. Treat your curved wrap as three duties with a fixed priority—not three equal design wishes.
On your juice wraps, prioritize the scannable UPC band first, a complete nutrition and ingredient panel second, and compressible sell claims third. If something must shrink, your marketing copy yields—not the barcode or the required information panel.
| Panel duty on the juice wrap | What you protect or compress |
|---|---|
| Scannable UPC band (main/back—not neck) | Never compress; quiet zones stay clear; orientation already locked |
| Nutrition Facts + ingredients on information panel | Keep full and readable; do not wrap mandatory type onto the steepest curve |
| Front sell claims, badges, flavor callouts | Compress, stack, or move—never steal height from UPC or Nutrition |
| Lot / best-by strip | Reserve a fixed rectangle outside quiet zones (detail in the next sections) |
- Draw the three zones on one die line before refining illustration style.
- If a “clean juice” badge needs more room, shrink the badge—do not nudge the Nutrition box into the barcode window.
- Keep PDP hero claims on the flattest front arc; leave the information panel for mandated copy.
When you try to keep every sell claim at full size on a narrow wrap, the Nutrition block gets shoved into a tighter arc and the quiet zone shrinks by a few millimeters “just this once.” Retail fails the scan or the information panel becomes unreadable on the shelf.Lock the priority list in writing so marketing and compliance argue inside the rules, not after plates are made. For formatted Nutrition requirements beyond layout, use the FDA nutrition format guide rather than inventing type sizes on the juice wrap.
Need a curved juice wrap layout checked before print?
Send bottle diameter, wrap die, barcode file, nutrition copy, and lot-zone height for a curved juice label layout review.
Keep Nutrition Facts Readable on Curved Panels
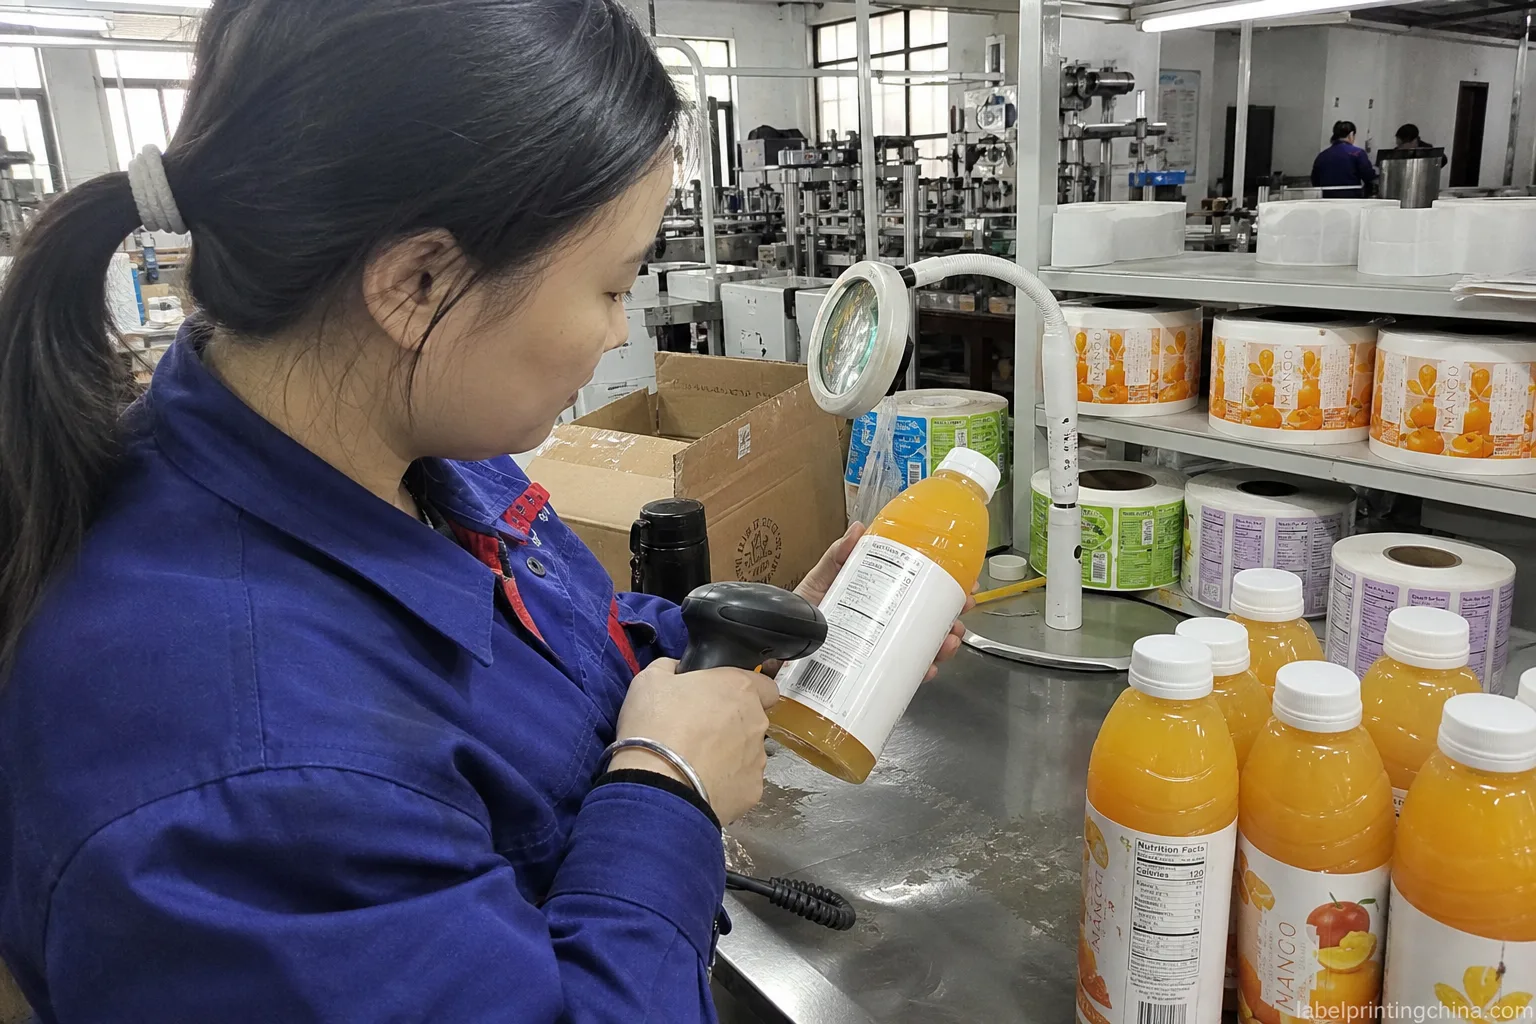
With duties mapped, protect your information panel itself. Nutrition Facts belong on that panel—not stretched across your front hero or parked where the bottle flares. Curvature that only softens a logo can shred mandatory type until inspectors and shoppers cannot read serving size or calories on your bottle.
Federal-style Nutrition Facts panels still need readable type on your curve—see the overview on the Nutrition Facts label overview; your layout job is to keep that panel complete and scannable-adjacent on the bottle.When you need a print-ready Nutrition block that still fits the die, route the panel art through a production path that matches your wrap height—do not invent type sizes on the juice wrap alone.
| Curved-panel risk | What you do on the juice wrap |
|---|---|
| Type wraps onto steep shoulder or base flare | Slide the Nutrition box into the flattest information arc; shorten sell claims first |
| Ingredient list runs into barcode quiet zone | Re-stack ingredients above or beside the Nutrition box—never into quiet-zone margins |
| Clear film shows dark juice through thin type | Add white underprint under the information panel so contrast survives the cooler |
| Panel height fights lot strip and UPC band | Re-open the three-duty map; Nutrition stays complete before any badge returns |
When you squeeze a full Nutrition Facts block onto a wrap that already carries a tall flavor illustration, the last lines of the ingredient list often land where the bottle curves hardest.Shoppers cannot read allergens; your approval loop restarts. Build the panel at true size on a wrapped sample, then open the illustration—curve readability beats a prettier flat proof.
- Red flags before you freeze the panel: type climbing onto the shoulder flare, ingredients kissing the quiet zone, or clear film with no white underprint over dark juice.
- If any flag appears on your wrapped sample, reopen the three-duty map before you touch sell-claim art again.
- For cold-pressed SKUs in the same bottle family, keep panel reservation habits consistent with the cold-pressed juice checklist so lot and information space do not disappear when you change flavors.
Reserve Lot Space Without Killing Quiet Zones
Lot and best-by coding still need a home after Nutrition and UPC are locked. The strip must sit where printers or inkjet heads can hit it every fill—and it must never invade barcode quiet zones. A lot stamp that kisses the bars is a quiet-zone failure dressed as a coding convenience.
| Signal on the artboard or wrapped sample | Ready or Hold |
|---|---|
| Lot / best-by rectangle outside quiet zones; clear margins intact | Ready to approve coding placement |
| Lot type overlaps barcode white space or sits under bars | Hold—move the strip; do not shrink quiet zones |
| Lot zone height missing from RFQ; plant “will find space” | Hold artwork freeze until zone height is specified |
| Best-by shares a box with Nutrition required lines | Hold—separate coding rectangle from mandated panel |
- Draw the lot rectangle on the die line in a contrasting guide layer before final PDF export.
- Keep the same zone height across flavors so co-packers do not re-teach the coder mid-week.
- If space is tight, compress sell claims again—never the quiet zone or Nutrition completeness.
When you leave “room for coding” as a verbal note instead of a measured zone, the coder often lands best-by type into the barcode margin on the first production day.Scanners fail; you reprint. Put lot-zone height in millimeters on the die, gate it with Ready/Hold above, and refuse to freeze art until that box is empty of decorative ink.
Lock RFQ Fields Before You Freeze Artwork
Layout rules only stick when the quote packet carries the same numbers. Before you freeze artwork for custom juice bottle labels, lock the RFQ fields that let prepress rebuild your scan band and information panel without guessing.
| RFQ field | What you send |
|---|---|
| Bottle diameter | Outside diameter at wrap-band center, with units |
| Wrap die | Die code or width × height; note flat information arc |
| Barcode file | Print-ready UPC/EAN file; ladder or fence already chosen |
| Nutrition copy | Final Nutrition Facts + ingredients text (or approved panel art) |
| Artwork | Layered file with quiet-zone and lot rectangles marked |
| Lot-code zone height | Millimeters reserved outside quiet zones for best-by / lot |
- Attach the diameter photo and die drawing in the same RFQ thread as the artwork.
- State orientation (ladder or fence) in the PO notes—do not bury it in a chat.
- Refuse “we’ll place the barcode later” language; placement is part of the freeze.
- Run a wrapped scan check using the habits in the beverage label checklist before you sign the press proof.
When you send beautiful juice art without diameter, die, barcode file, nutrition copy, and lot-zone height, the plant rebuilds the information panel from habit—and your quiet zone drifts. Fill every RFQ field first; then freeze. That packet is what turns a layout guide into a printable wrap.
Approve Your Juice Wrap Layout Before You Print
Approval means the scannable UPC band, readable Nutrition panel, and lot strip already coexist on the measured curve—not that the flat PDF looks balanced.When those standards hold on a wrapped sample, you can scale the same die map across flavors without rediscovering barcode placement on every SKU. Send the locked diameter, orientation, and RFQ packet with your next juice wrap; the print run should confirm the panel map you already proved, not invent a new one on press day.