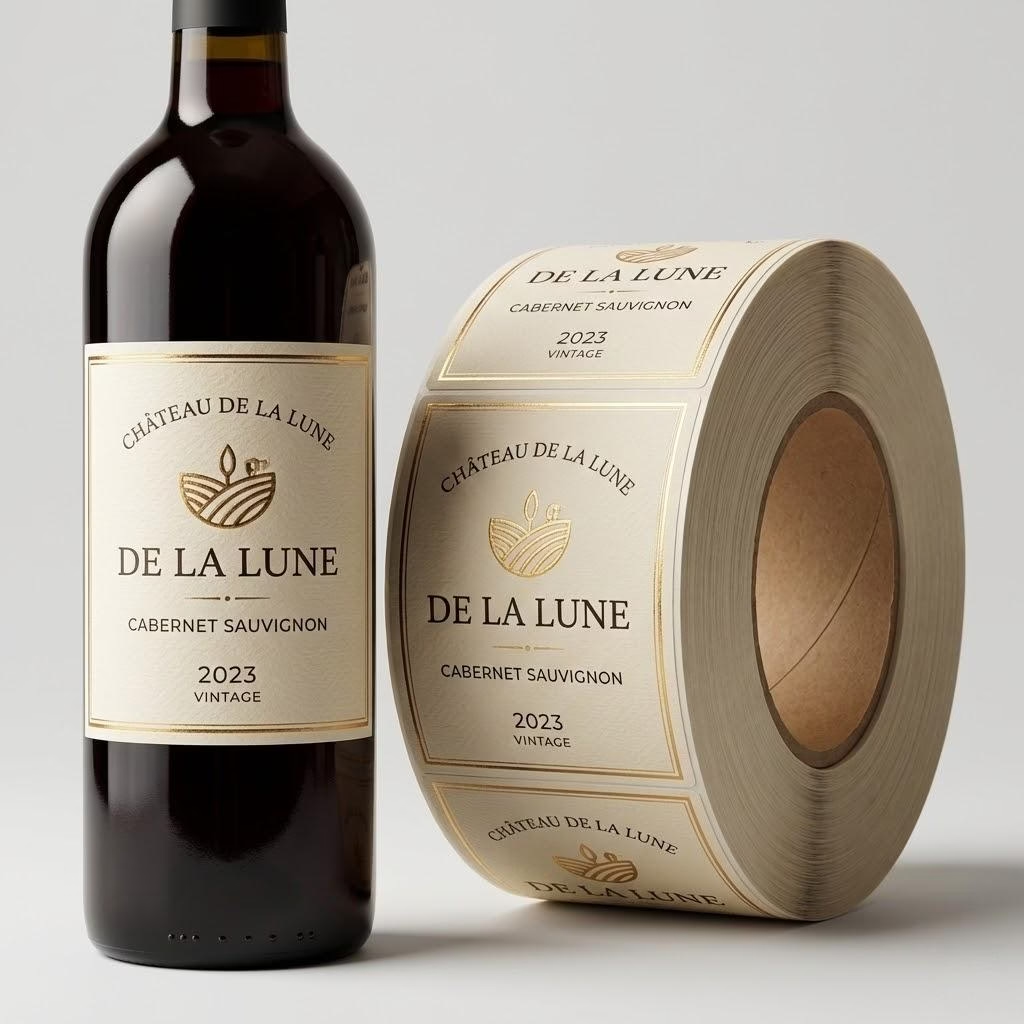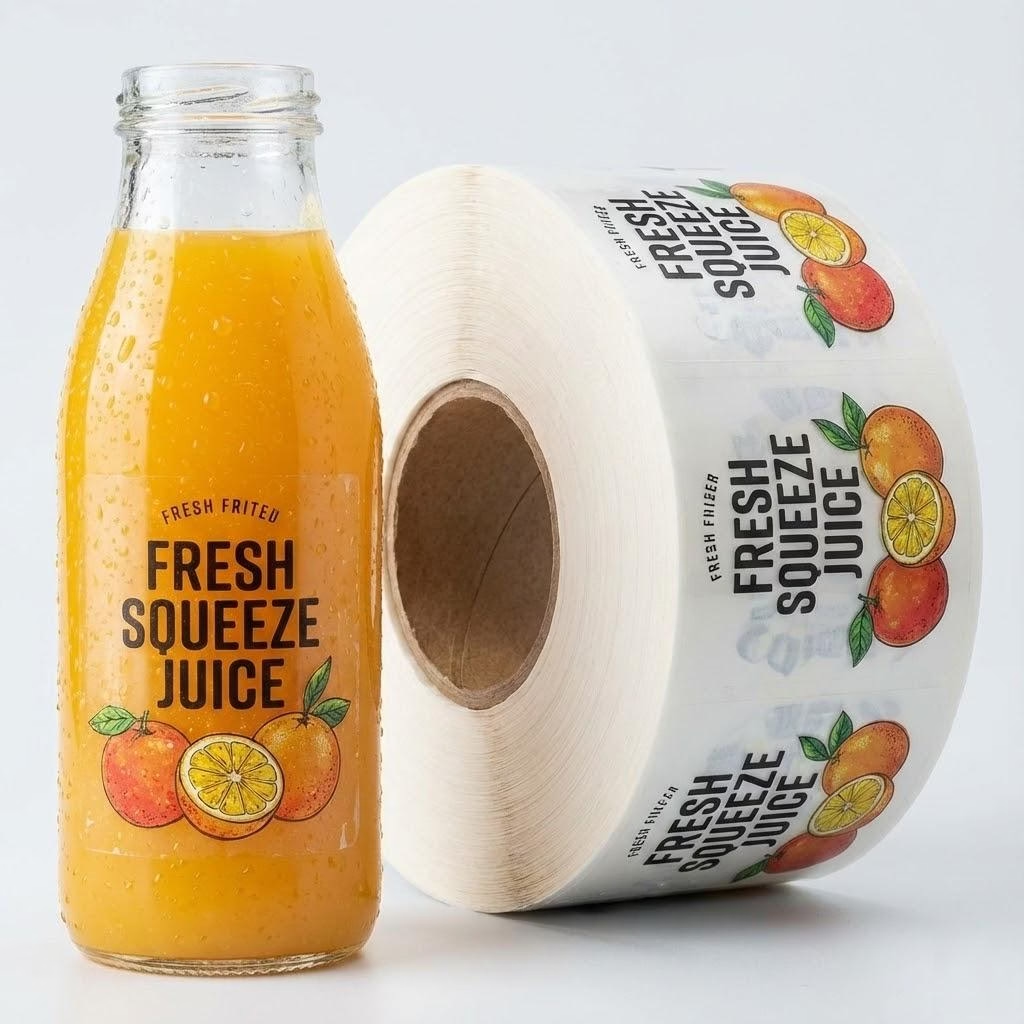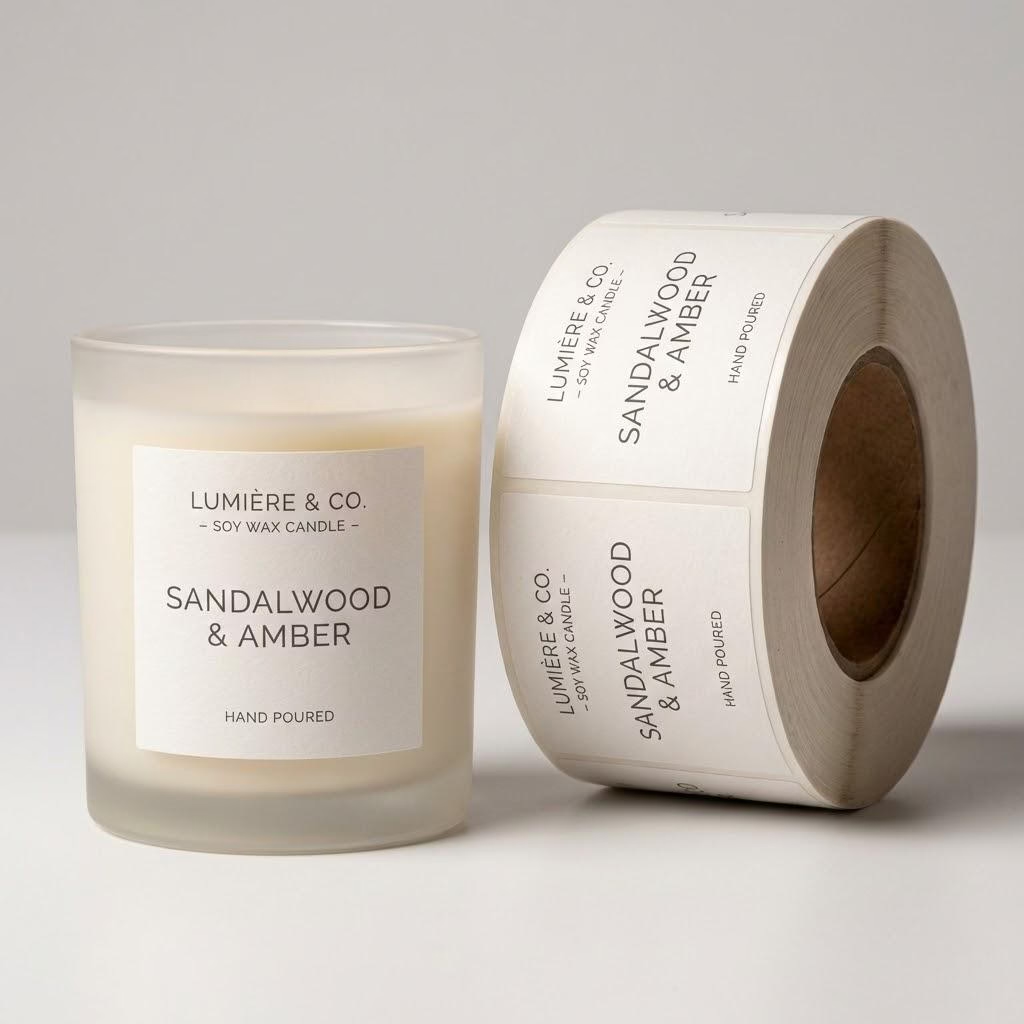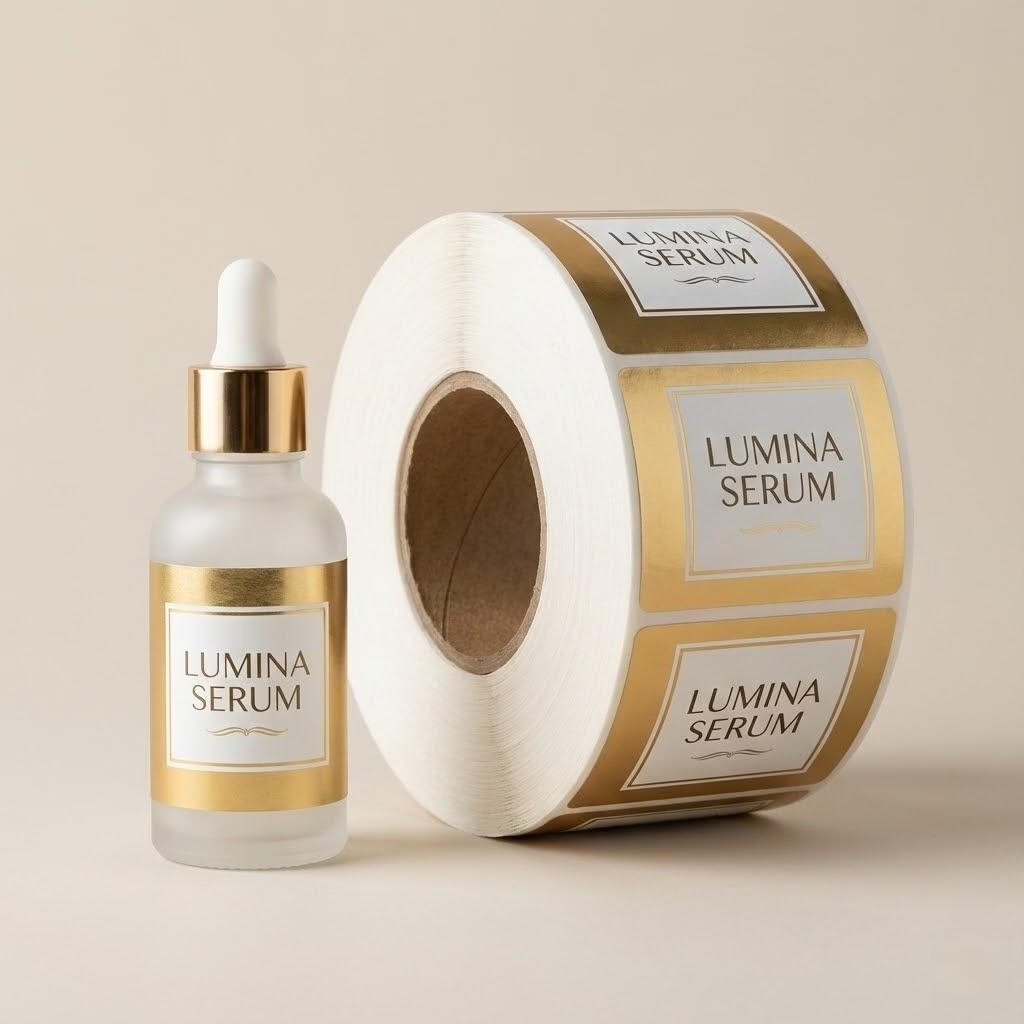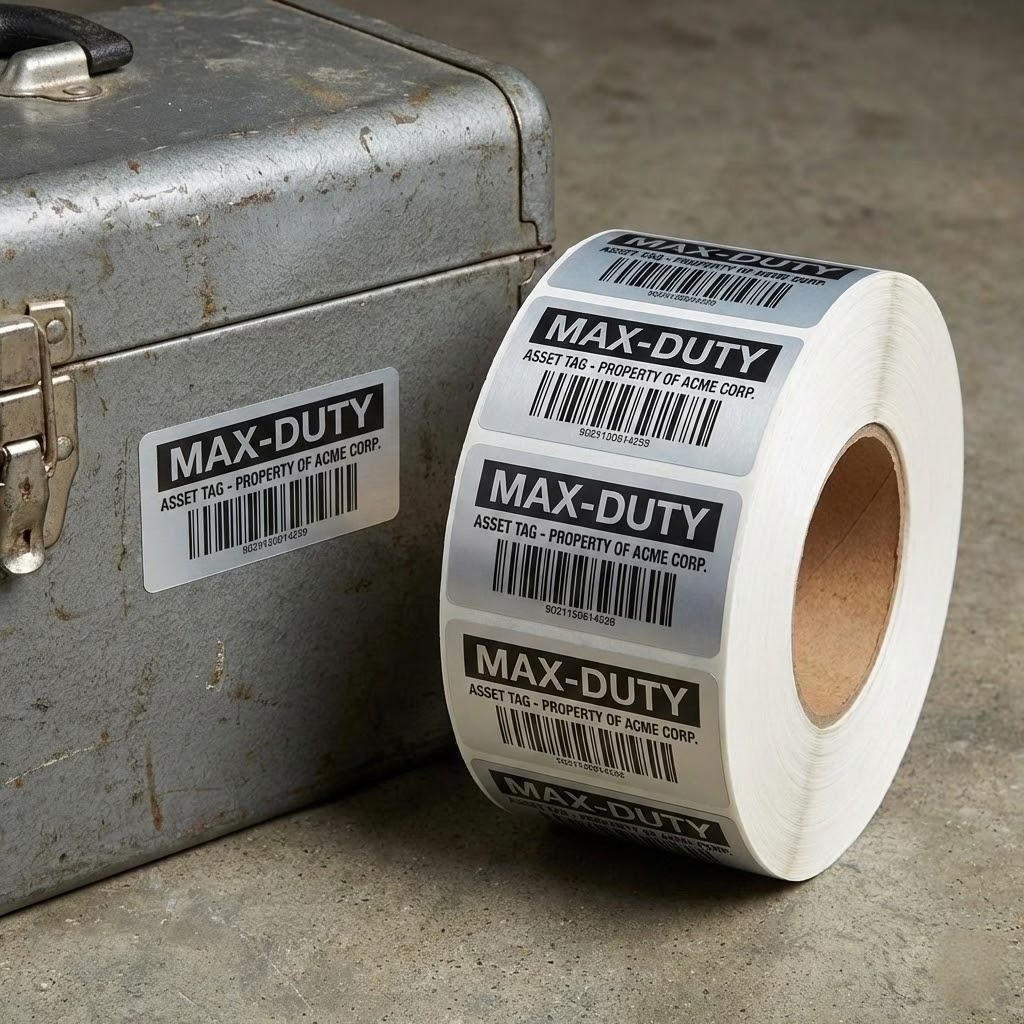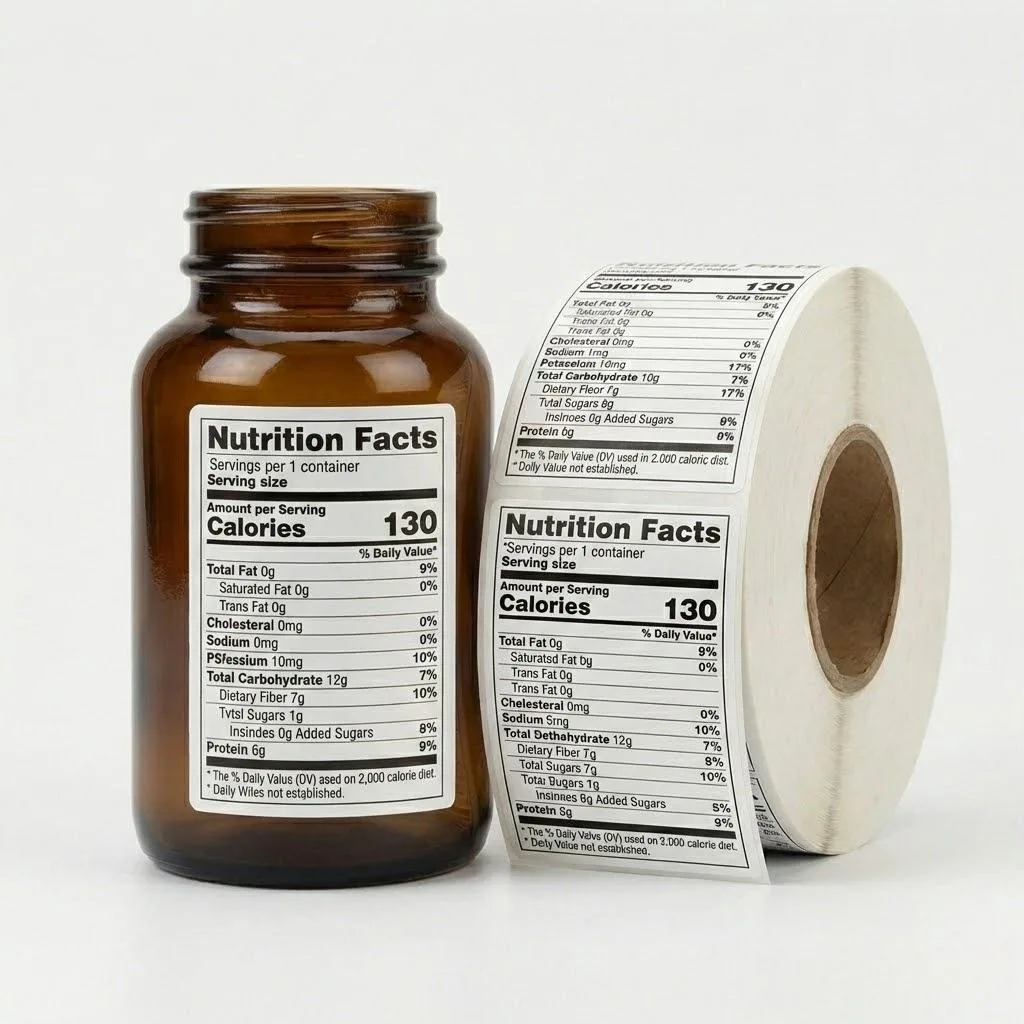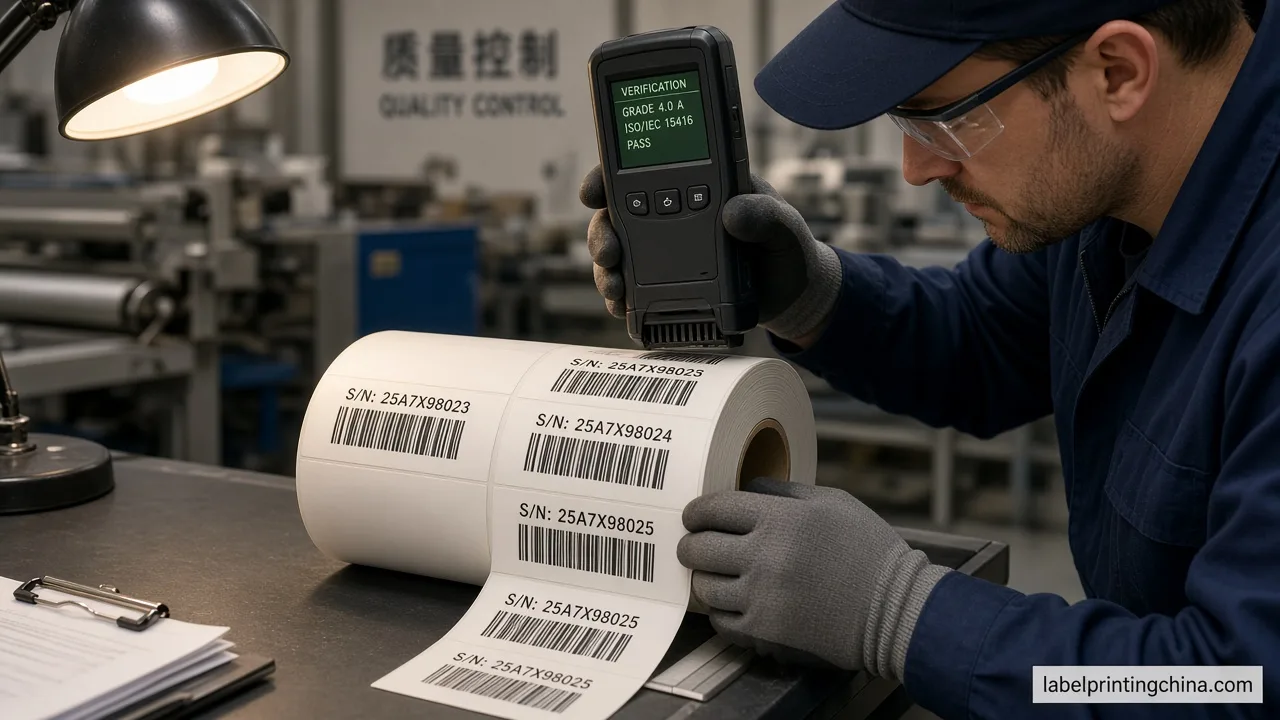
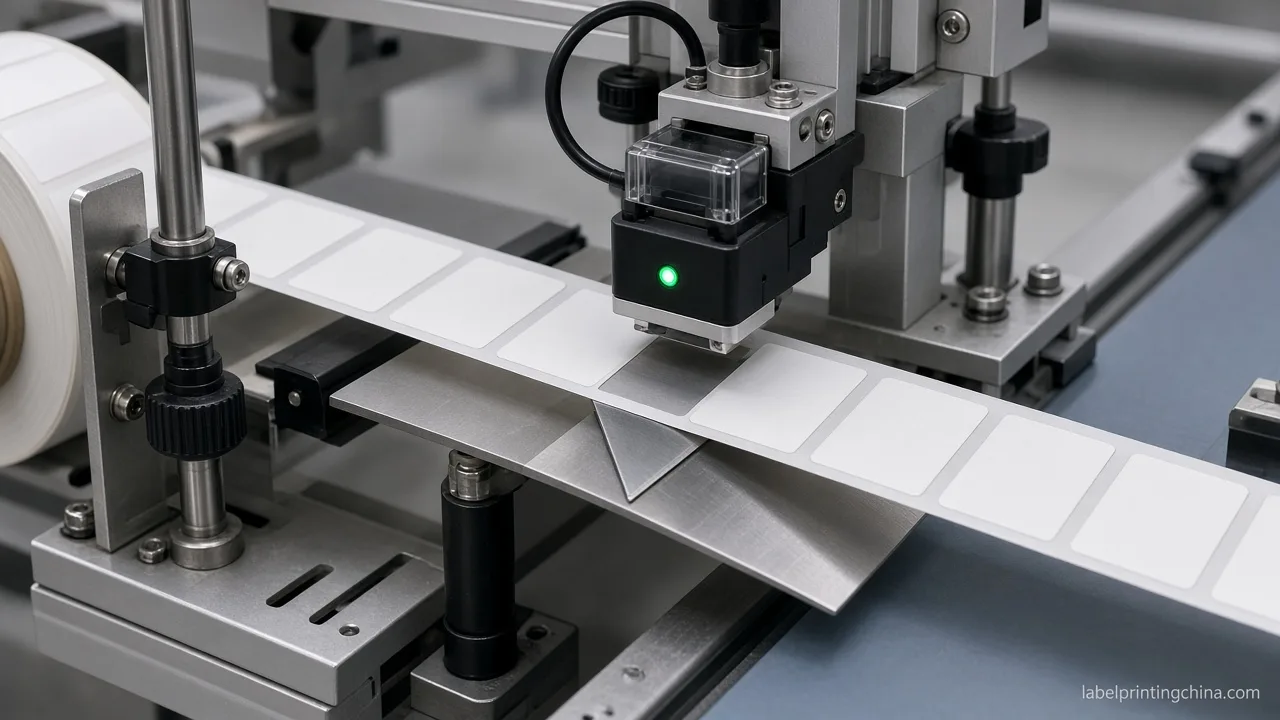
When die-cut rolls feed an automatic applicator, the blank between labels is what the sensor uses to peel one label at a time. A peer plant’s gap, or a number copied from another brand’s RFQ, can still miss on your liner, your material, and your eye.
A working label gap guide starts with your applicator manual and sensor type, then writes gap, pitch, and how the gap will be sensed—before anyone die-cuts volume rolls.
After this page you can separate gap from pitch, spot too-small and too-large failure modes, choose a sensing path for opaque versus clear stock, and put the fields a converter needs on one RFQ.
Separate Label Gap from Pitch on the RFQ
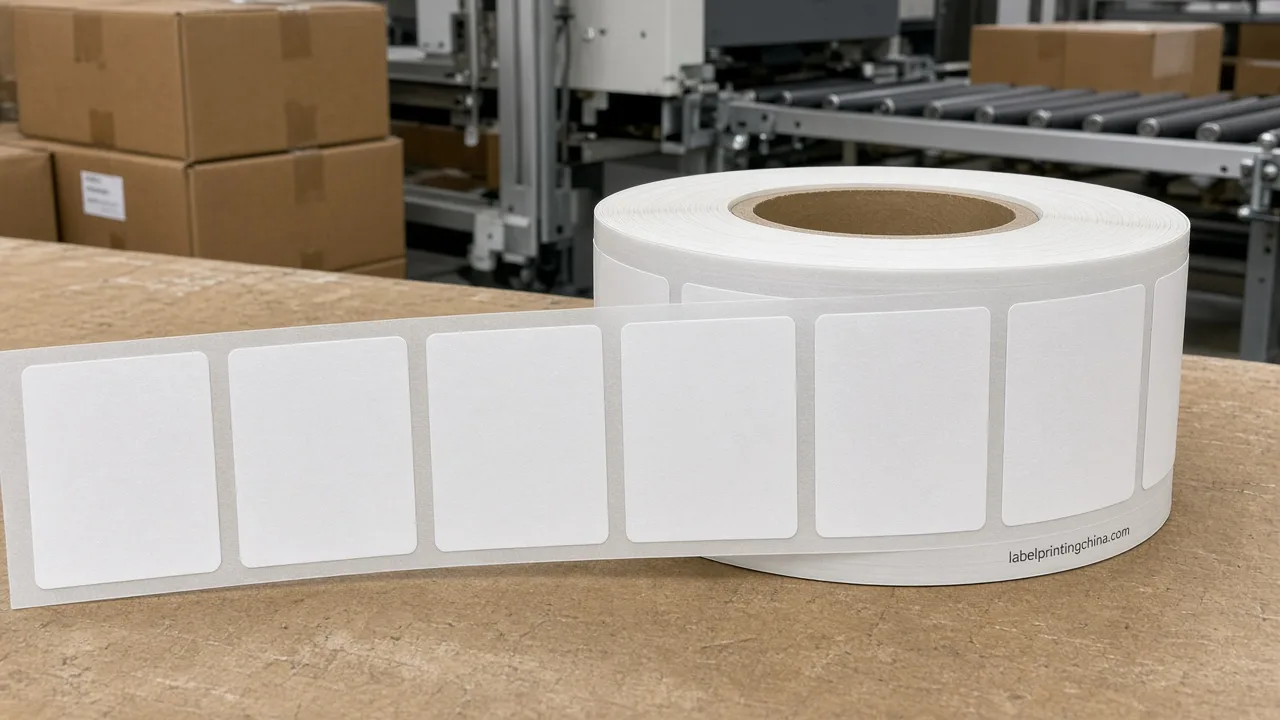
Gap is the blank between two labels on the liner. Pitch is the repeat from the leading edge of one label to the leading edge of the next—label length in the feed direction plus that blank.
Write both. If length is 40 mm and gap is 3 mm, pitch is 43 mm. The applicator cares how often a new leading edge arrives; the sensor cares whether the blank is wide enough to see.
- Write gap (blank between labels) and pitch (leading-edge repeat) on the same RFQ line.
- Example: 40 mm label + 3 mm gap → 43 mm pitch.
- Pitch alone never proves the sensor can see the blank.
Buyers already send size and dimensional notes on roll RFQs; add gap and pitch beside width × length so the converter is not guessing which number you meant. Pitch alone never proves the sensor can see the gap.
What Too-Small and Too-Large Gaps Do on the Line
When the label-gap sensor misses a gap, the line often double-feeds—two labels peel as one—because of a tight or inconsistent blank, transparent stock, odd liner, contamination, or a bad teach. A gap that is too large wastes liner, packs fewer labels per roll, and stretches the feed distance between peels—so the smallest stable blank is rarely the tightest blank on the sheet.
Speed makes both problems louder. At higher BPM the eye has less time on each blank, so a gap that barely worked on a slow teach can start skipping once the line ramps. Peel and dispense also need a moment of liner travel between labels; when blanks are crushed for material savings, the plate can present a half-peeled edge or snag the next leading edge before the last label leaves.
The useful target is the smallest gap your sensor and peel plate can run stably at line speed, inside the minimum your applicator manual allows. Shrinking the blank to save liner is only a win after a teach roll proves the eye still finds every repeat at the speed you actually run—not only at jog.
Opaque paper or white film with a clear liner contrast is the easy optical case. Clear face on clear liner is not—treat that as a different sensing job in the next section, not a smaller blank on the same optical eye.
Match Gap Sensing to Opaque vs Clear Stock
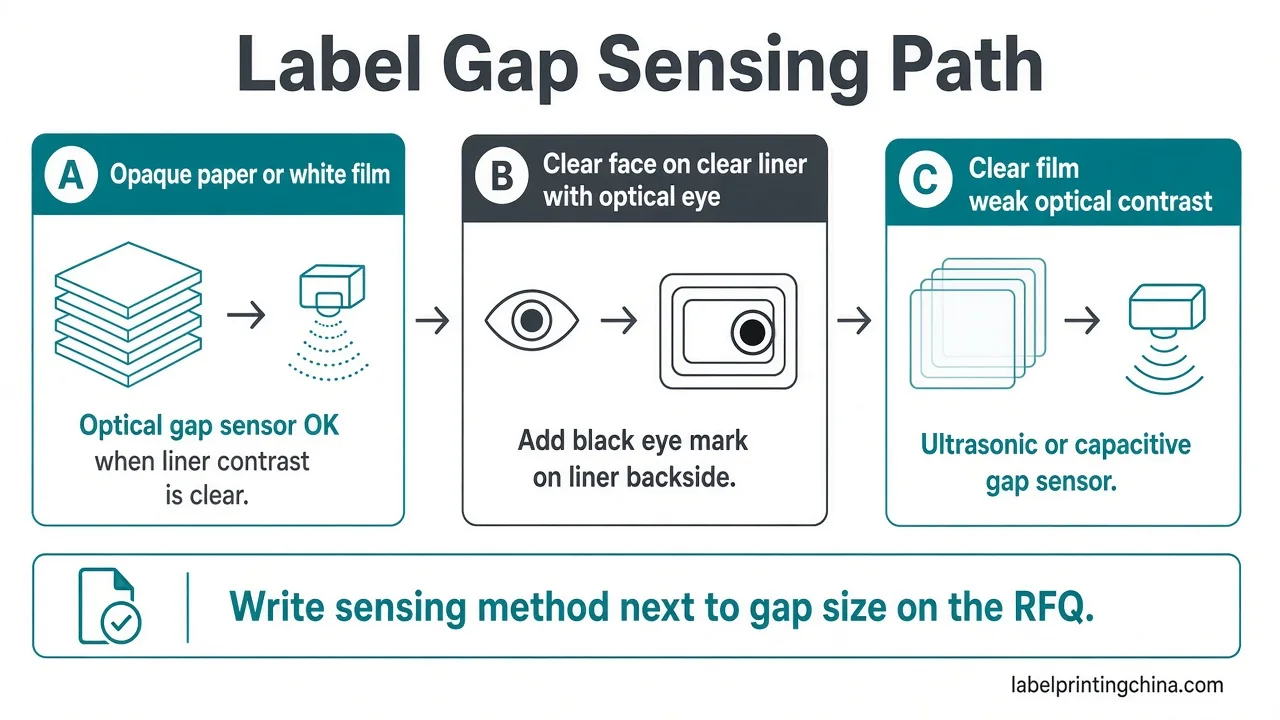
Traditional optical sensors do not see the edge of a clear label when light passes through the face unobstructed.
Plants that stay on an optical eye often add eye marks—black bars on the liner between labels—and ultrasonic or capacitive gap sensors are the common alternative when optical contrast is too weak.
Optical gap sensing alone will not run clear-on-clear without a mark or a different sensor.
Lion Precision’s clear-label sensor notes document the optical failure and eye-mark workaround. Quadrel’s clear-label guidance names ultrasonic or capacitive gap sensors when conventional optical sensors cannot distinguish a clear label from its liner.
Material choice shows up again and again on buyer RFQs because face and liner decide which of those paths is honest. Name opaque versus clear face, liner type, and whether a black mark is supplied or an ultrasonic/capacitive eye is already on the applicator—then a converter can hold gap geometry without inventing a sensor plan after the press run.
For teach, calibration depth, and clear-film troubleshooting beyond this fork, use the sibling clear-label sensor calibration guide. This page only needs the sensing method written next to the gap so the roll matches the eye you actually have.
Read the Applicator Manual Minimum—Not a Universal Number
There is no single gap that works for every automatic applicator.
One industrial series—the CTM 360a service manual —asks for labels on a liner web with a minimum label gap of 1/8 inch and teaches with that gap under the label sensor.
That eighth-inch figure belongs to that manual and that machine family. Never paste 1/8 inch into every RFQ as a universal law; read your applicator manual first.
Open your applicator book first. Write the stated minimum gap, the sensor type, and any black-mark geometry the OEM shows. If the manual is not in-house, mark those rows for the applicator supplier or integrator to confirm before die-cutting volume—the same way you already confirm core and unwind when the chart is missing.
A practical RFQ line looks like this: “Gap 3.2 mm (0.125 in) per CTM 360a-class manual minimum; optical gap sensor; white BOPP / glassine; no black mark.” Or, for clear film: “Gap per manual after ultrasonic teach; clear BOPP / clear liner; black mark on liner backside per drawing.” The number without the sensing method still leaves the converter guessing.
Machine-ready custom roll labels from Label Printing China ship with core ID options of 1″ or 3″ (±0.1mm), unwind positions #1–#8, die-cutting to ±0.3mm, and gap tolerance ±0.2mm, with digital MOQ from 500 labels and flexo economy from about 5,000.
Those numbers sit on the published custom-roll-labels path when size, unwind, and quantity are on the factory quote—not every specialty stock or blank RFQ.
Gap tolerance is converting consistency, not a substitute for the gap size your applicator manual requires, and it does not guarantee any blank RFQ will run without an applicator audit.
Ready to lock gap on a machine-ready roll?
Send label size, gap, pitch, sensor or black-mark notes, material, core, and unwind with your quantity.
Write Gap, Sensor, and Material Fields Before You Quote
Use this two-column sheet so quotes stay comparable and the converter is not filling sensing blanks for you.
| Field | What to write |
|---|---|
| Label size (feed × across) | Finished die size in the feed direction and across web |
| Gap | Blank between labels (mm or in) from applicator manual or confirmed teach |
| Pitch | Label length in feed direction + gap (or leading-edge to leading-edge) |
| Sensing method | Optical gap / black eye mark on liner / ultrasonic or capacitive—and who owns teach |
| Face + liner | Opaque or clear face; liner type; note if contrast is low |
| Applicator model + manual min gap | Make/model; copy the OEM minimum or mark “confirm with supplier” |
| Core / max OD / unwind | After gap is locked—see core/OD and unwind guides; do not leave blank on machine rolls |
Sample or pre-production rolls still matter when the gap, clear film, or sensor path is new to that line: approve a teach roll before the volume PO. Digital pilot quantities on the published custom-roll path can start at 500 labels per design once size, gap, and unwind are on the sheet.
Lock Gap First, Then Finish Core and OD
Once gap, pitch, and sensing method are written, the remaining mount fields are core ID, maximum roll OD, and unwind—without turning this page into those deep dives. Use the 3-inch core and max roll diameter guide for magazine geometry, and keep factory-wide machine-ready context on the machine-ready label manufacturing overview when you need the broader build, not another gap formula.
Send Your Gap Spec Before You Order Rolls
Send the completed gap block with size, material, core, OD, and unwind on the custom roll labels path so converting tolerance and applicator minimum are audited before press—not after a double-feed on the first case pack.
When gap, pitch, and sensing method are on one sheet, core ID and max OD become mount fields—not another guess at spacing. Finish those on the sibling guides only after the gap block is signed off.