When a cream jar must carry brand identity, use directions, and lot data on a small curved surface, packing everything onto one wrap almost always forces tiny type or a redesign loop.You can still lock a clean multi-label plan before the next artwork round if you assign each zone one job and measure the jar before you freeze the die-cut.
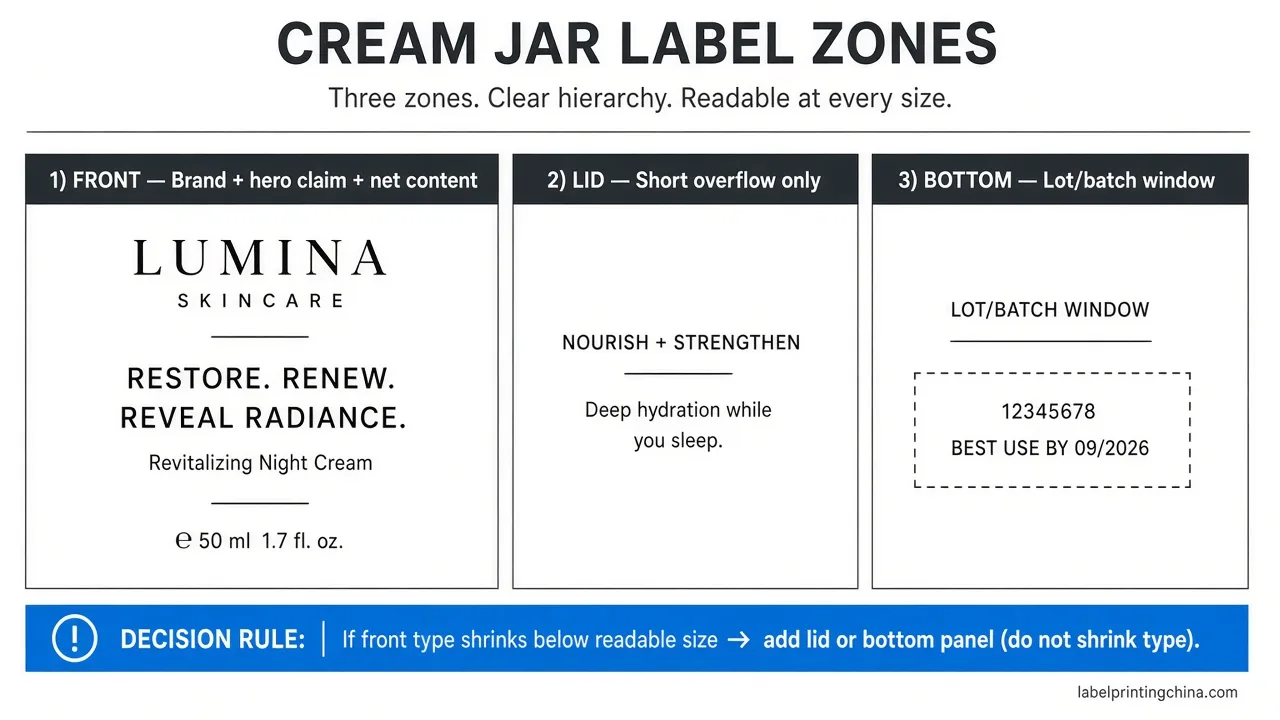
Split cream jar labels into front, lid, and bottom zones—one job each.
You will leave able to assign copy by zone, measure diameter and wrap length so the die-cut fits, and send a layout-ready RFQ—so the next cream jar reprint does not restart from a crowded single panel.
Assign Front, Lid, and Bottom Label Roles
Give the front panel brand and hero claims, put short overflow on the lid, and reserve the bottom for lot or batch data when the front cannot stay clean.Use this split when a cream jar must carry brand, use directions, and batch data on a small curved pack. This does not invent a legal ingredient-panel layout or claim one label count for every SKU.
| Zone | What belongs here |
|---|---|
| Front / wrap panel | Brand mark, product name, hero claim, net content—keep type large enough to read at arm’s length |
| Lid / closure top | Short brand line, scent variant, or a brief use cue that would crowd the front |
| Bottom / base | Lot/batch, pack date method, or a quiet SKU code when the front must stay clean |
Unlike DIY jar+lid template packs that stop at printable shapes, this guide locks zone jobs and RFQ fields for production cream jars. Public DIY packs often sell a jar wrap plus a circle lid as a template set.That proves buyers already think in more than one panel—but a production RFQ still needs zone ownership, not only a Canva file. If you are still choosing facestock and finish for the whole cosmetic line, start from the material finish checklist, then return here to lock cream-jar zones.
Measure Diameter, Panel Height, and Wrap Length
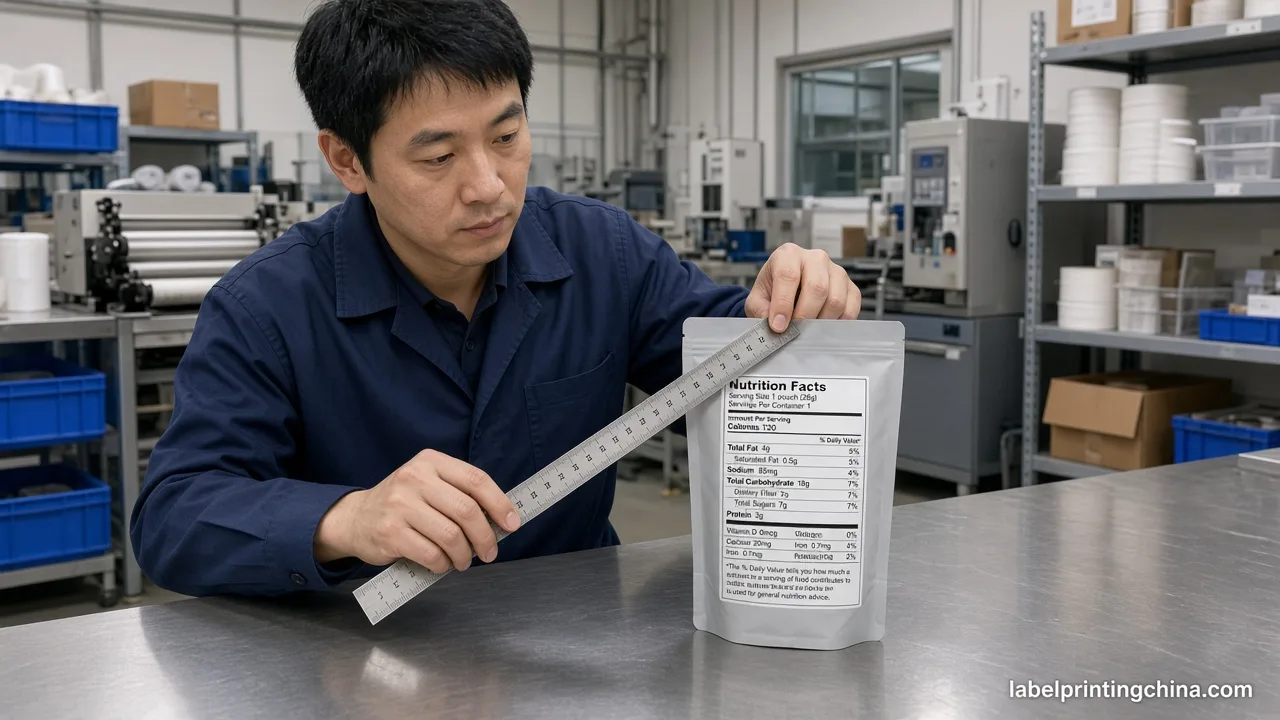
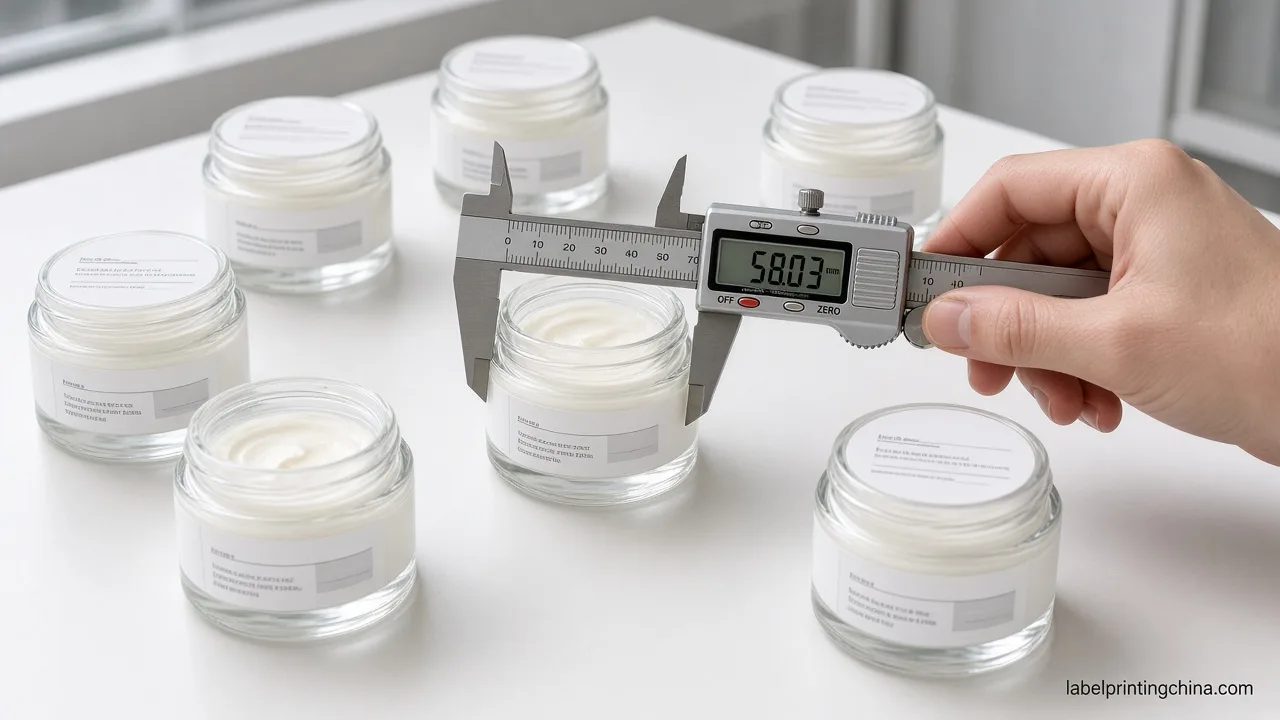
Measure diameter, panel height, and wrap length before you lock the die-cut — volume ounces alone do not define label size. Apply this when the jar is straight-sided cream or cosmetic glass/plastic and you need wrap or panel fit. Tapered food jars and home-print sheet templates need a different fit path.
- Measure the flat label panel height with a rigid ruler or caliper—not the full jar height including the shoulder.
- Measure diameter at the widest labeling point; wrap length ≈ π × diameter.
- For a full wrap, subtract a small gap (about 2–5 mm or ~1/4″) so ends do not fight or overlap unevenly.
- For a front-only panel, keep the label slightly smaller than the flat area so edges stay off the curve break.
Straight-sided cream jars are usually the easiest geometry: a tall flat panel accepts a front rectangle or a near-full wrap, and a recessed lid accepts a round die.Low-profile tins flip the priority—the lid becomes the first look—so confirm whether your cream jar is a tall pot or a short tin before you freeze zone count.
How to measure a jar for labels is a solved public skill—see also industry notes on jar label size math; the cream-jar trap is treating “4 oz” or “50 g” as a size.Two cream jars with the same fill volume can need different die-cuts once diameter and panel height diverge. Capture those numbers in millimeters on the RFQ so artwork and knife lines match one physical jar.
Size Cream Jar Lid Labels Without Crowding
Size the lid label to the recessed circle and keep short lines there so the front stays uncrowded. Use this when the closure top is visible in e-commerce shots or on a shelf from above. Do not park long ingredient stories on the lid if the print area is a small round disc.
Lid labels earn their keep as overflow and top-down branding—not as a second front panel. Measure the inner recessed diameter of the lid, then choose a round die slightly inside that circle so the edge does not ride the rim. Keep copy to a few short lines: logo, variant name, or a one-line use cue.
If the lid is textured, soft-touch, or steeply domed, confirm the adhesive and face stock on that exact closure before you approve the lid as a mandatory panel. A lid that will not hold print cleanly belongs back on the front/bottom plan—not in a forced three-label set.
Keep Batch Codes Off the Hero Front Panel
Prefer bottom or a dedicated code window for batch data so the hero front stays readable. Use this when lot or date codes change by run and would force constant front artwork edits. This is a layout preference for crowded cream jars, not a regulatory filing.
Batch and lot data create noise when they share the same visual weight as the brand. Many cream SKUs already run multi-size sets—round lids plus rectangular wraps—so the print vendor can separate variable codes from fixed brand art.Write the batch-code method on the RFQ: preprint fixed text, overprint after fill, or variable-data in a reserved window.
| Signal | What to write on the RFQ |
|---|---|
| Lot changes every small batch | Variable-data window or post-print coding on bottom/lid—not a full front reprint |
| Only paint/packaging art changes across SKUs | Shared knife line; separate artwork plates/files per SKU |
| Front already overflows at readable type | Add lid and/or bottom panels before shrinking type below store readability |
Watch-out: if the front panel is already hard to read at arm’s length, add a lid or bottom panel before you shrink type again—readable brand type beats a crowded single wrap.
Red flags before you freeze artwork:
- Using “4 oz” or “50 g” as the only size field on the RFQ
- Parking lot codes on the hero front when every batch reprint changes the brand file
- Forcing a three-panel set onto a textured lid that will not hold print
What to Send for a Jar Label Layout Review
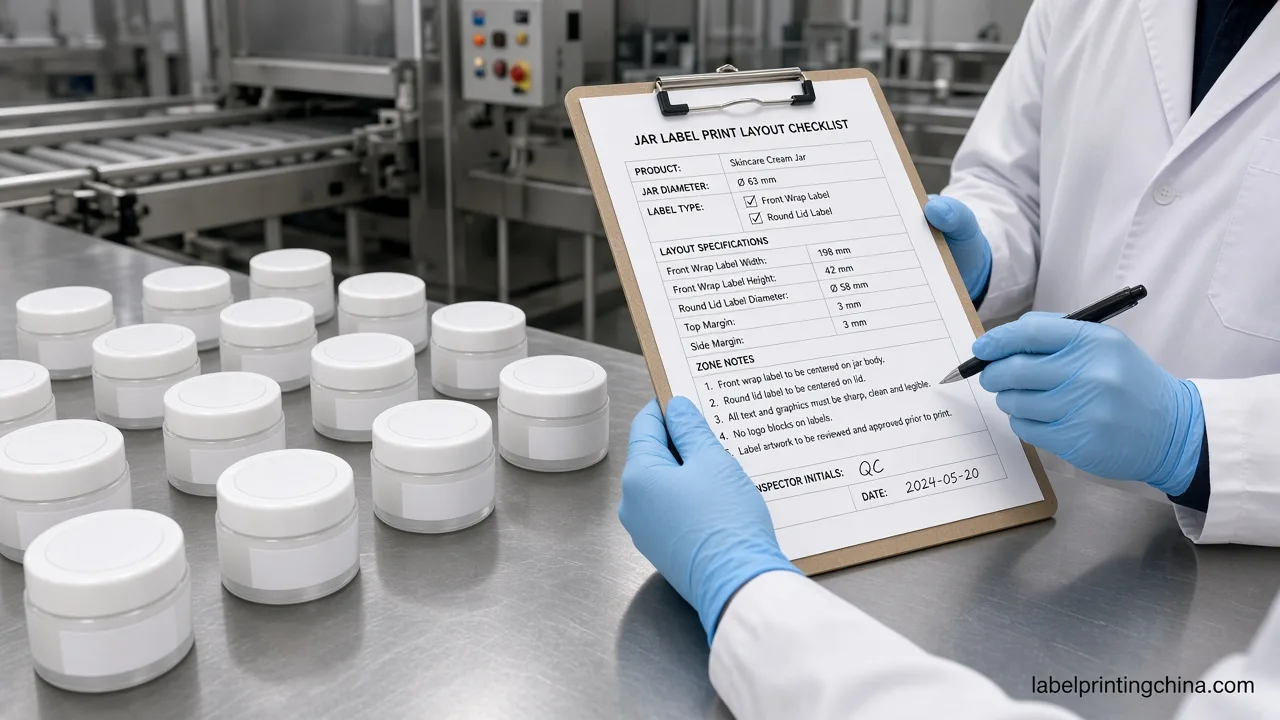
Send jar diameter, available label zones, required copy by zone, batch-code method, and artwork for a cream-jar layout review.Use this checklist when you are ready to move from mood boards to a printable plan on custom cosmetic labels. See the custom cosmetic labels page to send the RFQ. Incomplete zone lists are the usual reason “simple” cream jar labels bounce between design and quote.
- Jar diameter (mm) and panel height (mm); note glass, PP, or PET.
- Zones in play: front only, front + lid, or front + lid + bottom.
- Required copy list mapped to each zone—no orphan paragraphs.
- Batch-code method: preprint, overprint, or variable data.
- Artwork files plus any corner radius or special die shape.
Ready for a cream jar layout check?
Share diameter, zones, copy list, batch-code method, and artwork—response in 12h · free pre-press audit.
FAQ
Do cream jars need separate front, lid, and bottom labels?
Not always. Add lid or bottom panels only when the front cannot hold required copy at a readable size. A single well-measured wrap still works when brand plus net content fit cleanly.
How do I measure a cream jar for wrap-around labels?
Measure panel height and circumference (π × diameter), then subtract a small gap so wrap ends do not fight. Record millimeters on the RFQ instead of only “4 oz” or “50 g.”
Where should batch codes go on cream jar labels?
Prefer the bottom or a dedicated code window. Keep batch codes off the hero front when lot data changes by run and would force constant front artwork edits.
Yes when diameter, panel height, and corner radius stay the same and only ink or finish changes. If the jar geometry changes, lock a new knife line before you reuse artwork.
Lock Your Cream Jar Label Plan Before Ordering
A cream jar label plan is ready to approve when each zone has one job, the die-cut matches measured diameter and panel height, and batch data has a home that does not shrink the brand panel. That is the point where artwork stops bouncing and a print RFQ can quote the real panel set.
If the jar still looks crowded after the split, cut copy or add a panel—do not hide the problem in 5-point type. Send the diameter, zone map, and artwork to the custom cosmetic labels team for a layout review before you freeze the knife line.