You bought “waterproof” stickers for iced coffee, then watched edges wrinkle after the first sweaty cup left the bar. The film looked tough—the cup resin and the wet wall still won. You can lock a construction that stays put before you reprint the whole menu art.
For iced coffee on PP or PE plastic cups, pair a waterproof BOPP (or PET) face with a permanent acrylic adhesive rated for wet and low-surface-energy plastics, apply to a clean dry wall before condensation forms, and prove the stack with a condensation-plus-rub check before you print the full run.
Below you will see how to name your cup resin, choose film and adhesive without marketing buzzwords, time the apply window, and freeze a wet-cup sample check so your next cold-cup roll survives service. Keep reading if you need that lock before artwork ships.
Why Condensation Plus Plastic Cups Kills Ordinary Labels
When you only blame “cheap stickers,” you miss the real stack: cold drink → water film on the wall → slick plastic that fights standard acrylic. Your iced cup is a condensation machine and often a low-energy polypropylene body at the same time.
Paper faces drink the water and cockle. Generic vinyl claims “waterproof” on the face while the adhesive never rated wet plastic. Within a lunch rush you get cloudy glue, edge lift, and a logo that looks like a peel-off promo.
If your fridge sticker guide already covers cold-chain glass, treat that as background—not a cup answer. Disposable iced coffee cups need a cup-specific freeze: resin, wet window, and rub proof. For broader condensation physics you can skim the fridge condensation sticker guide after you lock the cup stack here.
Name Your Cup Resin Before You Pick a Film
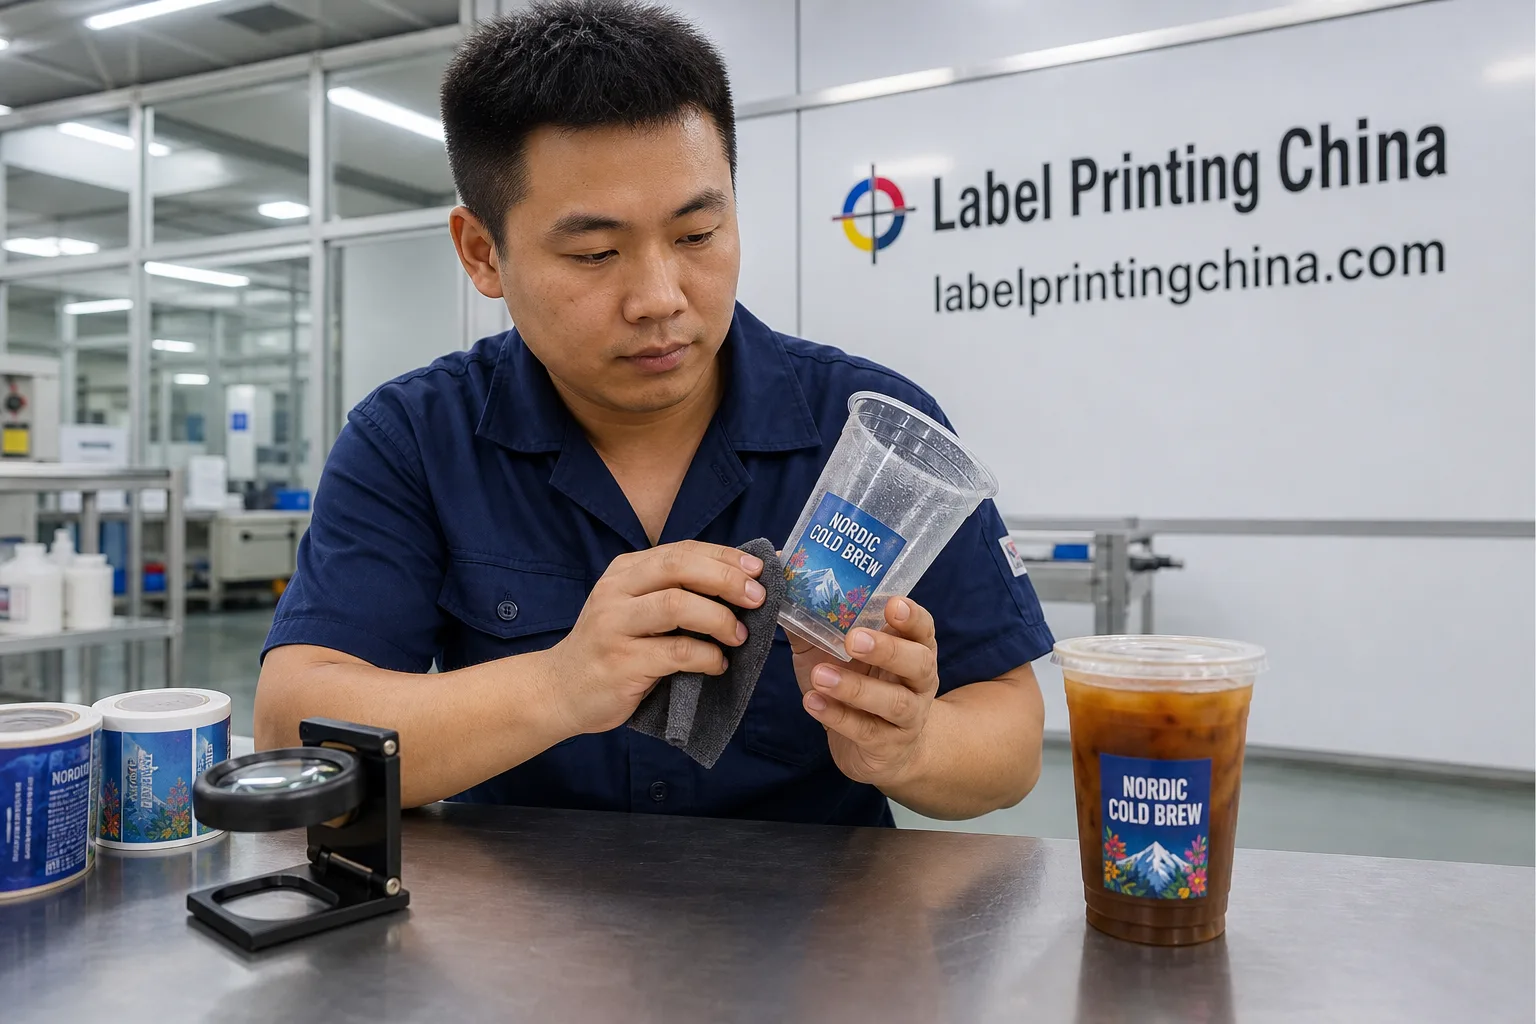
Before you argue matte versus gloss, ask what plastic you are labeling. Your adhesive choice follows the dyne level of the cup wall—not the flavor name on the menu board.
| What your cup is | Prefer | Avoid |
|---|---|---|
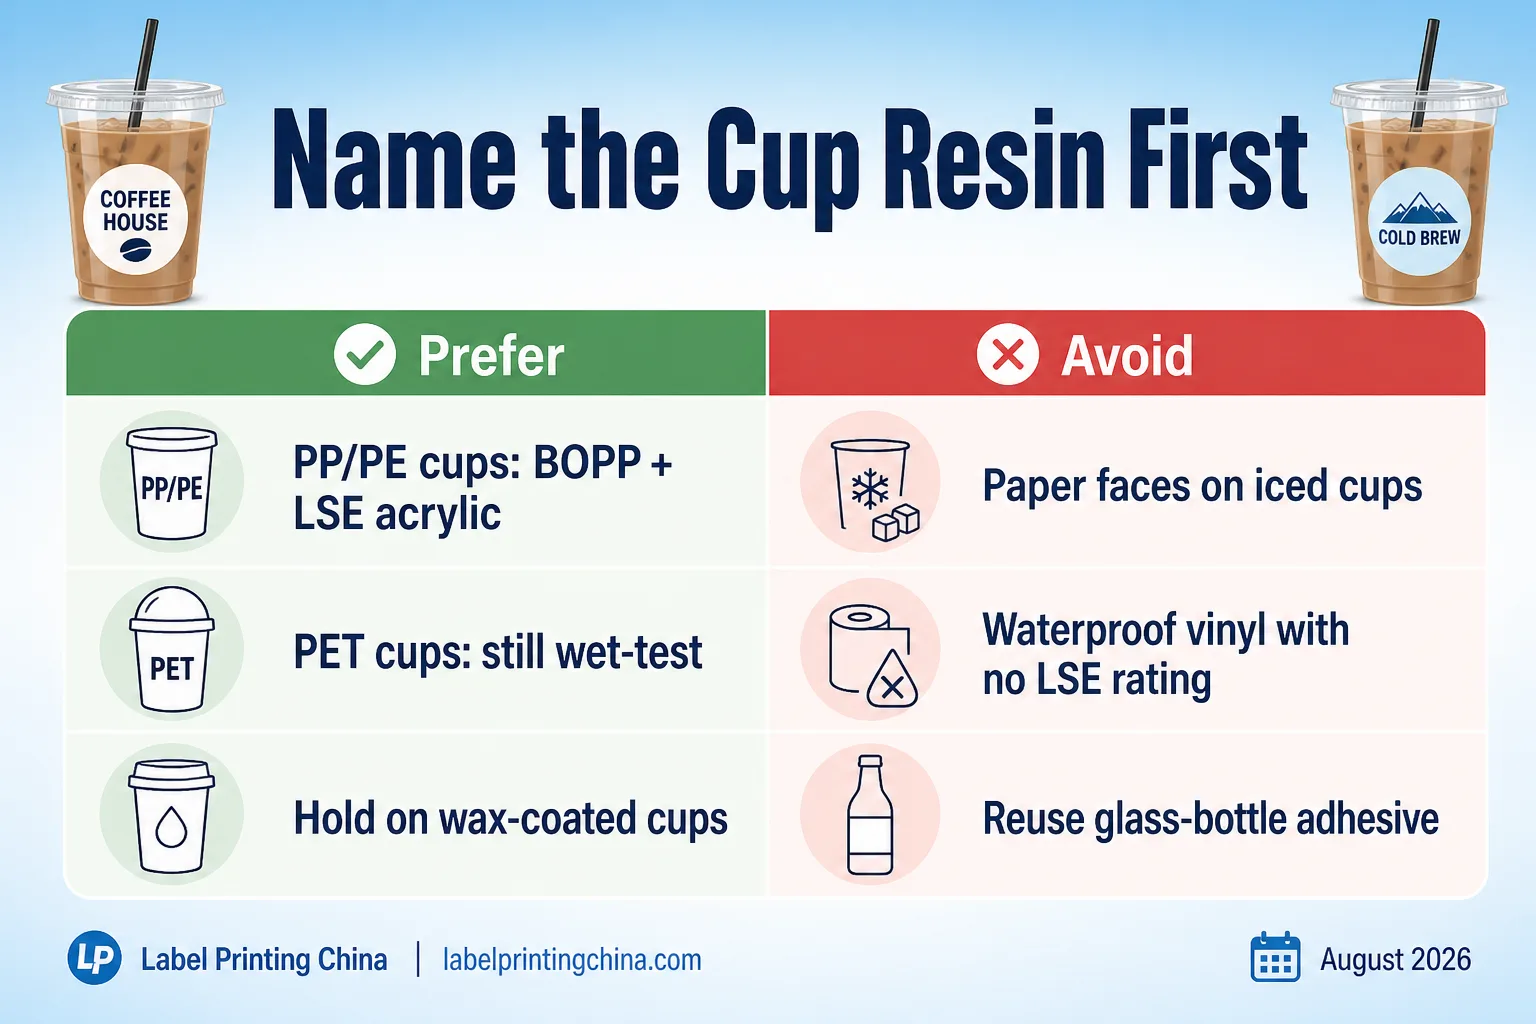
| PP / PE disposable cold cups (most iced coffee plastics) | BOPP or PET face + high-tack acrylic made for LSE / wet plastic | Paper faces; “waterproof vinyl” with no LSE rating; glass-bottle adhesive reuse |
| PET clear cups | Clear or white BOPP with permanent acrylic; still test wet apply | Assuming PET is “easy” so any craft sticker will hold through ice |
| Wax-coated / heavily silicone-treated cups | Hold print; request cup vendor data or a treated zone | Blind ordering round logos hoping friction alone will save them |
When you once specified only “waterproof BOPP” on a PP iced line, the film stayed pretty while the adhesive skated. Prefer naming the resin on the RFQ the same day you pick the face stock—Avoid shopping by the word waterproof alone.
If your cup PO only says “clear plastic 16 oz,” email the supplier for PP vs PET before you freeze the label construction. Your printer cannot invent dyne from a mood board.
Prefer BOPP Plus Wet-Ready Adhesive — Avoid Marketing-Only Waterproof Claims
When you shop stickers that only advertise “vinyl waterproof,” you buy face water resistance and still lose on the glue line. Lock both layers in one sentence on the quote.
| Layer | Keep | Switch |
|---|---|---|
| Face stock | Keep BOPP (white or clear) or PET film for abrasion | Switch off paper and uncoated craft stock for iced service |
| Adhesive | Keep permanent acrylic rated for wet / LSE plastics | Switch off removable craft adhesives and warm-only office labels |
| Finish | Matte or gloss overlaminate for rub in sleeves and carriers | Switch if bare ink smears after a wet napkin wipe in your test |
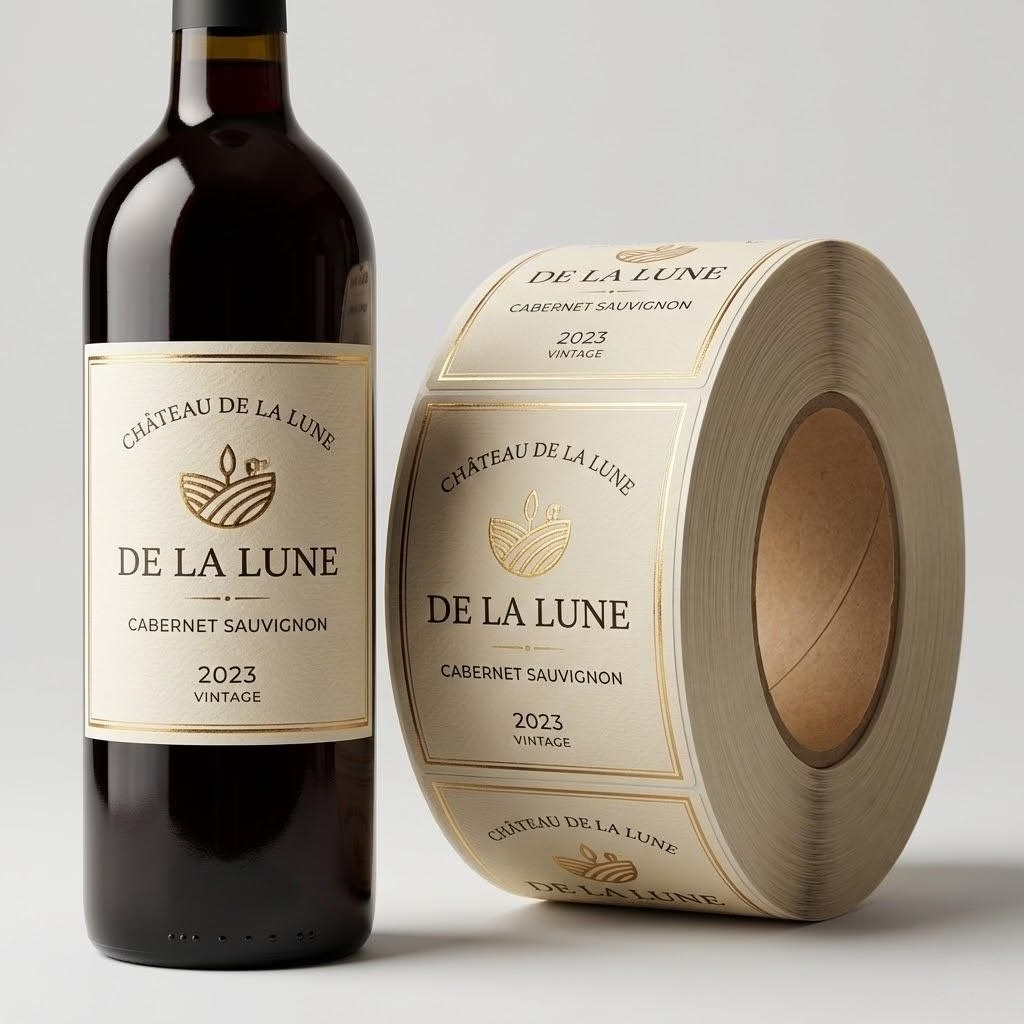
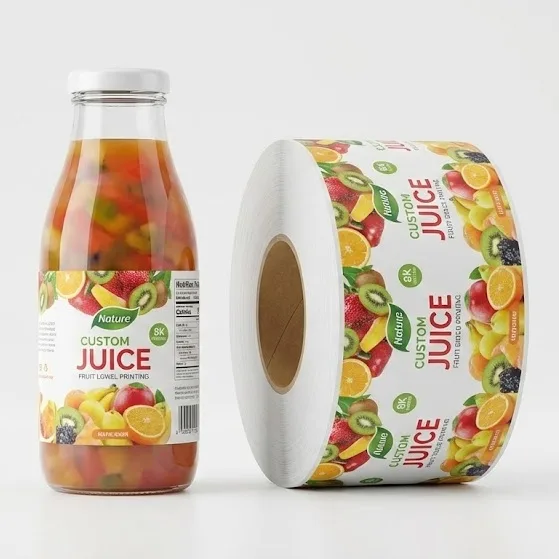
When you need factory rolls already quoted for beverage cold chain, start from custom beverage labels with cup resin and wet-service notes in the brief—not a vague “waterproof stickers” line.
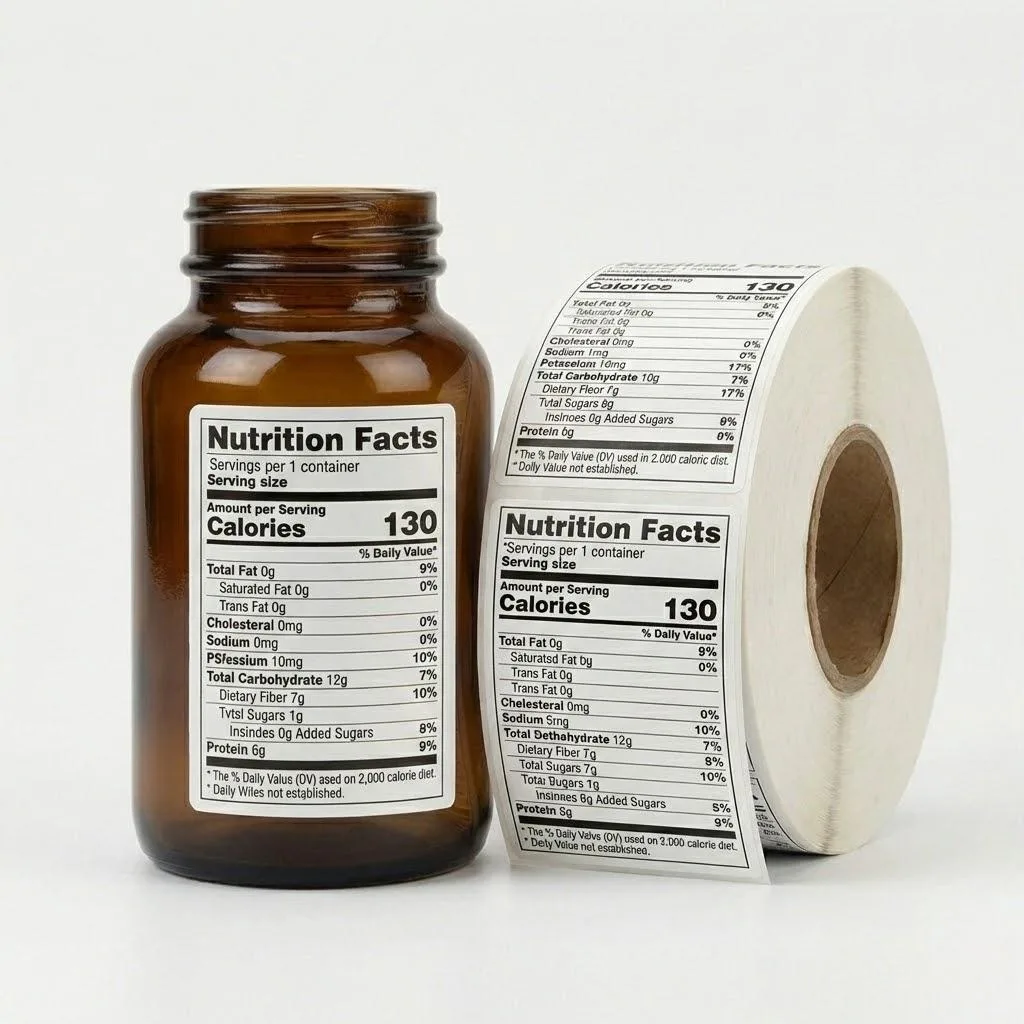
If food-contact adhesive letters matter for your market, keep a bookmark to 21 CFR 175.105 adhesives and ask your converter which construction they certify—do not assume every BOPP roll carries the same letter.
Need a cold-cup label stack before you reprint?
Send your cup material, storage temperature, label shape, quantity, and artwork—we will recommend a wet-ready construction for iced plastic cups.
Dry Wall vs Sweating Cup
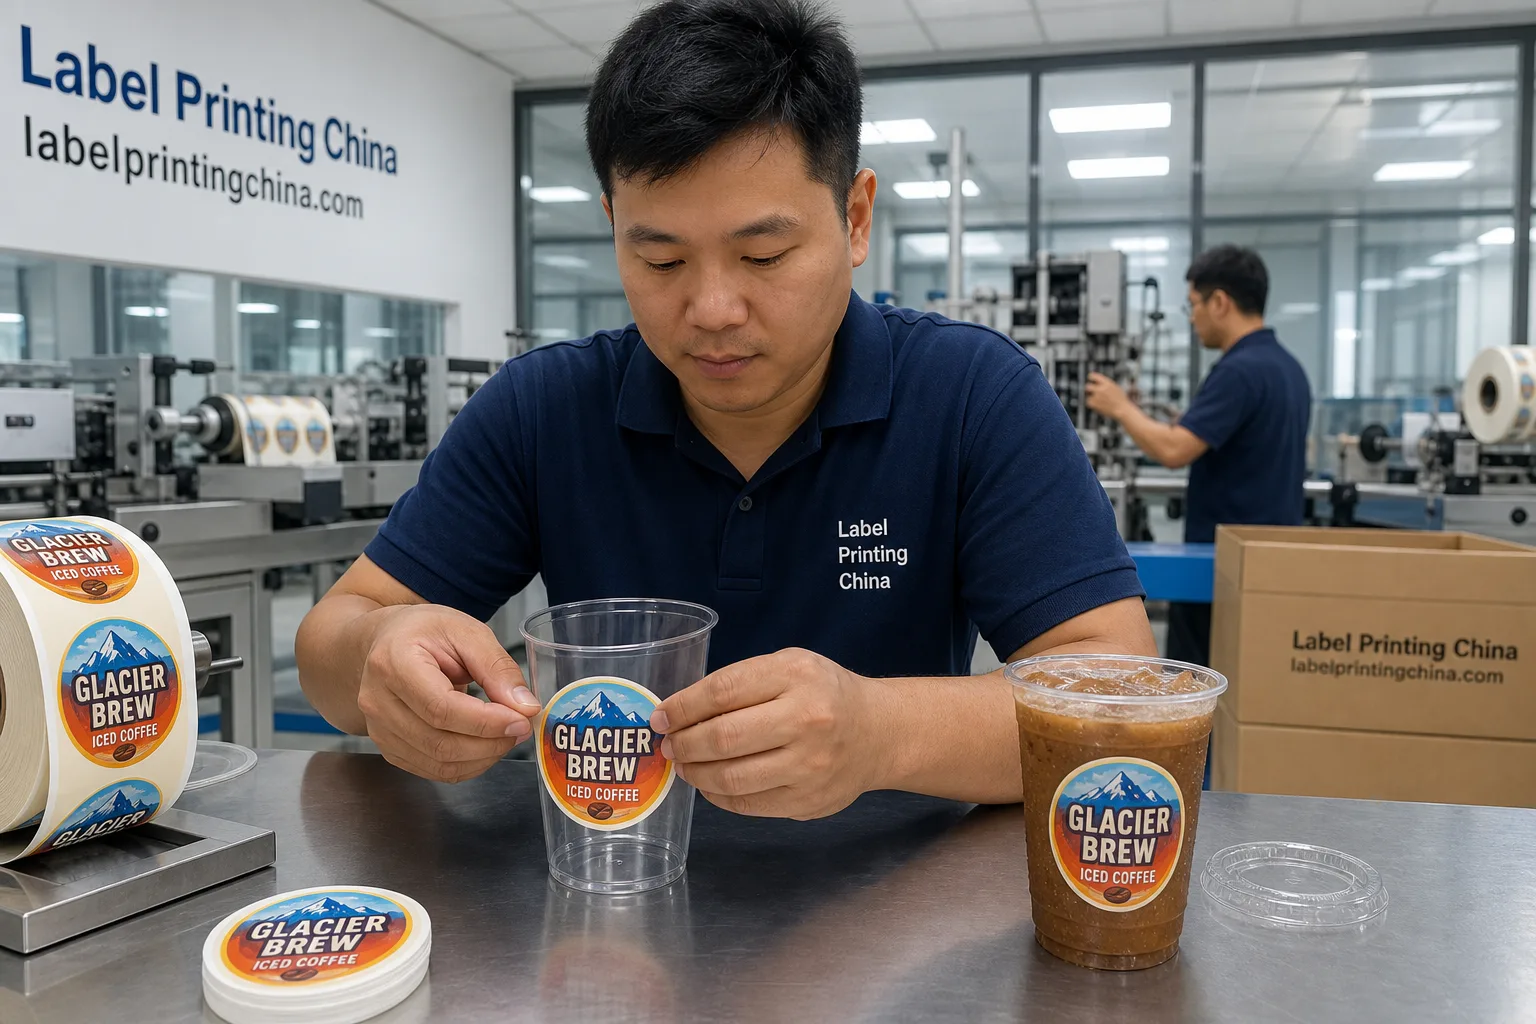
Even a correct adhesive fails if you press it onto a moving water film. Your apply window is part of the construction—write it into SOP, not only into the material name.
| Your station reality | Keep | Switch |
|---|---|---|
| Cups labeled in a dry staging area before ice/fill | Keep dry-wall apply; wipe dust; firm pressure | Switch away from last-second stickers on already sweating cups |
| Baristas decorate after pour | Keep a wipe-dry step; use wet-capable adhesive only | Switch the process to pre-label if wipe-dry is skipped in rush |
| Cups pulled from a cold room already wet | Hold labeling until walls are dry or use a proven wet adhesive + test | Switch off “it should be fine” mid-service experiments |
When you once labeled steaming-cold cups straight from the fridge, every edge lifted within minutes even though the sample on a dry cup looked perfect. Keep the dry-window SOP; Switch the station layout if rush forces wet applies without a rated adhesive.
Red flags at the bar: sticky residue clouds under clear film, corners flagging after sleeve friction, or logos sliding when condensation runs. Any one of those is a Hold on the construction—not a “press harder” hope.
Circle, Wrap, or Die-Cut — Shape Choices for Cold Cups
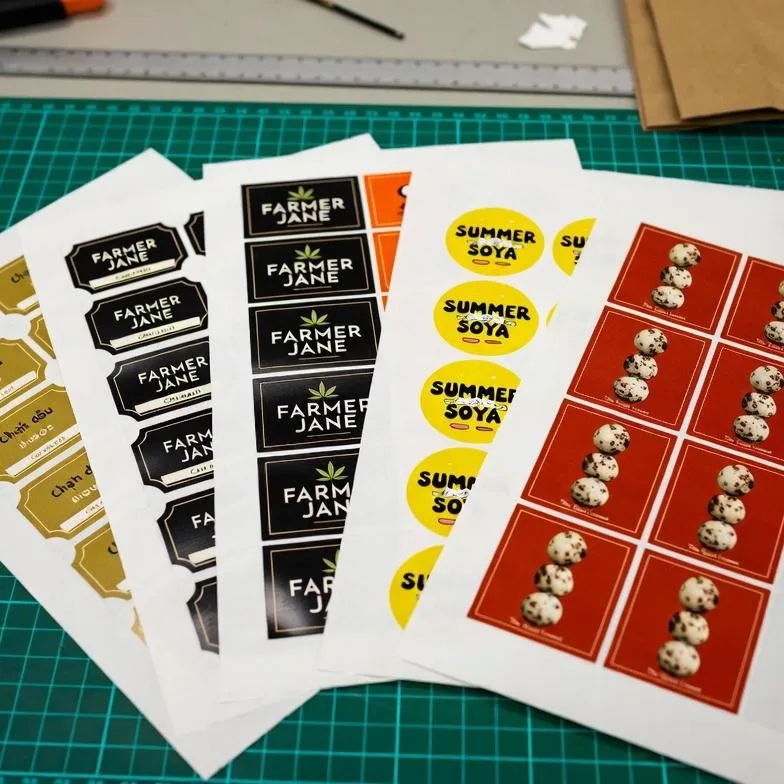
When you standardize one 2.5 inch circle across 12–24 oz cups, you simplify inventory—and you still must prove edge hold on the most curved wall in your set. Shape does not replace adhesive science; it only changes peel stress.
- Circles / ovals: strong logo hits; rounded edges reduce corner peel on curves.
- Partial wraps: more brand wall; demand cleaner dry apply and consistent height.
- Sharp-corner rectangles: look crisp dry; fail first at corners when cups sweat—prefer radius corners for cold cups.
If you need a broader waterproof category overview after the cup freeze, open custom waterproof labels—keep this article’s decision on iced plastic cups first.
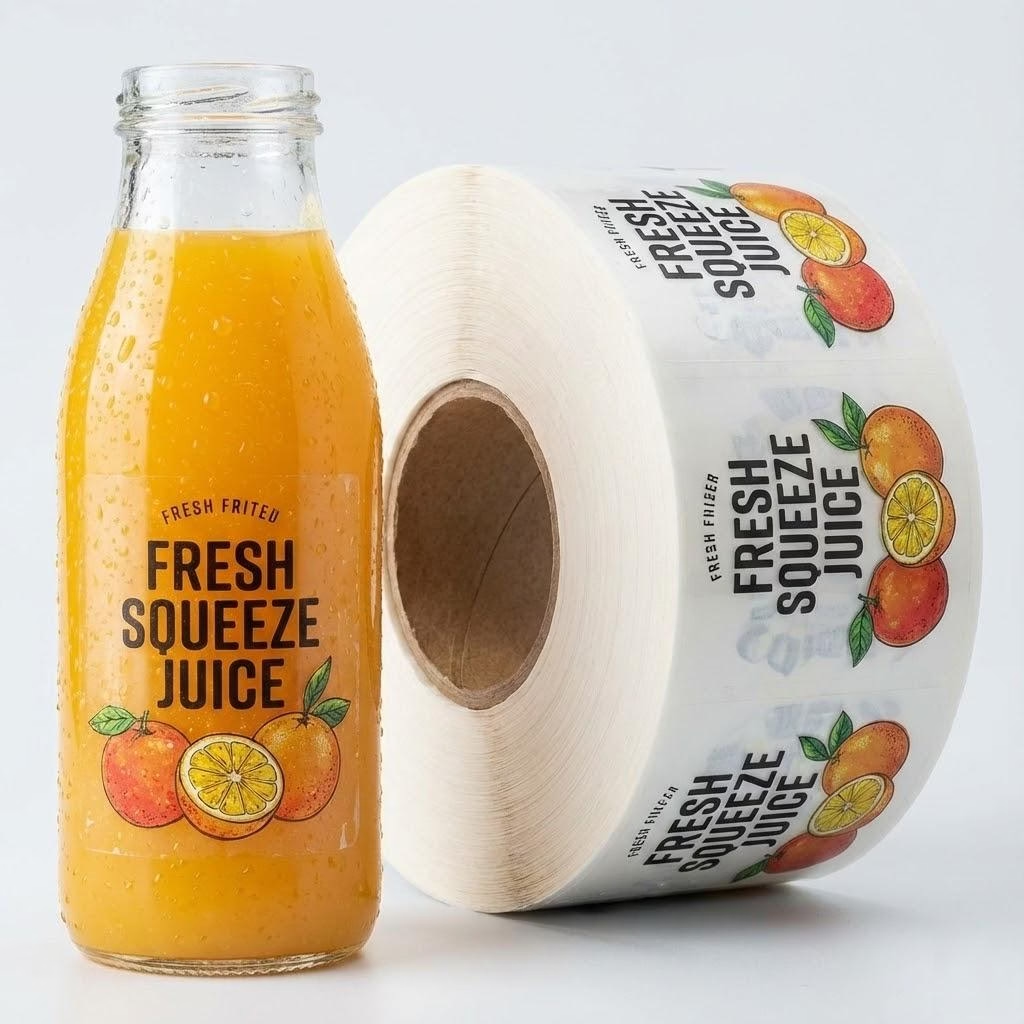
When your juice cold-fill bottles use a different stack, do not copy that die onto PP iced cups without a new wet test; bottle geometry and cup resin are not interchangeable.
Ready or Hold — Condensation and Rub Gate Before You Print
Before you release production rolls, run a short Ready/Hold gate on real cups from your SKU set. It is cheaper to Hold overnight than to reprint art that peeled in the first Instagram story.
| Check | Ready if… | Hold if… |
|---|---|---|
| Dry apply bond | Edges seat flush after firm pressure on a dry cup | Corners lift within 10 minutes on dry plastic |
| Condensation cycle | After iced fill + 30–60 min sweat, edges stay down; no cloudy adhesive bloom | Wrinkles, tunnels, or slide marks appear |
| Rub / sleeve | Napkin wipe + sleeve friction leave art intact | Ink smears or laminate scuffs through the logo |
| Cup lot match | Sample cups match production resin and finish | You approved on a PET demo cup for a PP production lot |
When you mark Ready only after a signed photo of the wet cycle, your store ops and your printer share one freeze. Hold is how you keep the launch date from eating a reprint.
If your clear cup shows cloudy adhesive bloom after one iced fill, do not “fix it with more pressure” on the next hundred cups. Switch the adhesive or the apply window first, then re-run the same Ready/Hold photo set.
What to Send for a Cold-Cup Label RFQ
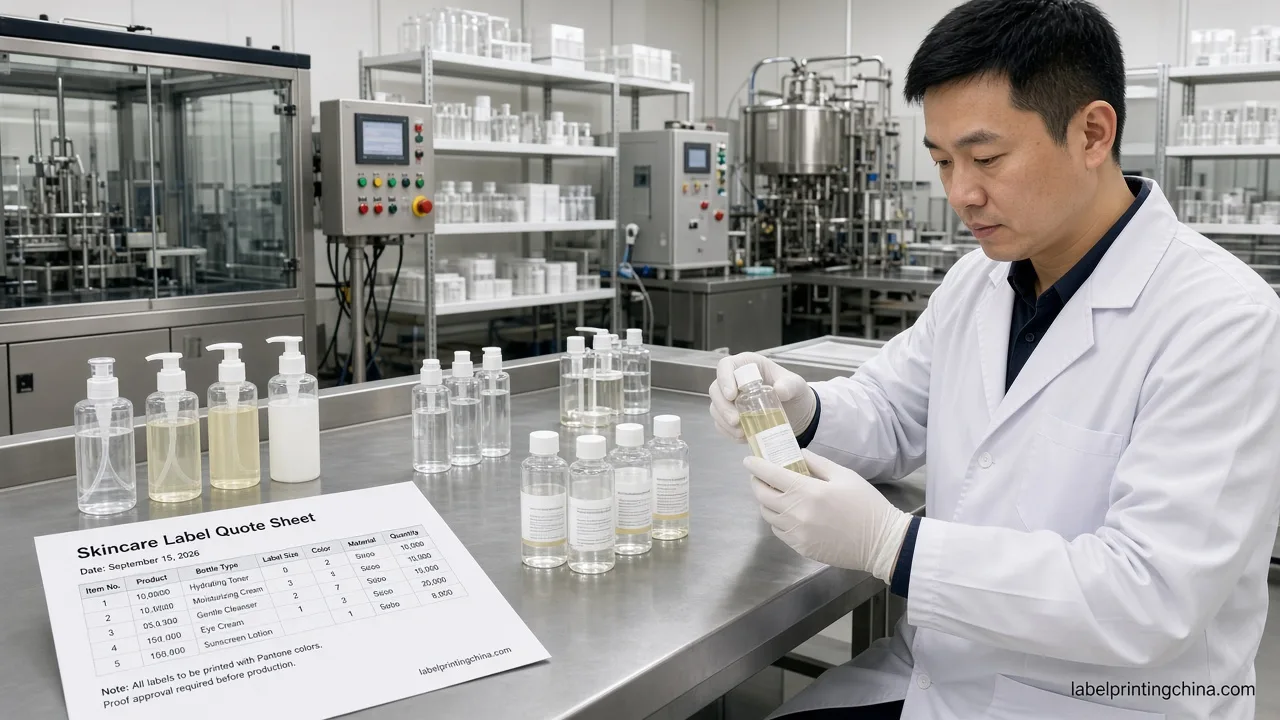
When your RFQ only says “waterproof coffee stickers,” every vendor invents a different stack. Pack the cold-cup check so quotes stay comparable.
- Cup resin (PP / PE / PET) and any coating notes
- Service path: iced only vs hot/cold dual
- Apply method: dry stage vs after-pour; need wet-capable adhesive?
- Shape and size; shared die across cup sizes?
- Quantity by SKU; finish preference (matte/gloss)
- Artwork status and whether you need a condensation test report
When you include resin and apply window up front, you stop paying for three “waterproof” quotes that were three different adhesives. Your cold-cup check is the RFQ.
If you run three cup sizes that share one circle die, say so explicitly and still test the most curved wall. Shared dies save money only when the wet gate passes on every size you will sell.
If you also run cold-fill juice bottles, keep that thread on the separate juice waterproof guide after cups are locked—do not merge two geometries into one untested die.
What to Do Next Before You Order
You now know to name the cup resin, pair waterproof film with a wet/LSE adhesive, apply on a dry wall when you can, and Ready/Hold a condensation-plus-rub sample before the production roll.
- Tonight: write PP/PE/PET on your cup PO and photograph a dry vs wet apply attempt.
- Tomorrow: run the 30–60 minute sweat + rub gate on two cup sizes.
- Before PO: send the cold-cup RFQ pack (resin, apply window, shape, qty, art) for a stack confirm.
When you are ready, open the beverage labels quote path with those fields filled so the first proof matches the iced cup you actually serve.