You already locked “16 oz can labels” on the quote, then the sample wrap overlapped and wrinkled on the real tallboy. Same ounces do not guarantee the same diameter—and your label width follows the can wall, not the oz line on the brief.
Lock the can diameter code first (211 vs 207), then set wrap width from circumference with a seam gap or overlap, and set height inside the straight wall. Typical 211 starts: 12 oz ≈ 8.125×3.625 in; 16 oz ≈ 8.125×5 in; 19.2 oz ≈ 8×6–6.5 in—confirm on your physical can before print.
Below you will see how to read diameter before ounces, pick full versus optimal versus half wrap without crushing mandatory copy, and freeze a paper-to-can check so your next roll actually fits. Keep reading if you need that lock before artwork leaves design.
Why Can Diameter Beats Volume When You Size Labels
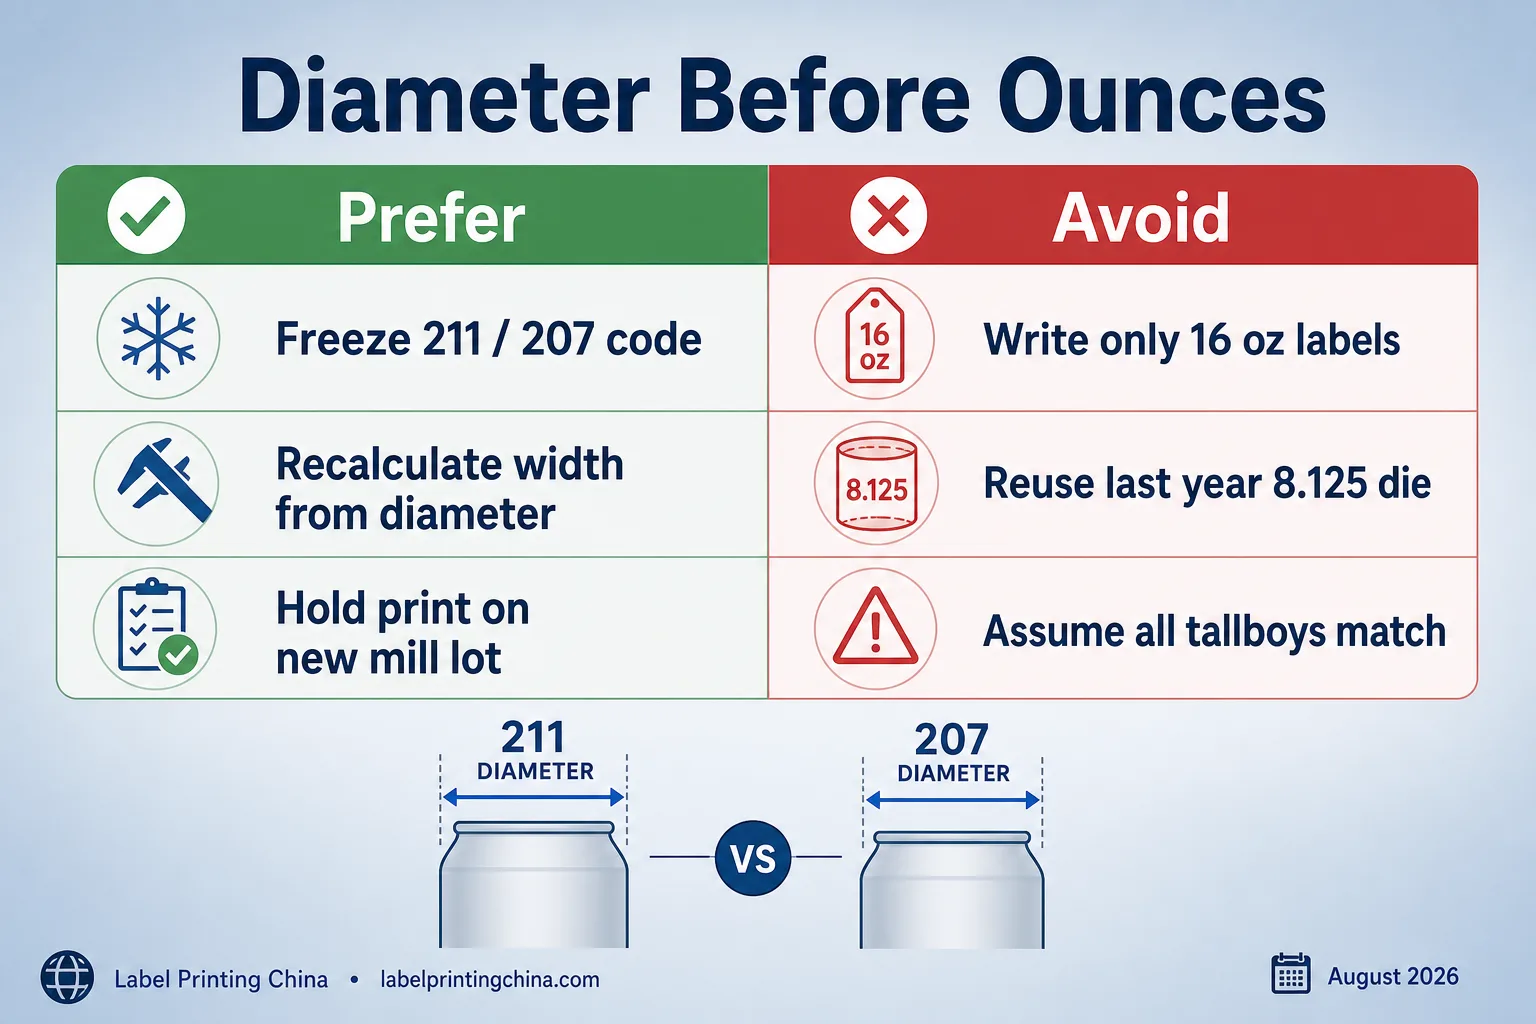
When you size only by “12 oz” or “16 oz,” you copy a chart that assumes one diameter family. Your canning line may hand you a narrower 207 body that still holds the same fill—and an 8.125 in wrap that looked perfect on a 211 can will overlap, lift, or shove the seam into the barcode.
| What you know | Prefer | Avoid |
|---|---|---|
| Supplier named a diameter code (211 / 207 / 202 slim) | Freeze that code on the quote and die line before you draw | Writing only “16 oz labels” with no diameter |
| You measured diameter yourself with a caliper | Recalculate width = π × diameter, then apply gap or overlap | Reusing last year’s 8.125 in die “because ounces match” |
| Cans swapped mid-season from a different mill lot | Hold print until you re-wrap a paper template on the new lot | Assuming every tallboy shares the same circumference |
When you once ordered 8.125×5 in labels for a “standard 16 oz” and the warehouse later filled 207 tallboys, the wrap met itself and the applicator fought the seam. Prefer locking the diameter code on the RFQ the same day you lock ounces—Avoid treating volume as a size certificate.
If your can drawing only shows fill volume, ask the can vendor for the industry diameter code and the straight-wall height. Your label printer cannot invent a safe width from ounces alone.
For PET juice bottles the same rule holds—lock circumference and straight-wall height first with our juice bottle label size.
Standard Beer Can Label Sizes for 12 oz, 16 oz, and 19.2 oz
Use these starting sizes only after you confirm a 211-class body unless noted. Your job this week is to treat the chart as a draft, then prove it on the can you will actually fill.
| Can | Typical PS label (W × H) | Notes you should verify |
|---|---|---|
| 12 oz standard (211) | 8.125 × 3.625 in (full-ish wrap); optimal ~8.0 × 3.50 in; half ~6.25 × 3.50 in | Circumference ≈ 8.44 in—leave a seam gap unless you intentionally overlap |
| 16 oz tallboy (211) | 8.125 × 5.00 in; optimal ~7.25 × 5.00 in; half ~6.25 × 5.00 in | Same diameter family as 12 oz—height is what changes |
| 19.2 oz stovepipe | ~8.0 × 6.0–6.5 in | Confirm straight-wall height; do not stretch a 16 oz die |
| Slim / 202-class | ~7.2 × 5.0 in starting point | Narrower diameter—never reuse a 211 width |
When you need a factory that already quotes beverage can wraps, start from custom beverage labels with your diameter and wrap preference named in the brief—not a vague “beer can size” line.
If you are comparing materials later, keep that thread on the separate craft beer finish guide; this page only freezes fit so you do not reprint for the wrong canvas.
Full Wrap vs Optimal Wrap vs Half Wrap — Pick Before Artwork
Before you spend design hours on a 360° mural, decide how much aluminum you want showing and where the seam lands. Your wrap choice changes width first—and it decides whether the government warning and barcode stay readable after application.
| Your priority | Keep | Switch |
|---|---|---|
| Max brand wall + story copy | Full wrap with a planned overlap (~0.25–0.375 in) or a controlled butt seam | Switch off half wrap if mandatory text cannot fit the front panel |
| Clean applicator runs / less overlap fight | Optimal wrap leaving a visible gap so edges do not fight | Switch away from full wrap if your crew struggles with seam bubbles |
| Minimalist look / lower material | Half wrap (~6.25 in wide on many 12/16 bodies) | Switch if TTB-required statements need more real estate—see 27 CFR Part 7 labeling |
When you keep a full wrap but park the barcode on the seam, retail scanners fail and your “premium” wall becomes a returns ticket. Place critical marks away from the join, then Keep or Switch the wrap style before the first design critique.
Red flags before artwork leaves design: seam drawn through the barcode, warning text smaller than your compliance minimum, or a full-wrap width copied from a 211 chart onto a 207 body. Any one of those is a Hold—not a “fix in press” hope.
If your brand deck already shows a full mural, still write the wrap mode on the die line. Designers paint rectangles; applicators apply physics.
Need a can-label size check before you print?
Send your can size, diameter code, wrap preference, quantity, and artwork—we will confirm fit on the body you will actually fill.
How to Measure Your Can and Freeze Label Dimensions
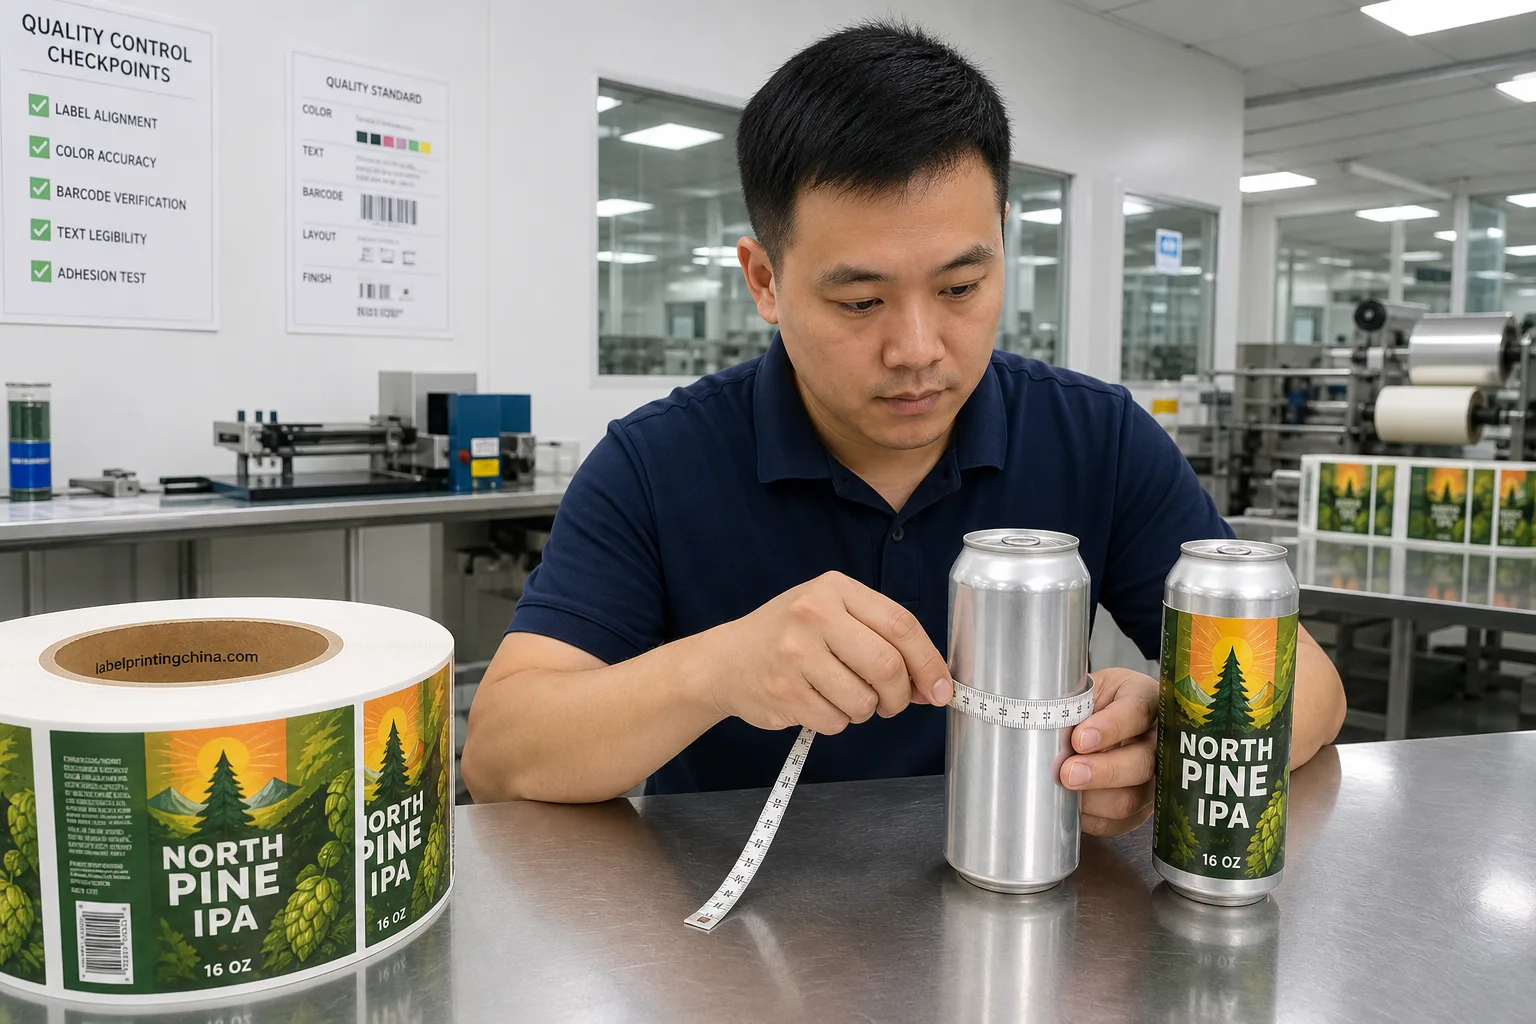
When you skip a physical measure, you inherit someone else’s chart. Spend ten minutes with a flexible tape and a paper template so your freeze survives the first applicator trial.
- Diameter: measure across the straight body (or read the supplier code). Convert: width base = π × diameter.
- Height: mark only the straight wall—exclude the dome and the neck curve. Leave ~0.25 in clearance top and bottom unless your applicator specifies otherwise.
- Wrap math: for a gap seam, subtract 0.25–0.50 in from circumference; for full wrap, add your planned overlap instead.
- Paper proof: cut the W×H rectangle, wrap the real can, and photograph the seam relative to the barcode and warning block.
- Freeze: write final W×H, diameter code, and wrap mode on the quote and the artboard die line in the same units.
When you once emailed a product photo and asked the printer to “guess 16 oz,” you funded a redraw. Your measure sheet is the cheapest insurance you will buy this week.
If cans arrive from a new mill lot, repeat step 4 even when ounces match. Your previous freeze was for last week’s metal—not this week’s.
When your designer works in millimeters and your can sheet is in inches, convert once on the freeze line and keep both units visible. Mixed units are how a “correct” artboard still cuts the wrong die.
Before you call the size final, apply one wet can from the cooler if condensation is part of your fill story. You are still checking fit here—not film chemistry—but a wrap that slips on a wet wall tells you the height band is too ambitious for your applicator.
Sample Confirmation Gate Before You Print
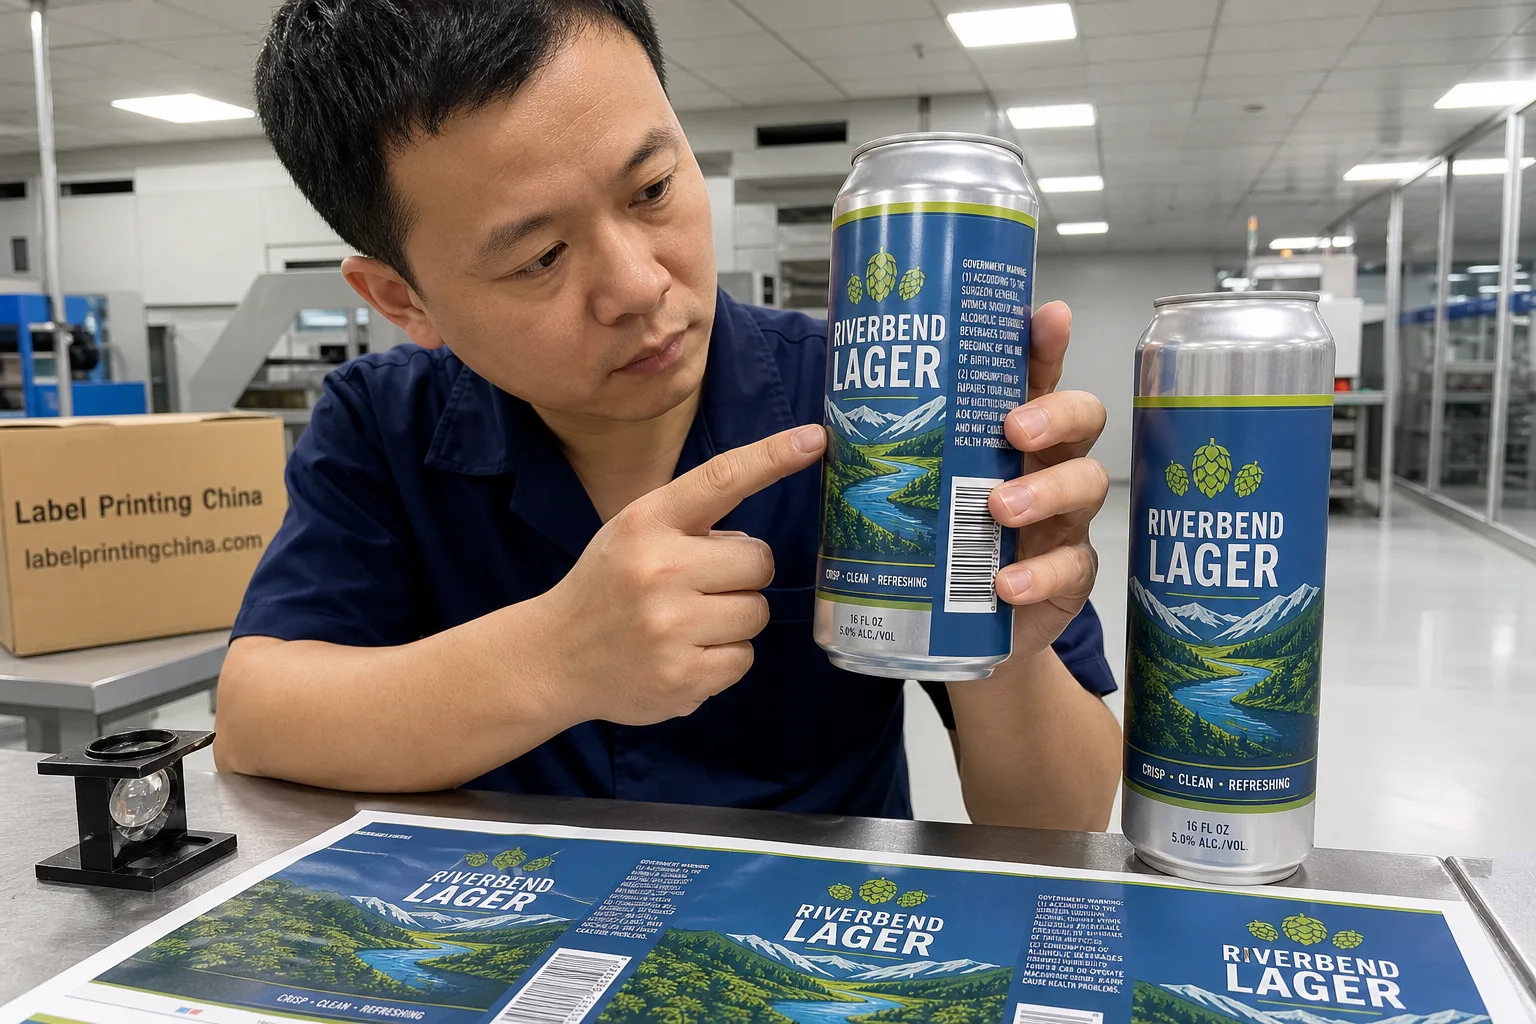
Before you release the production roll, run a Ready/Hold gate on the physical sample. It is cheaper to Hold overnight than to scrap a full wrap that never sat flat.
| Check | Ready if… | Hold if… |
|---|---|---|
| Diameter vs die width | Paper or printed sample wraps with the planned gap/overlap ±1/16 in | Edges meet hard, wrinkle, or leave an uneven canyon |
| Height on straight wall | Top/bottom stay off the dome and sit inside your marked wall | Label climbs the curve or leaves a bald band you did not plan |
| Mandatory marks | Barcode and warning sit away from the seam and stay scannable | Seam bisects the code or warning contrast fails on the metal |
| Can lot match | Sample can matches the production lot diameter code | You approved on a display can that differs from fill stock |
When you mark Ready only after a signed photo of the wrapped can, your printer and your brand team share one freeze. Hold is not delay theater—it is how you keep the launch date from eating a reprint.
If you need beer-specific finish talk later, route materials questions to your custom beer labels brief after size is locked—do not mix unfinished size with unfinished film choice on the same email thread.
What to Send for a Size Check RFQ
When your RFQ only says “beer can labels, 5k,” every vendor invents a different rectangle. Pack the size check so quotes stay comparable.
- Can volume and diameter code (or measured diameter)
- Target wrap mode: full / optimal / half
- Draft W×H if you already measured; otherwise ask for a recommended start
- Quantity by SKU plus whether sizes share one die
- Photo or drawing of the straight wall; note if cans may change mill lots
- Artwork status: concept only vs die-line locked
When you include the diameter code and wrap mode up front, you stop paying for three redraws that were really three different assumptions. Your size check is the RFQ—not a follow-up after plates are cut.
If you run three SKUs that share one body size, say so explicitly and list only the art differences. Shared dies save money only when the W×H freeze is truly identical—do not “almost share” a 16 oz and a 19.2 oz on one tool.
For alcohol labeling statements you must still carry on the package, keep a bookmark to the TTB beer labeling hub; size fit and legal copy are parallel tracks—finish both before you wire the deposit.
What to Do Next Before You Order
You now know to lock diameter before ounces, pick wrap mode before the mural, and Ready/Hold a physical wrap before the production roll.
- Tonight: measure one production can and write diameter + draft W×H on the quote.
- Tomorrow: wrap a paper template; move barcode/warning off the seam if needed.
- Before PO: send the size-check pack (can code, wrap mode, qty, art status) for a fit confirm.
When you are ready, open the beverage labels quote path with those fields filled so the first proof matches the can you will fill.